Zoom, nowadays, the premier choice for arranging webinars, is gradually gaining more and more ground in the industry against most of its competitors due to its efficiency and technological advancement.
However, although it has a high technological advancement, it can’t alone arrange and manage a whole webinar. For instance, it doesn’t allow you to create a registration form, doesn’t provide enough attendee or registrants analytics, doesn’t offer a whole lot of automation, and so on.
But, with the help of WPForms and Zapier, it is possible to bridge everything and reach the peak of convenience and automation with your WordPress site.
So, today, in this tutorial, you’ll learn how to create a webinar registration form for zoom and automate the webinar registration process with Zapier in WordPress.
How to Create the Webinar Registration Form
The Checklist
Here’s what you need at the very first step.
- Zoom: To create, manage and run the webinar session.
- Zapier: To integrate the registration form with zoom and the WordPress website to automate the process.
- WPForms: To craft a custom webinar registration form and manage the attendee or registrants’ analytics.
Step 1: Installing the WPForms and Necessary Addons
First of all, you need to get, install, and then activate the WPForms plugin. See here how to get, install and activate it.
Upon successful installation and activation, first head over to your WordPress dashboard.
From there, navigate to WPForms » Addons. Then on the next page, scroll down and find the Form Templates Pack Addon. And then hit Install Addon.
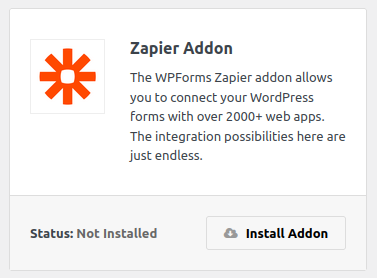
After installing the template pack addon, once more, scroll down on that page and find Zapier Addon. Install it.
Step 2: Create the Registration Form
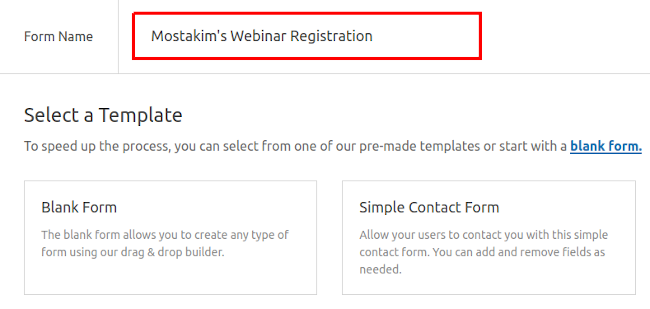
Now, from your WordPress dashboard, click WPForms » Add New.
Then type in a name for your registration form.
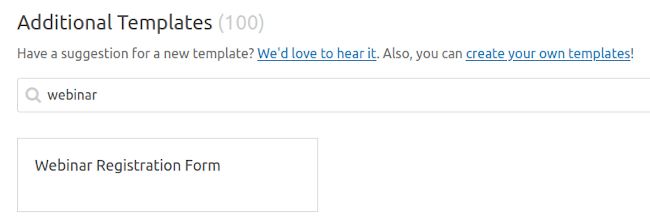
Once again, scroll down and search for ‘Webinar’ under the ‘Additional templates’ portion. You’ll then see Webinar Registration Form. Click on it.
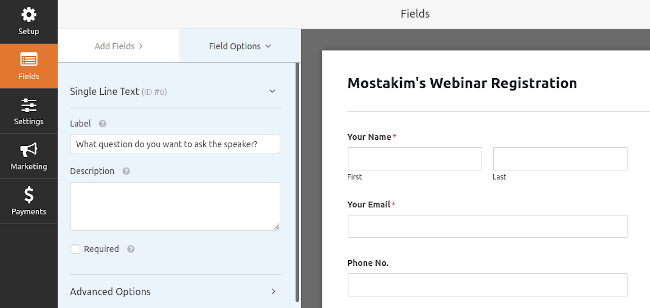
Then, you’ll be on the form builder page. There you can customize the form based on your preferences and needs.
Customizing the webinar registration form
- The left side has different fields that you can drag/click to add on the right side – which is the main form.
- On the right, hover over each of the fields to get different options. If you hover and click on any of the fields, then on the left, you’ll see options to customize that field.
- You can drag the fields to reorder.
- To insert a new field, first, find the type of field that you need from the left. Then click on it, and it will get inserted.
Other Customization
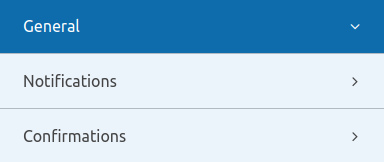
You can customize different settings of your registration form. To customize, navigate to the hard left and click on Settings. You’ll now see three basic options. General, Notifications, Confirmations.
- General: Under General, you can replace the default button texts, add custom CSS classes and enable or disable different form-related features by simply checking a box.
- Notifications: Notifications allow you to receive emails once a successful registration entry occurs. You can customize the email/notification content and can enable another email to receive the notification.
- Confirmations: It is – where you can customize the confirmation response that will show up after a successful entry.
Once the customizations are complete, hit the Save button on the top right side.
Step 3: Embed the Registration Form to a Page
Let’s say you have a landing page or you want to create one. Alright. But whatever you go for, you need to embed the registration form on that page. To do that –
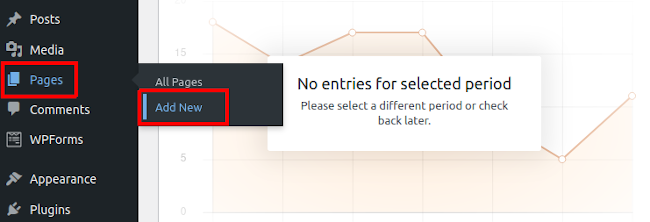
Method 1: First, navigate to All Pages » Add New from your dashboard to create a new page.
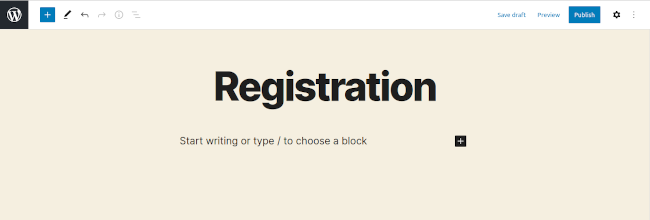
Once you click on Add New, it will open up the Page Editor. Here first, enter the page title. For me, I’ve put Registration.
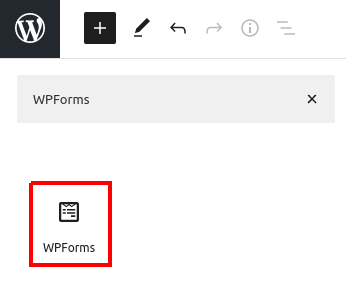
Now, from the top left corner of the page, hit the plus(+) icon. It will then open up all the blocks.
Above the blocks, there is a search bar. Type in WPForms there. And you’ll see a WPForms block below. Click on it.
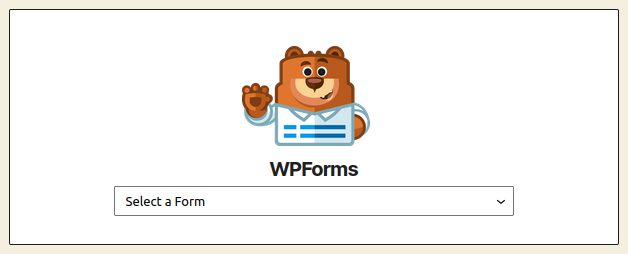
Now, a WPForms dropdown will appear in the text area. Select the registration form from the dropdown menu that you want to embed.
Rah-rah. Now you will see your form on that page. Finally, just hit publish. That’s it.
Method 2:Go over to the Form Builder/Editor page of the form that you want to embed. Just follow Dashboard » WPForms » All Forms.
Then Select the form.
Next, click EMBED on the top right.
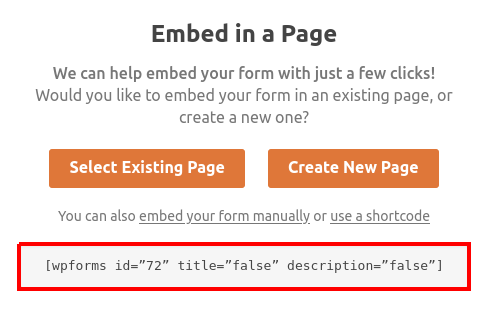
Then hit use shortcode, and it will prompt a code below. Just copy it.
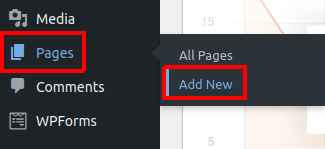
Now, head back to the dashboard and create a new page by clicking on Pages » Add New.
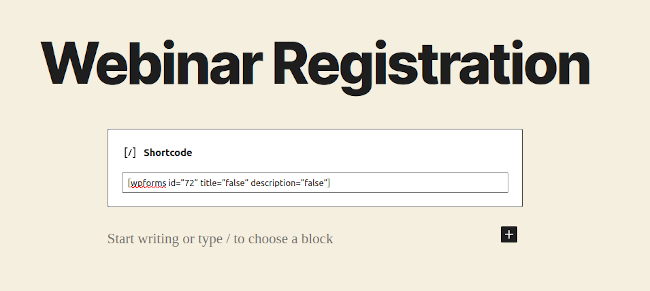
Next, give the page a title and paste the copied shortcode in the main text area.
Finally, hit publish.
Next:
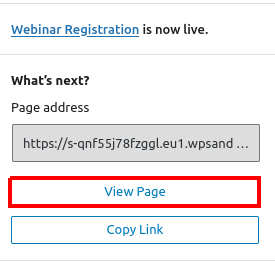
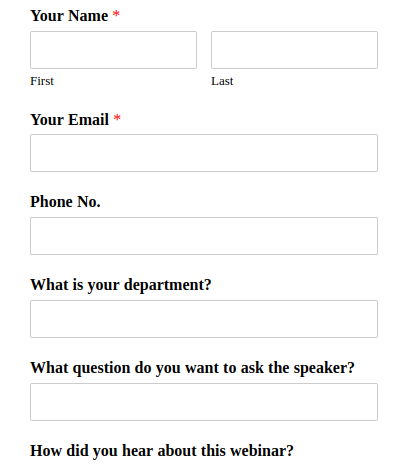
Congratulations. You’ve successfully embedded the form and published it. Now click on View Page to see the form on the page.
Now, fill out the form and submit it. And it is required because on an upcoming step, Zapier will check at least one sample entry.
Step 4: Set up a Zoom Webinar
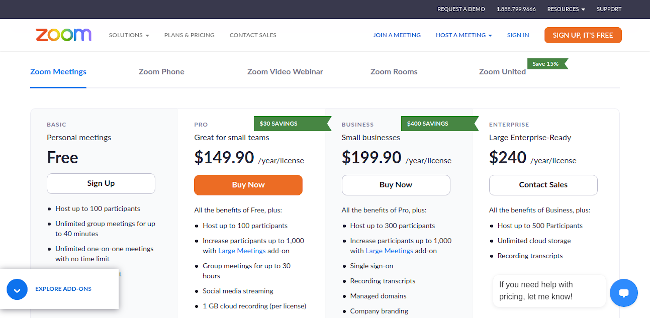
To arrange a webinar on zoom, you need to purchase any of their paid plans.
As soon as you have one, create a webinar with random specifics. Just don’t worry about it. It’s for a test purpose as it’s your first time. Isn’t it?
Step 5: Connect WPForms with Zapier
Zapier allows you to connect one service or app with another. And this is what makes things more simple and easier. For instance – Zapier helps you build a system where you perform an action in one app, and it triggers another action in another entirely different app.
So to connect Zapier with WPForms, you need a Zapier account. The free version of it allows you to run 100 Zapier tasks. But if you need more, for instance, more than 100 people will register on your webinar, then for sure, you’ll need to upgrade.
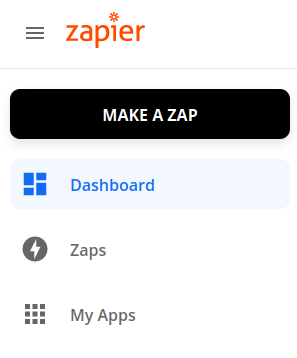
Once you have a Zapier account, log into its dashboard. Then click on MAKE A ZAP.
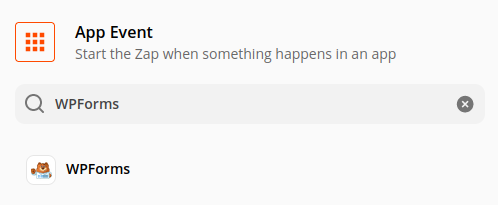
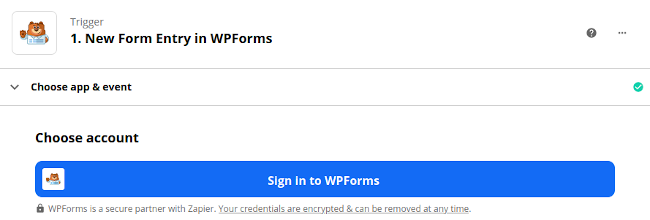
On the next page, under App Event, you’ll get to add apps that will trigger a Zap. So, we will add WPForms. And each registration entry, therefore, will trigger a Zap.
So, type in WPForms on the search bar and then tap on the WPForms icon.
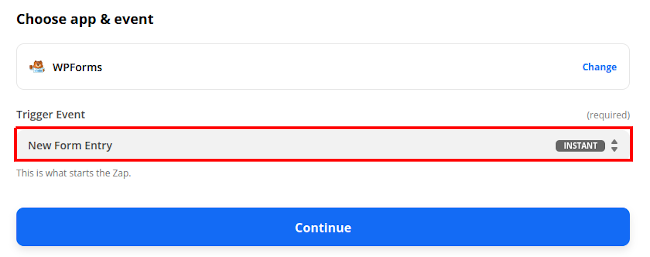
On the next window, under Trigger Event, select New Form Entry. Then Continue.
It will then prompt you to sign in with your WPForms account.
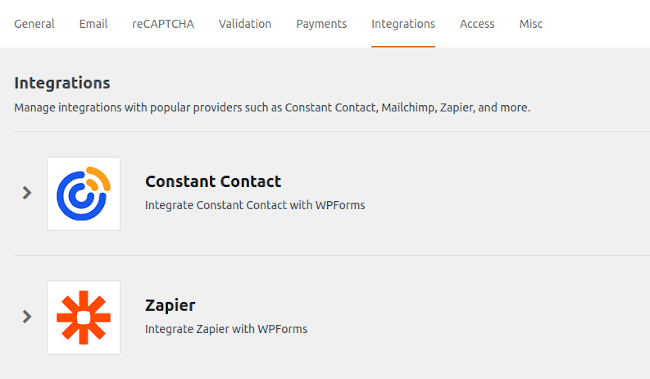
Now switch back to your WordPress dashboard. Then head over to WPForms » Settings. And from the tabs, select Integrations.
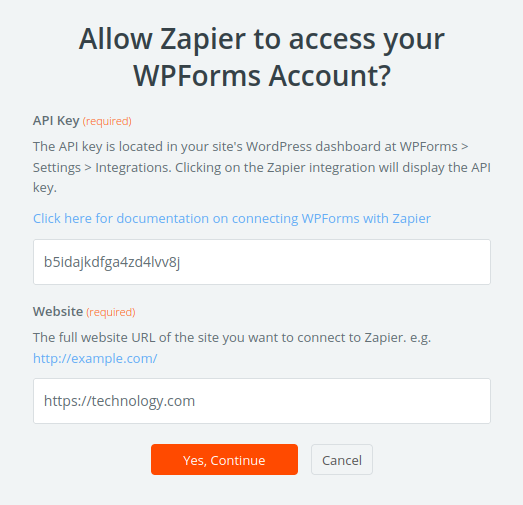
On the integrations tab, click on Zapier. It will then uncover the API Key. Copy it.
Head back now to the Zapier window, where it asked to sign in. Click Sign in to WPForms.
Clicking on it will open up a new window. Now, paste the API key that you have copied and then enter your website link. Finally – Yes, Continue.
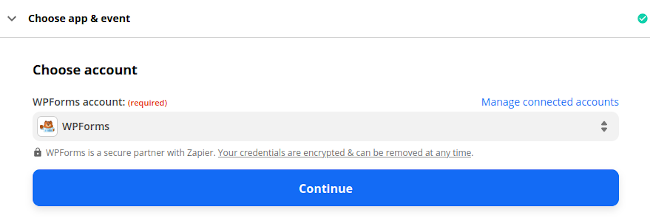
Your WPForms account is now successfully connected with Zapier. Click continue.
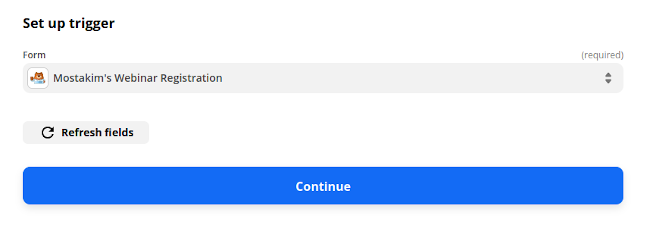
Now, under Set up the trigger, we need to show Zapier exactly which form we want to use for the Zoom Webinar. So, from the dropdown menu, select the webinar registration form that we’ve built earlier.
Oh, yes, Continue then.
Test Time
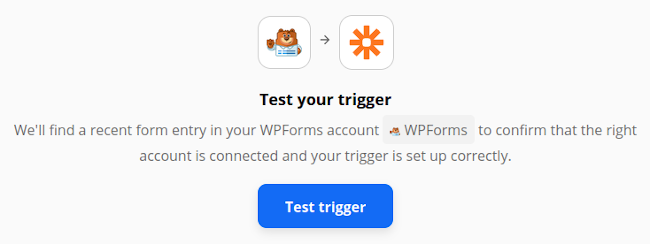
The Test Trigger button will now appear. Click on it.
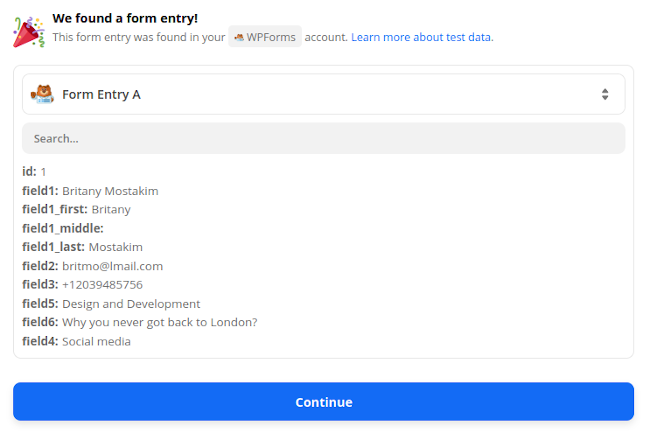
Wow. Everything has worked. Zapier has successfully detected our test entry. Congrats to us. We have finally made a successful connection.
Now, hit continue to add the action against this trigger.
Step 6: Connect Zoom with Zapier
If we connect Zoom with Zapier now, each entry on the registration form will automatically create a webinar registrant.
So let’s connect.
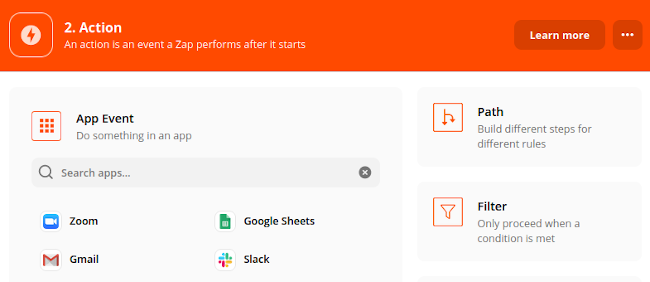
After clicking Continue on the earlier step, you’ll be on this page.
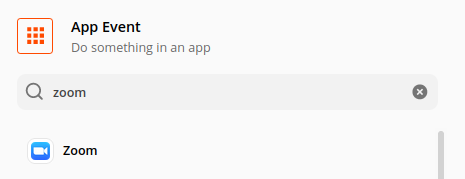
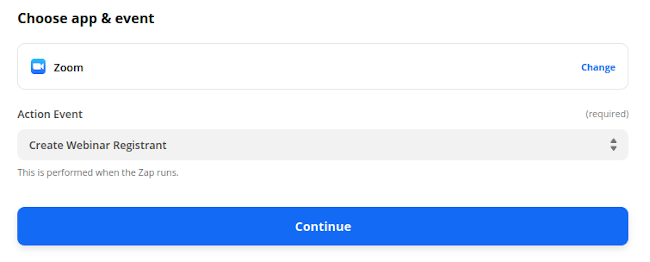
Search for Zoom this time and click on the Zoom icon once you see it.
Next, under the action event, select Create Webinar Registrant and Continue.
Now, Sign in to Zoom.
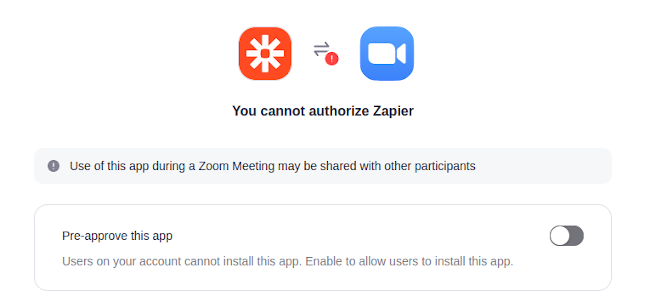
While signing in, you may encounter this. If it comes up and says – can’t authorize Zapier, then just toggle ‘Pre Approve this app.’
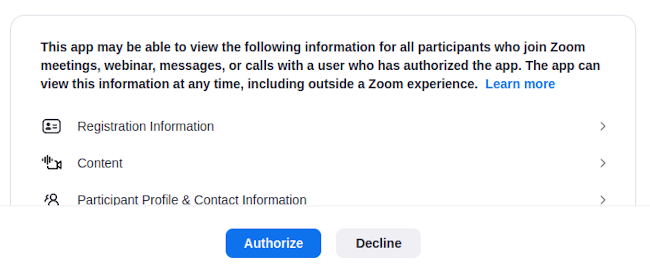
Finally, authorize Zapier.
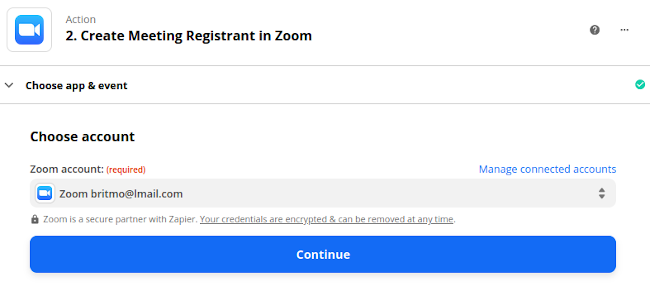
Then clicking Continue will confirm everything and take you to the next step.
In this step, you can see all the fields available in Zoom for each participant or registrant. You can also see all the custom fields or questions that you have created on the registration form.
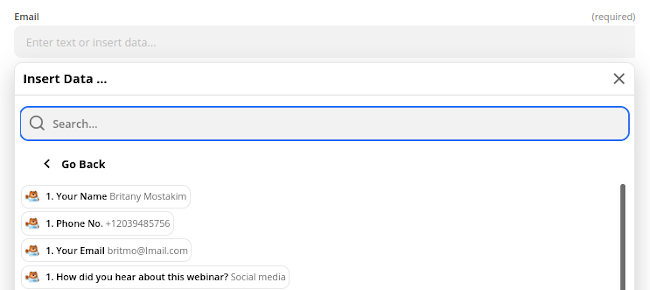
Now, in the dropdowns, match each field with the proper info from the form.
Test Time
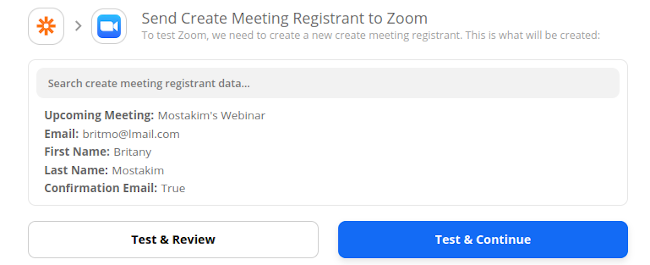
After matching all the fields, click continue. And it will bring you the Test Portion. Here, we will send the test entry to Zoom via Zapier. Click Test and Continue.
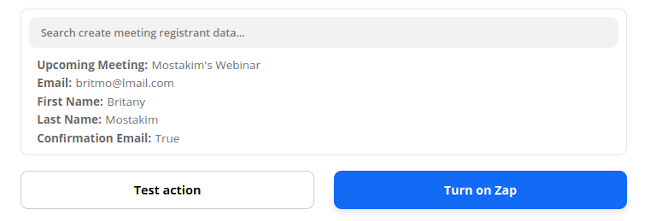
You’ll then see a new record in your Zoom Webinar.
Finally, Turn the Zap on. (don’t forget it).
Three cheers! We have successfully created a custom registration form and automated the whole webinar registration process with Zapier.
Btw, one sec. Did you know – WPForms can help you create an outstanding Webinar Landing Page? If nah, then check it out here.
Check out our previous article on How to Create a WordPress User Registration Form Easily.
La Fin
“Plan, execution, registration, promotion, analysis, engagement, arranging the most awaited session, sub-session, managing post-session activities” – a whole lot actually goes on behind each of these mere words to arrange, organize and run a webinar.
But, the most crucial process still is the webinar registration procedure.
Now, I think this extensive guide on ‘How to Create a Webinar Registration Form with WordPress’ will help you accelerate the most crucial part of a webinar and allow you to focus more on other segments.
By the way, if you have any doubt, confusion, suggestion, or any query, just throw it up in the comment box.
