Do you want to connect WordPress contact form to Zoho CRM?
You are in the right place if you look for the solution. In this article I will show in a very simple way.
Before we proceed you will want to create a WordPress contact form using WPForms. Check out this tutorial if you do not know how to create a WordPress form using the WPForms plugin.
Connect WordPress Contact Form to Zoho
This tutorial has three steps/portion. At the first step we will install an addon for WPForms plugin, in the second step we create a new Zap(integration) in Zapier account, and in the last step we connect WPForms / WordPress Form to Zoho CRM.
Step 1: Install Zapier Addon for WPForms Plugin
In our previous post we wrote how to get and install Zapier addon. You may check out it here. However we are recapping it once again for you.
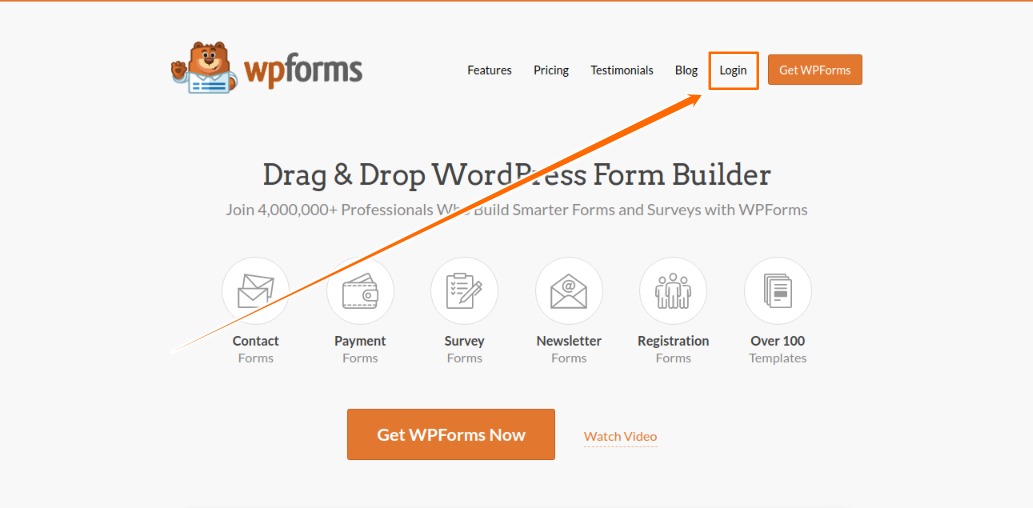
Go to WPForms.com and login to your user account.
Login to WPForms Account
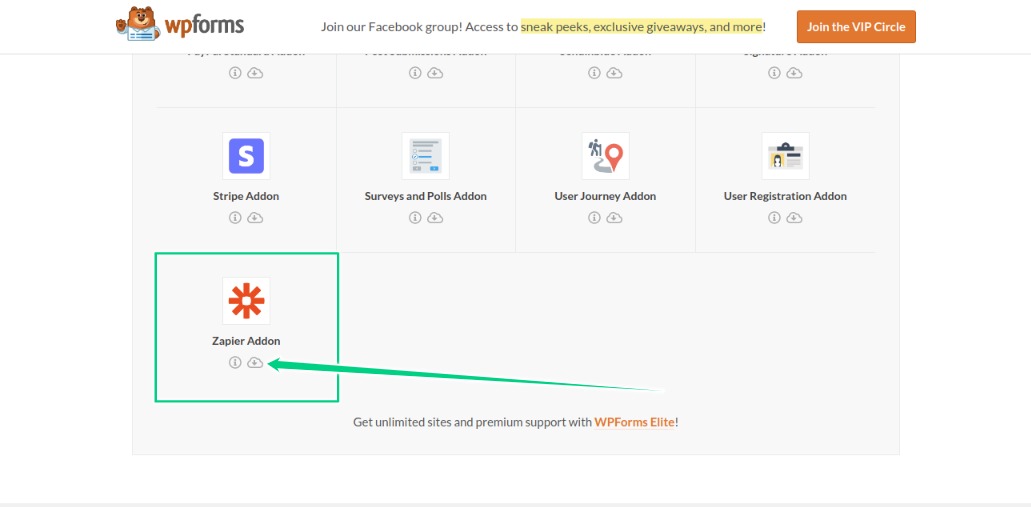
After logging to your account click on Donwloads tab and scroll down you will see Zapier addon. Download it and install on your WordPress website. Check out this tutorial here if you do not know how to install a WordPress plugin.
Download and Install the Zapier Addon As Well
Step 2: Create a new Zap(integration) in Zapier account
On Zapier.com each connection or integration defined as Zap.
Now we go to Zapier.com and login to our account if you do not have one create an account it’s FREE!
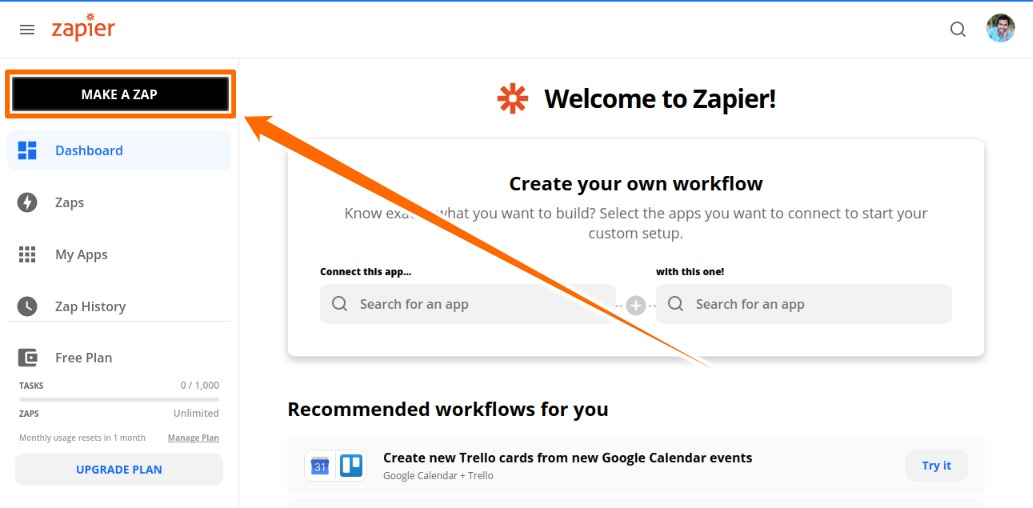
After logging to our account we click on Make a Zap button.
Click on Make a Zap Button
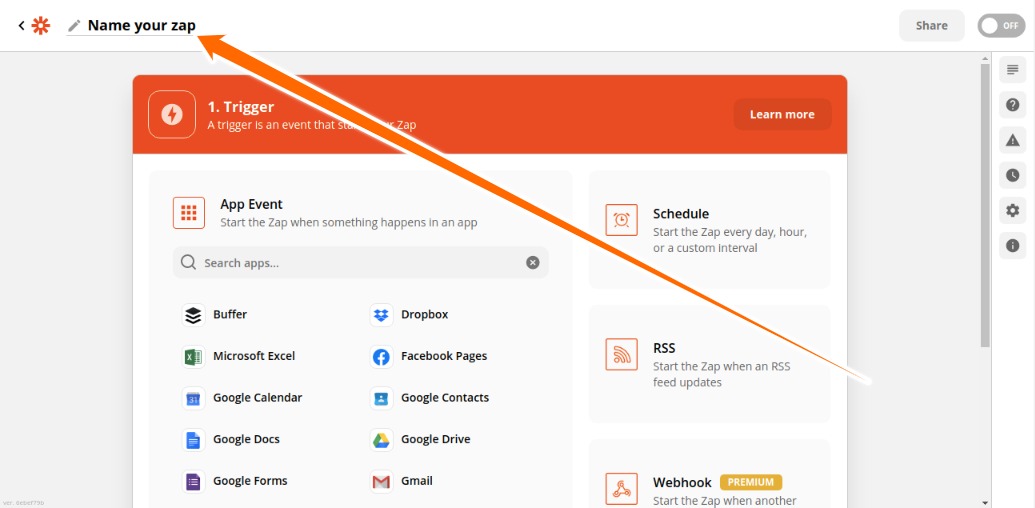
In the following page you may want to name your new Zap or integration.
Name Your Integration Here
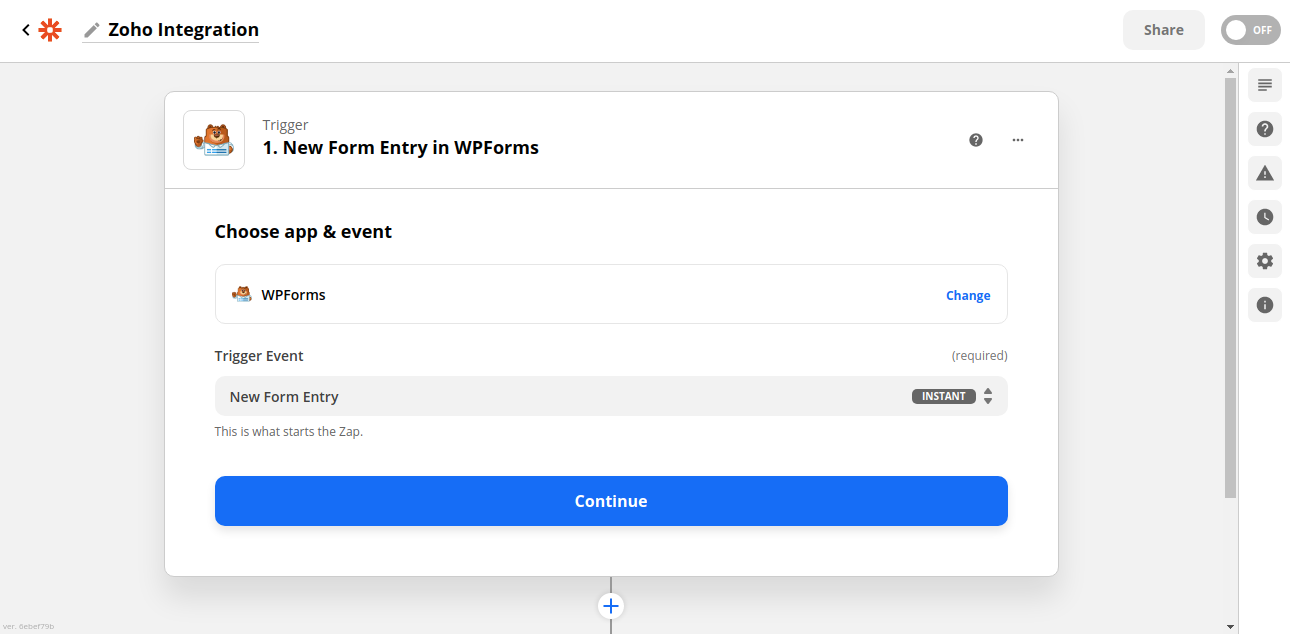
For the App Event select WPFroms by searching in search box. Choose New Form Entry for Trigger Event and hit the continue button.
Selecting App and Trigger Event
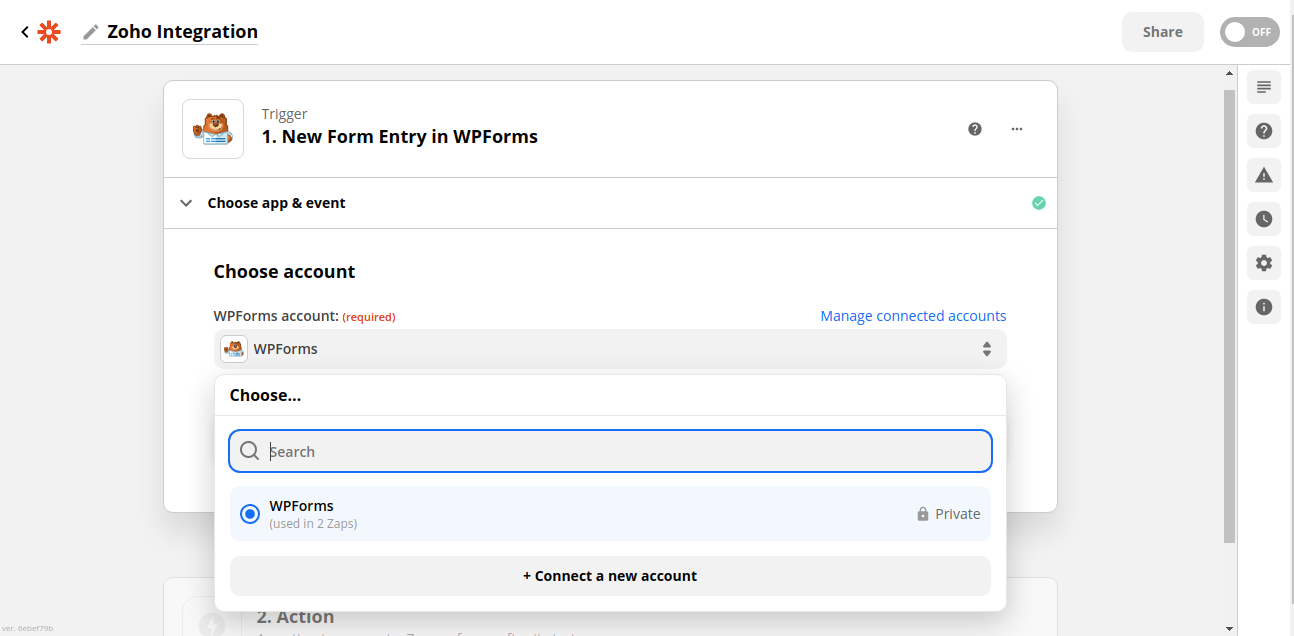
Clicking on continue button you will be asked WPFroms account. You will want to select you existing account.
Select WPForms Account
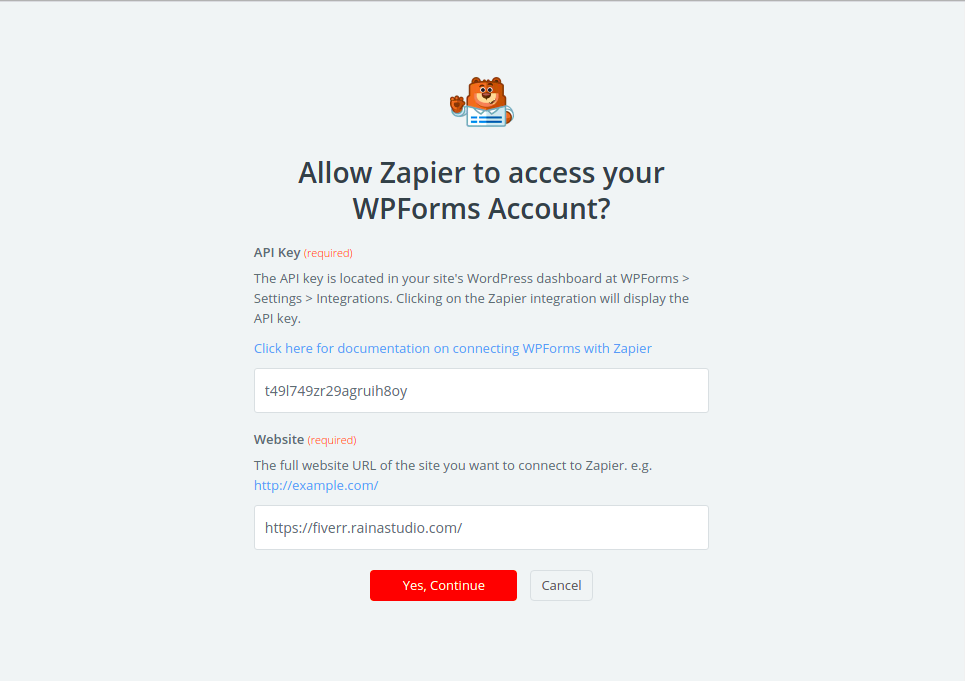
If you want to create a new one, go to your website’s WordPress dashboard at WPForms > Settings > Integrations. Clicking on the Zapier integration will display the API key. Copy the key and paste it on new connection window. See the following screenshot for reference.
Note: Replace API key and website URL with yours.
Add API Key and Website URL
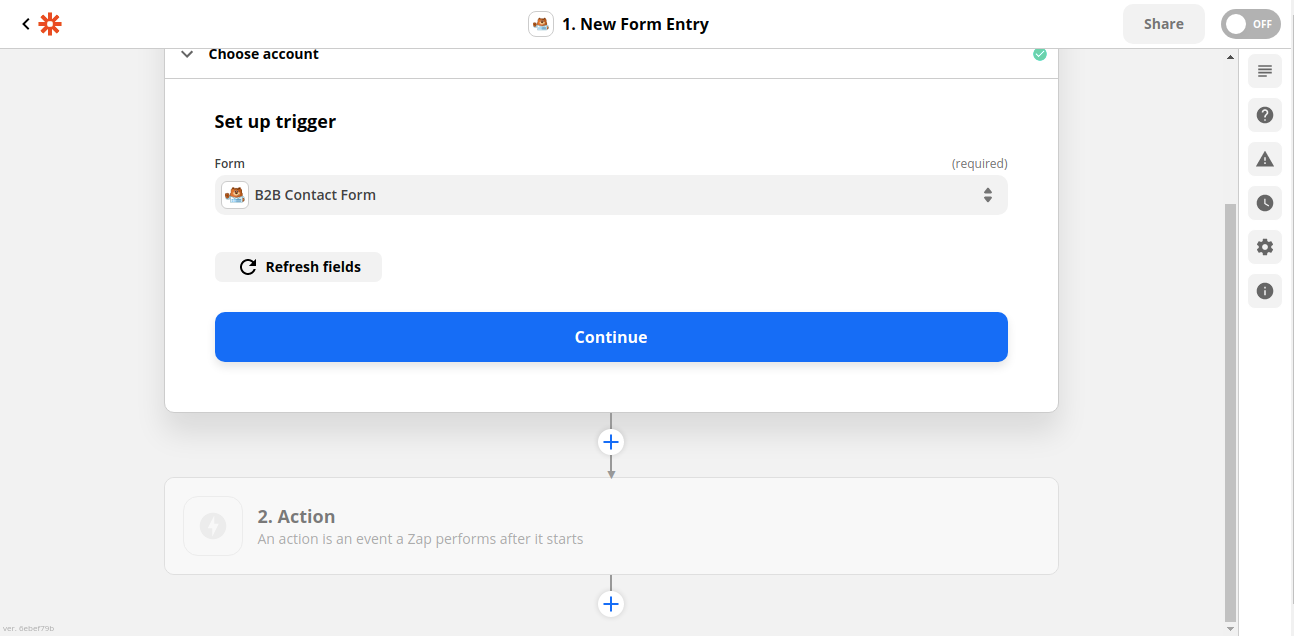
You want to set up the trigger now. Select the form you want to connect with. In our case we are selecting B2B Contact Form and hit the continue button.
Select the Form
In the next step you will asked to test the trigger. If the selected form has any entries then click on the Test Trigger button otherwise skip test. On clicking test trigger button you will see form entry. Clicking on Continue button to go selecting Action Event App.
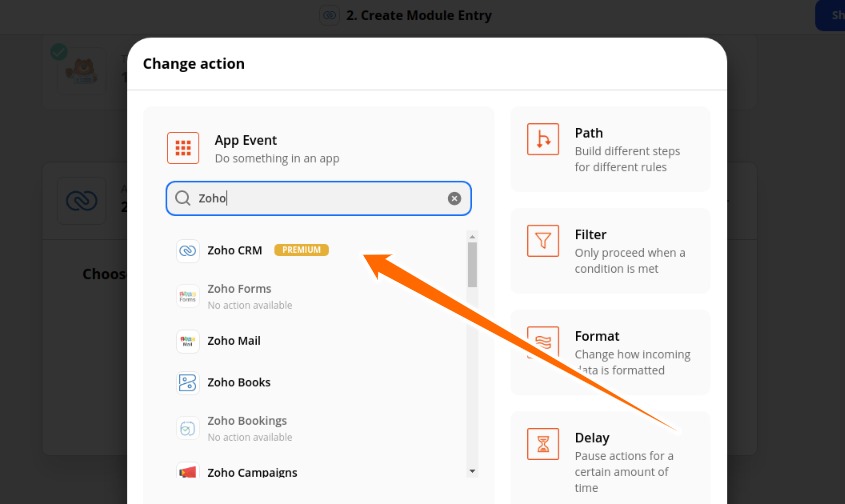
Search Zoho in the Action App Event Search window and select Zoho CRM.
Select Zoho CRM for Action App Event
For the Action Event field select the Create Module Entry and hit the Continue button. In the following step sign in with you Zoho account.
At the Set up action area select Contacts for Module, Standard for Layout, Workflow for Trigger, Name for Last Name, Work Email for Email, Work Phone for Phone, Message for Description. And hit the continue button to test the action.
Finally, turn on zap by clicking on blue button. There we go!
Submit a new entry to test the integration. Share this article with your friends if you enjoy it. Please comment below if you have any thought! Or let us know how do you connect your WordPress contact form with Zoho CRM.
Have a good day.
