

Are you an eCommerce business owner? Do you want to increase your sales?
The answer is YES, right! Then this is the article for you that will help you to increase sales. If your website is in WordPress, the WooCommerce order bump will do the job.
The purpose of an order bump is to make your customers spend a little more. And the good news is – you can add such an order bump to your WooCommerce run website.
But before we dive deeper into the guide on how to create a WooCommerce order bump, let’s grasp some basics.
What is Actually an Order Bump!
In real life, when you walk into a Mcdonald’s to order a burger, the salesman there asks whether you would like some fries or a drink with it.
And more often, you or any person is likely to respond with a YES to it.
So, this is a real-life order bump experience…
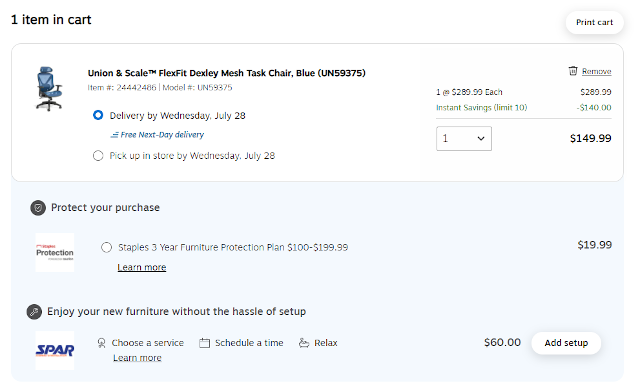
Now, on the internet, for an E-Commerce, – Order Bump is adding one or several additional products or offers at the checkout page. Those additional products act as complementary goods.
So, when a customer moves on to the checkout page, he spots several complementary products that might interest him. If he is convinced, he may purchase those and the main product that led him to the checkout page.

Now to get a better picture, take a look at this:
Order Bump VS Upsell!
Order Bump and Upsell both are ways to sell more products and maximize profit margin by placing additional offers or products in the buying process.
But there are some key differences.
- Order Bump: Order Bumps are presented on the checkout page. They are comparatively low cost and lack a huge description. Also, the products offered via Order Bumps are ‘impulse buy products.’
One can easily add those additional products to the main order by clicking on the checkbox and then move on to Place the Order.
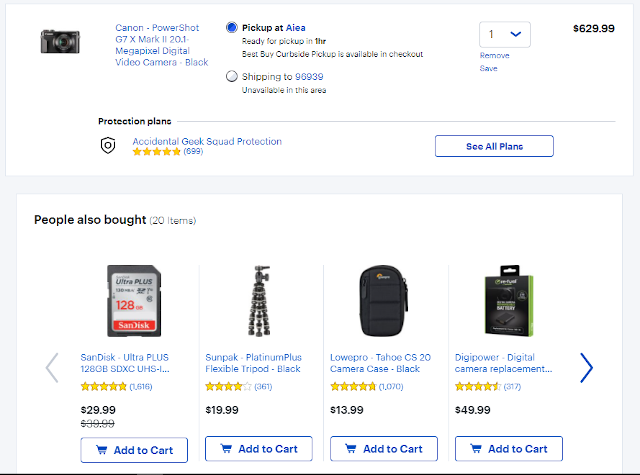
- Upsell: Upsells usually appear after placing the order. Meaning – they come up just before the confirmation or thank you page.
It is placed in a way so that a customer can pay for it just with a single click.

How to Create WooCommerce Order Bump Step by Step
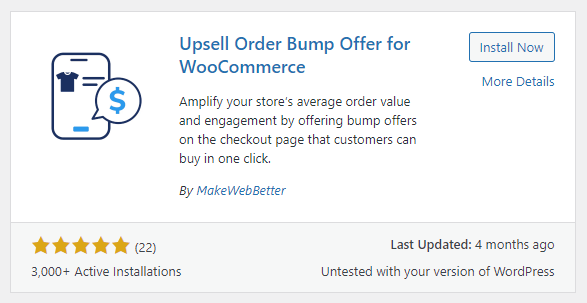
We will use the “Upsell Order Bump Offer for WooCommerce” plugin to create the order bump. So let’s get going, shall we!
Step 1 — Install Plugin
First, log in to your WordPress Admin Panel/Dashboard.
Then navigate to Dashboard » Plugins » Add New. And next, on the search box, type in “Upsell Order Bump Offer for WooCommerce.”

You’ll see the plugin in the search result. Hit Install Now and subsequently Activate.
Step 2 — Create a New Order Bump
Once the plugin is successfully installed and activated, go to Dashboard » Order Bump » Order Bumps Settings.
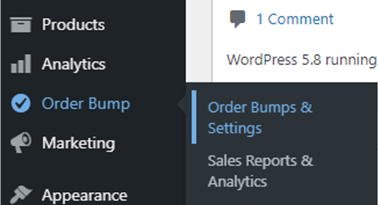
It will take you to the overview page. From there, select Order Bumps List.

Here, click on Create New Order Bump.

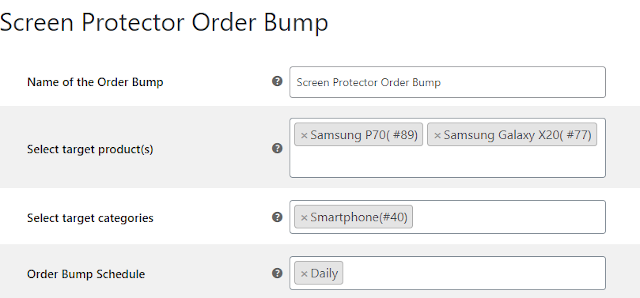
On the next page,
- Name of the Order Bump: Name your Order Bump.
- Select Target Products: If you want to show the order bump on specific products, write down each of the products’ names and then select them. You can specify either one product or multiple products as per your requirements.
- Select Target Categories: Let’s say you don’t want to specify individual products. Instead, you want to show Order Bump to all the products of certain categories. So, to do that – simply write down and select the category name/s. And yes, you can at the same time select some individual products above.
- Order Bump Schedule: Here, you can specify how frequently the Order Bump will show up.
Then on the hard right, you’ll see a toggle. It is in sandbox mode by default. Toggle it to the right, and it will go green and live. (Unless you toggle it right to live, the Order Bump won’t work)

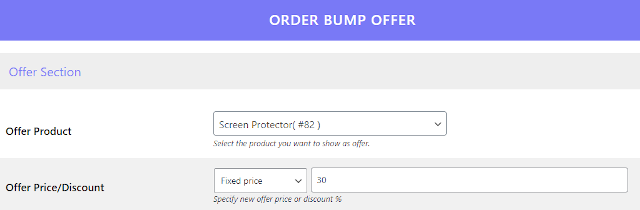
Now, scroll down a bit to ‘Order Bump Offer.’ Then, under Offer Product select the product that will show up in the order bump.
Plus, specify the offer price/discount.
Step 3 — Order Bump Customization
After the Order Bump Offer portion, go down to Appearance, and from the Template section, select your desired template.
Once you choose one, it will show its preview on the right.
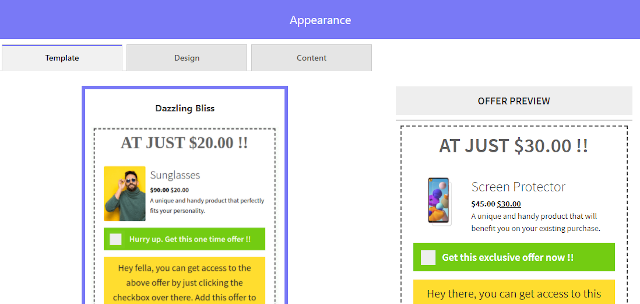
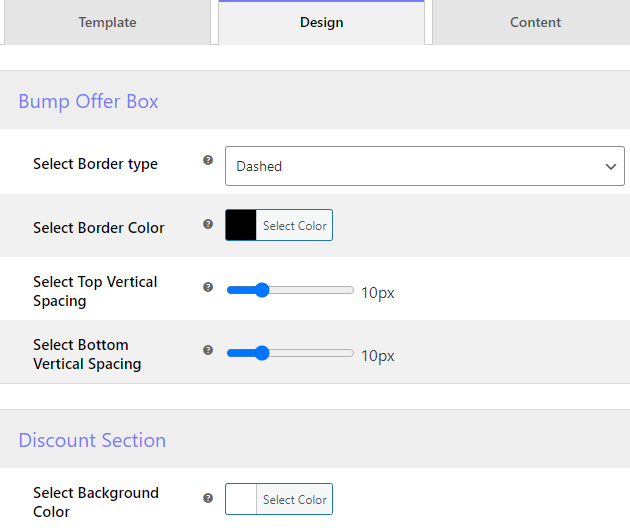
Immediately after the Template selection, click on Design on the right. If you want to keep things as it is, then just don’t touch anything.
But if you want to customize as per your desire, then edit the color, spacing, border type, etc., in the defined options.
Next, under Content, replace the texts if necessary.
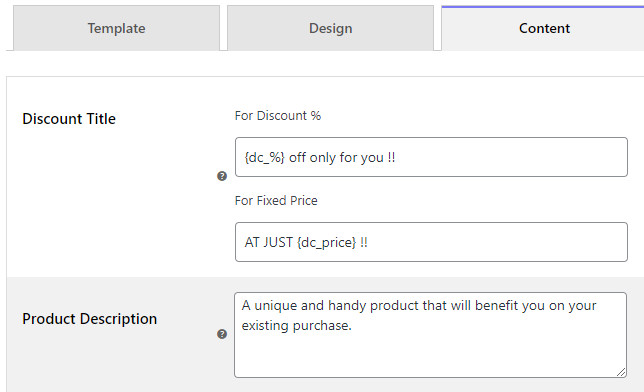
Finally, click Save Changes.

Step 4 – Give It a Test Run
After saving your first Order Bump successfully, head back to your main website. Then select a product that has Order Bump assigned to it and check on the checkout page whether the Order Bump shows up there and works or not.
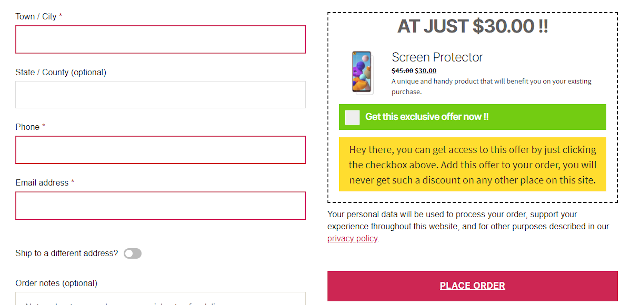
Here goes the one that I’ve created for my site. 🙂
Some Last Words
We have picked the “Upsell Order Bump Offer for WooCommerce” plugin for a reason. And that is for its feature richness and ease of use.
However, the plugin comes in two versions. We have used the Free version here. The Pro version allows multiple Order Bump Creation, Smart offer upgrades, and much more.
If you enjoy the post share it with your friend, and have any questions comment below. Connect with us on Facebook and Twitter.

