In this post I will show how you how to create a WordPress form easily using WPForms Pro. WPForms is one of the best drag & drop WordPress form builder but I say it is the best lead capture WordPress plugin.
In our previous post we have shown how to create exit intent popup form. If you would like to create an exit intent popup form for your website check it out here the tutorial.
However, on this post you will learn how do you get the WPForms Pro and how to create one using this plugin.
Let’s work on how to now.
Create a WordPress Form Using WPForms Pro
This tutorial has two parts and I already told you about that above. So, at the first portion we will get the WPForms Pro.
Step 1: Get WPForms Pro
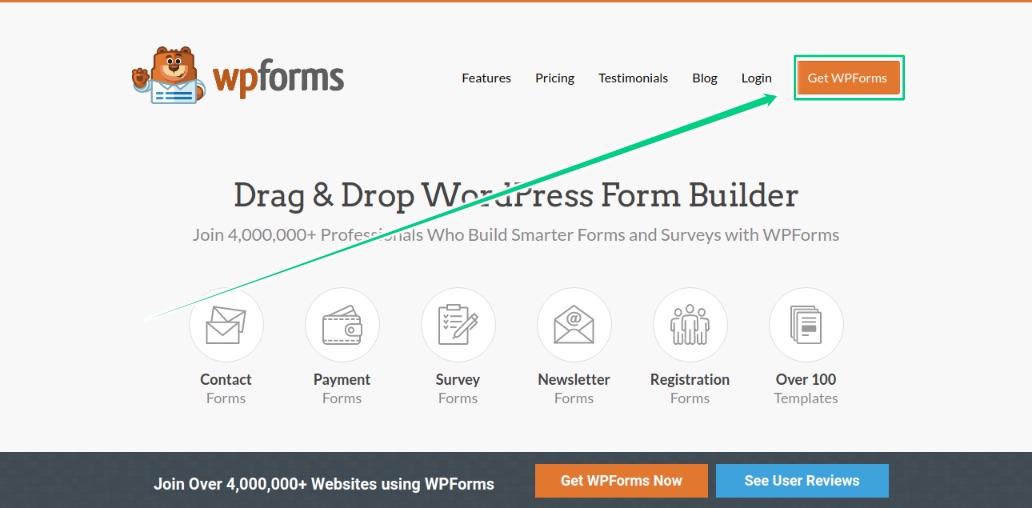
Go to WPForms.com and click on the Get WPForms.
Click on Get WPForms Button
You will be redirected to a new page like the following screenshot. Form here you will have to click on the Get Started button.
Click on Get Started
After clicking on that button you will be asked to submit your payment information to buy the plugin.
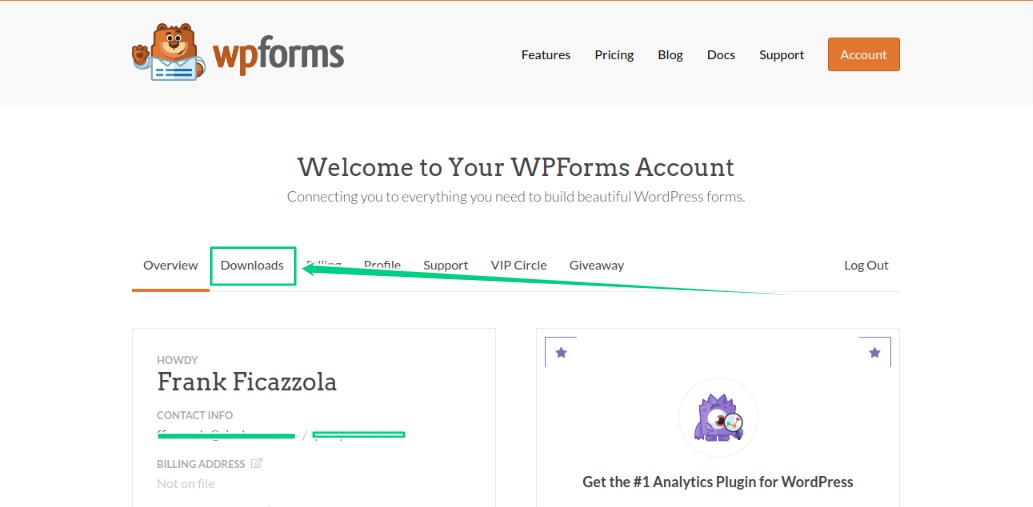
When you done checkout completion, you will have an account on their website. From the account you can download the plugin. As long as you login to the website you will see a Downloads tab to download the WordPress install able plugin file.
Click on the Downloads
Download the file and install it on your website. If you do not know how to install a plugin yet then see this tutorial.
After installing the plugin we need to activate the licenses by using the licenses key in the plugin settings.
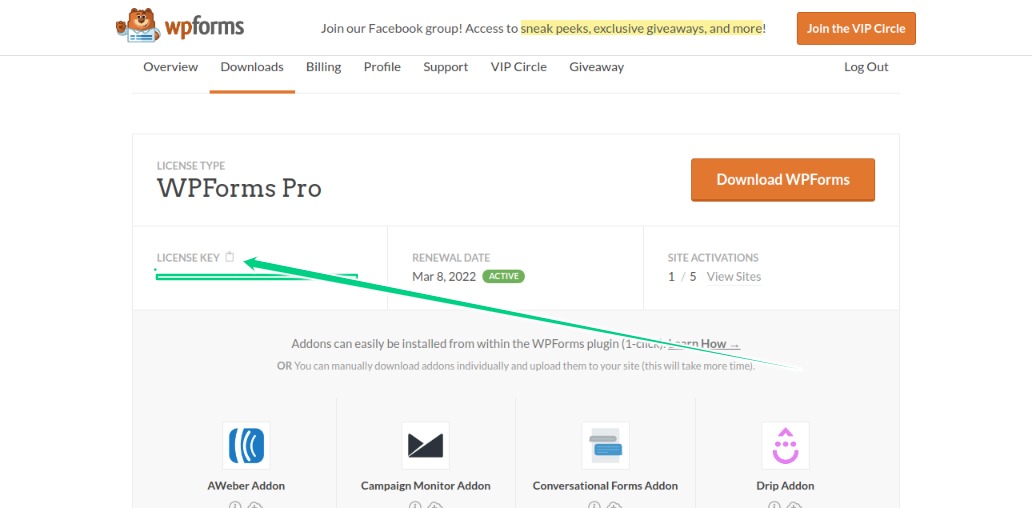
Now, the question is where do I get the licenses key. Well, on the same download tab you will get the licenses key.
Copy Licenses Key
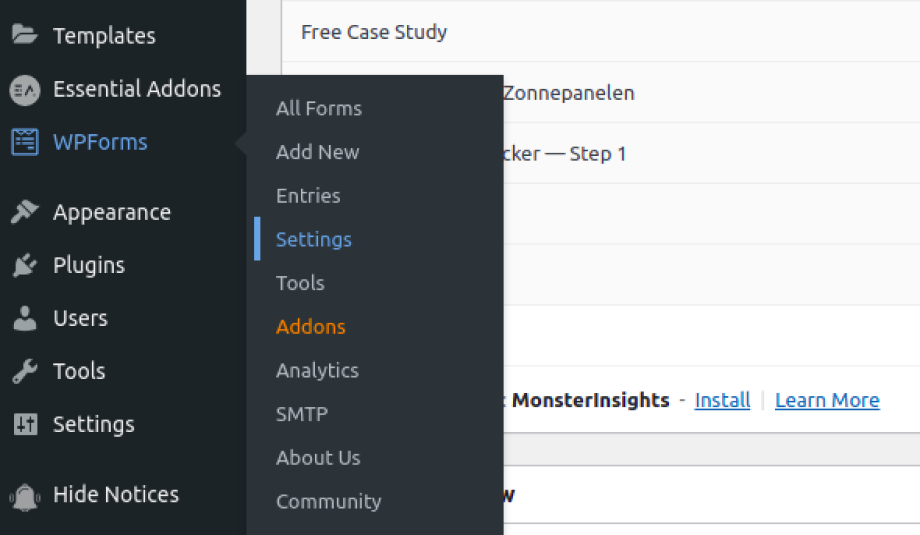
Copy the licenses key and in your WordPress website’s Dashboard you see the WPForms menu. Click on the Settings submenu item.
WPForms Setting Menu
You will be on WPForms Settings page after clicking on that menu. And there you will see License Key field. Paste the copied licenses key to this field and click on Verify Key.
Step 2: Create a WordPress Form
So, for example we need a contact form for B2B company website’s contact page. At the first step to create a form we need to click on Add New submenu under the WPForms menu in Dashboard.
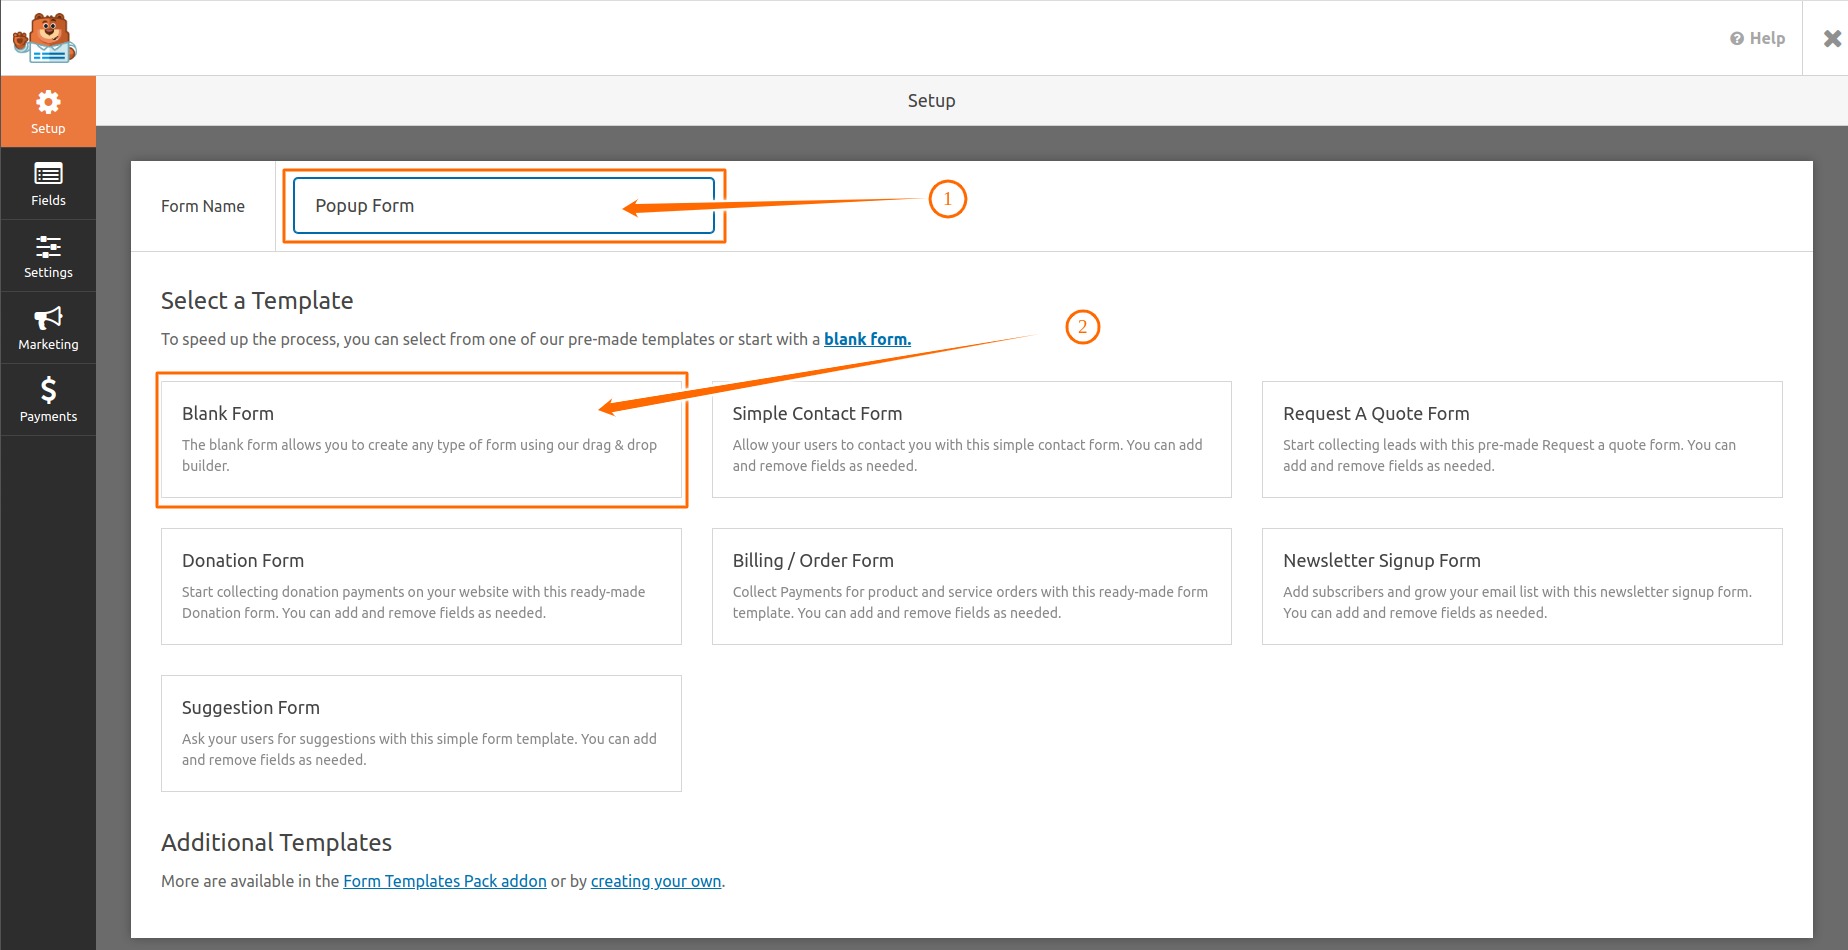
As soon as you click on the submenu you will be redirected on a new page. Where you will see Form Name filed. We write B2B Contact Form to the form name field and click on Blank Form.
Type Form Name and Create Blank Form
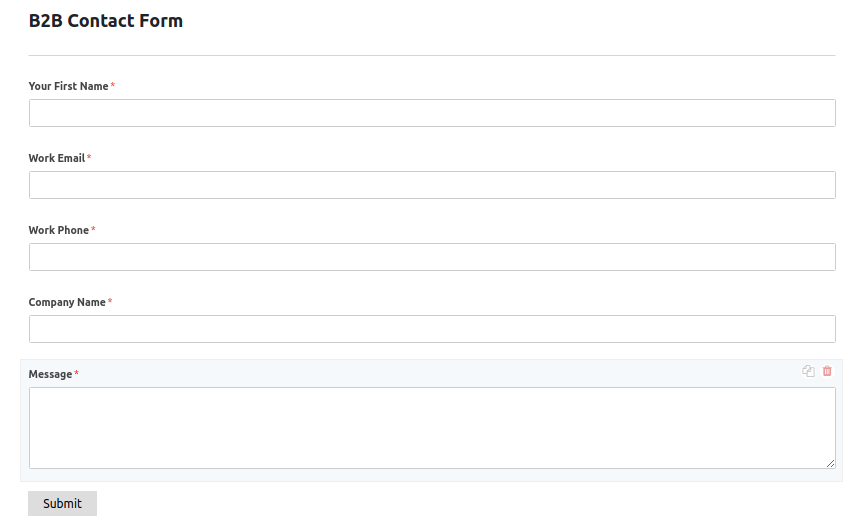
For this form we want to add Name, Email, Phone Number, Company Name and Message fields.
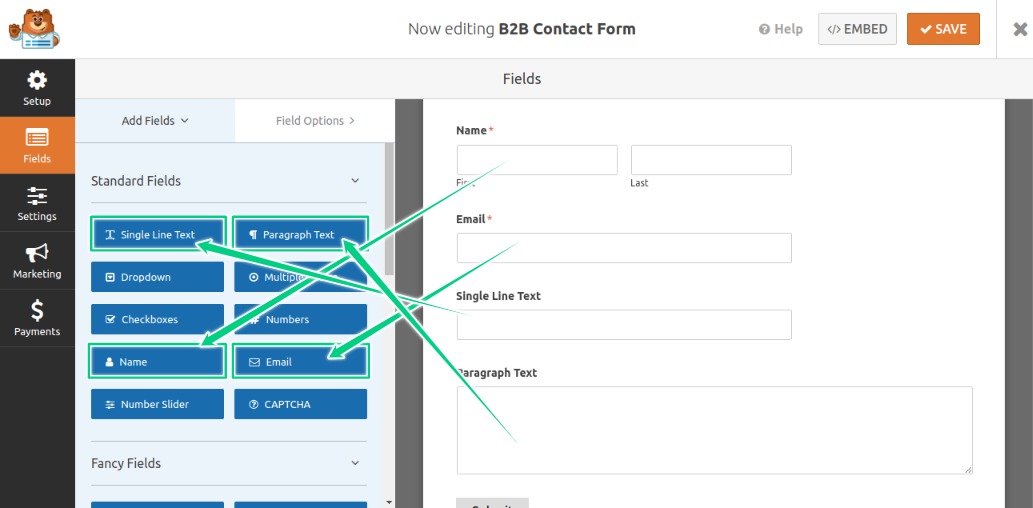
So from right panel of the next page click on Name, Email, Single Line Text and Paragraph Text.
Name, Email, Company Name, Message Fields
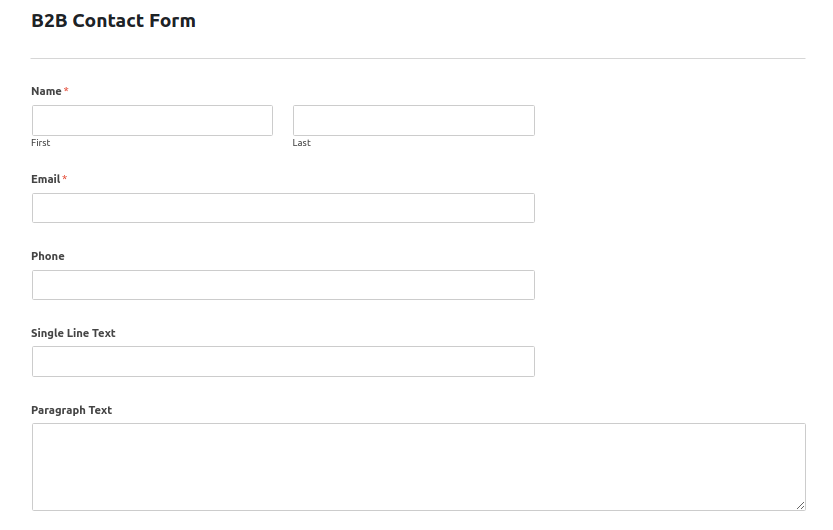
From the Fancy Fields area we click on Phone. Now we arrange the fields in order by dragging & drop.
Arrange Fields In Order
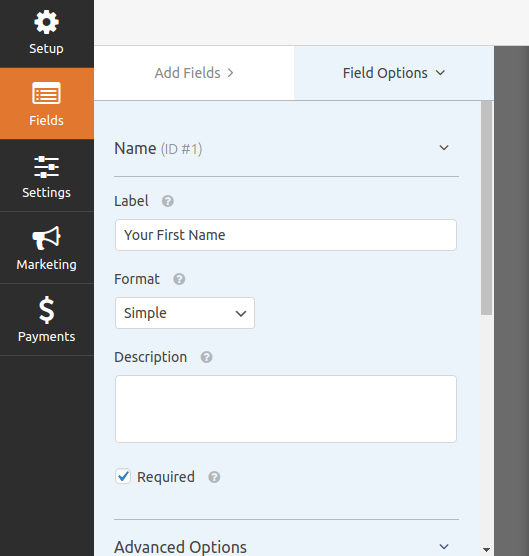
Now we change each field’s label, size and formats. For example we want to change the Name field’s label to your first name and rather than having two fields we want one field. To do this we click on this field and Field Options panel will open.
There are some fields to add label, format, description, field size etc.
Field Options Panel
We write different label for each fields and set large for Field Size for all fields. Following is the screenshot after making the fields changes.
All Fields Changes
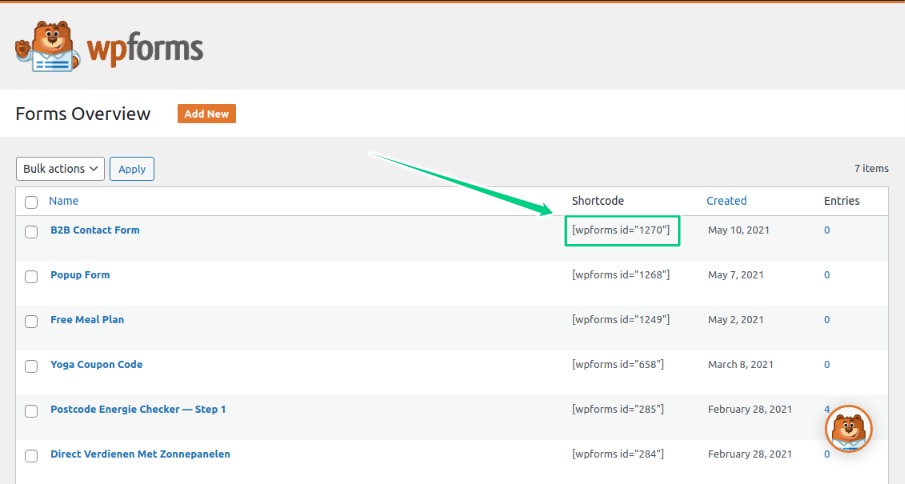
Hit the Save button to save the form and click on the Exit button to go Forms Overview page and copy the form shortcode.
Copy the Form Shortcode
Create a new page and paste the shortcode into the page that’s it.
We are end of this post if you found the tutorial is helpful share with your friends on social media.
Do you found any glitch on this post comment below? Let me know as well which plugin you use to create a WordPress form.
