The task of uploading or replacing content on a website that is based on WordPress – is pretty easy and straightforward.In our case, we are also using WordPress. Therefore?
Our task today – which is uploading and replacing the existing content – is undoubtedly easy and hassle-free.So, now, let’s get started!
First Portion
Part 1.1 – Contents on the Header (Logo)
Earlier, you have installed a template from the Astra Site Library. So, technically, right now, you have a working website. So, in this portion, let’s begin by replacing the demo content in the header section and add our own.
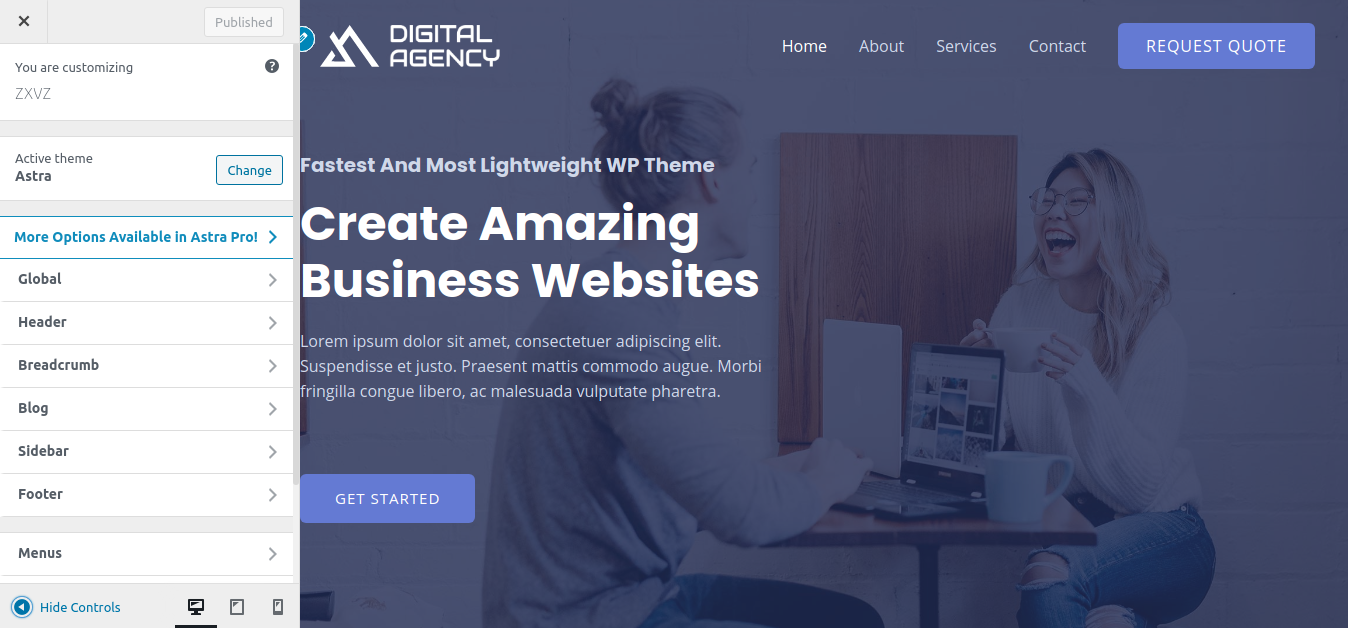
First, let’s change the logo.To do it, simply go to your admin panel (yoursite.com/wp-admin), then navigate to the Appearance >Customizer.
You’ll then get to see on the left the options for the customizer and on the right the preview of the website.
To add a logo, head over to Header > Site Identity, and then click on Select Logo.
Finally, select Upload Files > Select Files. Next, from your computer find and select your desired logo.
Now, you’ll be able to see your logo on the right side of the customizer.
From the next option, Logo Width, you’ll be able to adjust your logo’s width. Further down below, you’ll see another option – Site Icon. Click on Select Site Icon to upload your site’s icon that will appear in the browser’s tab.
To gain a bit of convenience, you can use the Hide Controls button. It will allow you to see the stuff in which you’ve just made changes.
PART 1.2 – CONTENTS ON THE HEADER (menu)
On the right side of your logo, the stuff you see are called menus. You can change these menus using the Customize option. But for your ease of use, we are going to change them from the Menus Options that is located in the Sidebar of your admin panel.
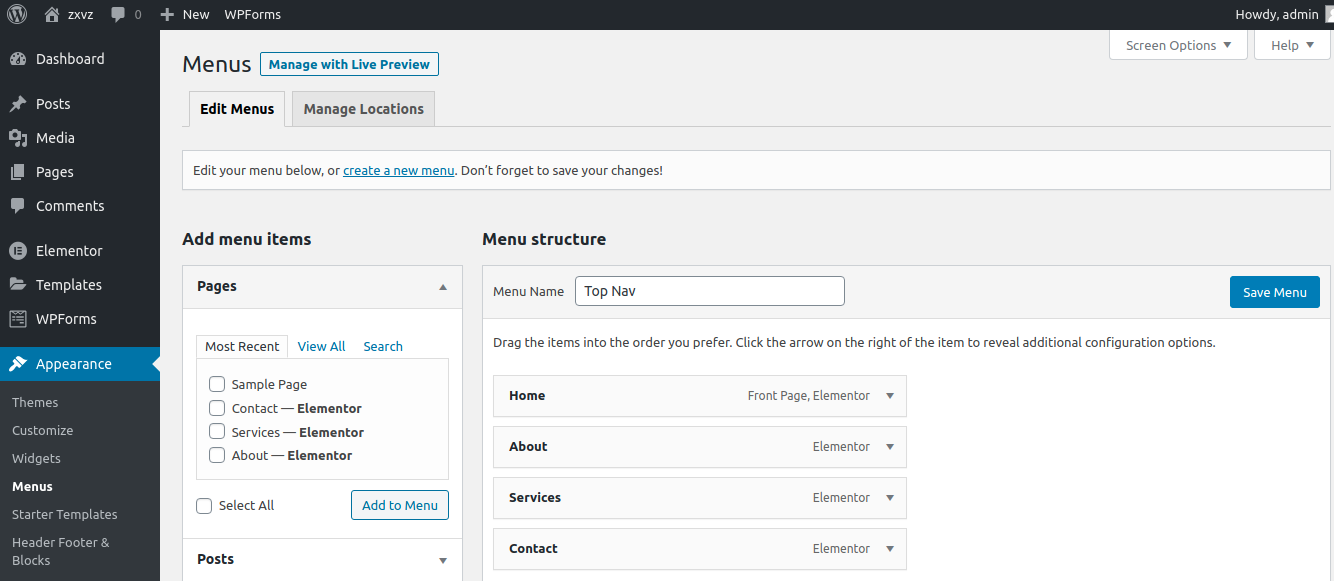
Navigate to Appearance > Menus to get to there.
Here in this page, you’ll see a menu named Top Nav (the name may differ and you can even use your own custom name) that is set as a Primary menu. Under this, we can see different pages, and all these pages are those which appears in the header.
From this menu section you can remove items and add items from the Add Menu Items section, for instance, pages, posts, posts category or custom links.
Now, for us, we are going to remove the Contact page. Then simply after removing it, we gotta hit Save Menu.
PART 1.2 – CONTENTS ON THE HEADER (Button)
For the template we have imported, we can see that on the header there is a button named Request Quote. You may not have the button on your site. But as we have it here, we are going to edit it. And by following the same process, you can add the button if you don’t have it with the demo you’ve imported.
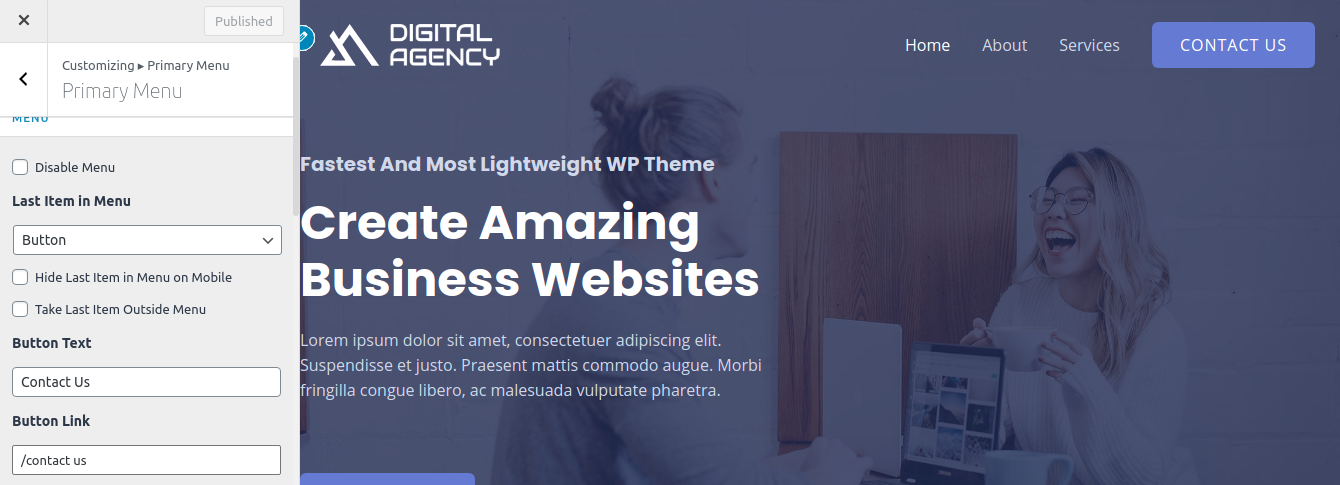
To edit the button, go to Apearance > Customize > Header > Primary Menu. Here udner the Last Item in Menu section, you’ll see all the necessary options to customize the button according to your requriements.
For us, we are going to chnage the name of the button to Contact Us and link it to our contact page. (Don’t forget to hit the PUBLISH button after all the edits in the Customize option)
Second Portion
PART 1.1 – The homepage content
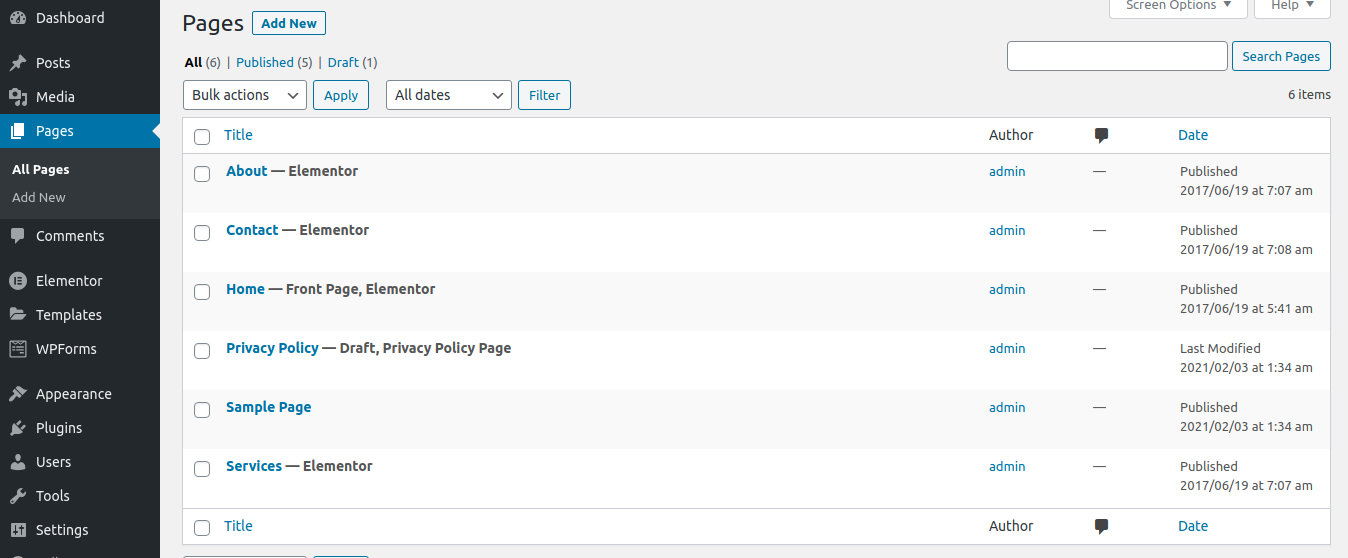
After the header, now it’s time for the Homepage. To edit the existing contents in the Homepage, navigate to Dashboard > Pages > All Pages.
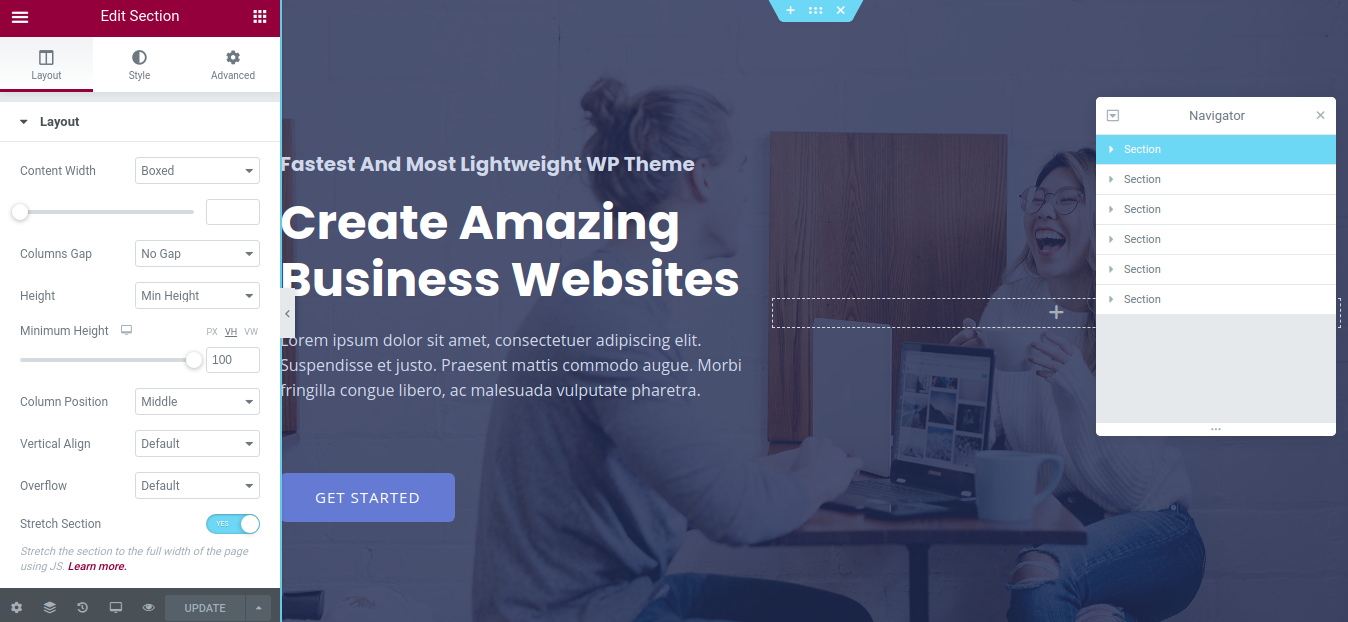
Here in the list of all the pages, hover over to Home (the page that is tagged as Front Page) and click on Edit with Elementor. Then you’ll be on the Elementor Editor Page.
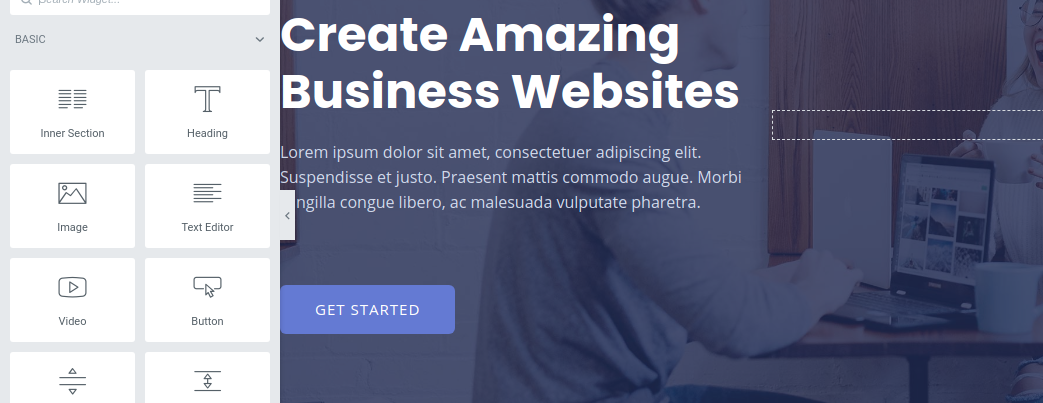
On the left side, the elementor panel appears. Here, you’ll find all the elements including basic and pro widgets. (The Pro Widgets requires Premium Version of Elementor). On the bottom of the of the panel, there are setting, navigator, history, responsive mode, preview chnages and update button.
PART 1.2 – A bit on the elementor
Before we start editing the contents via elementor, let’s first take a glimpse at how the elementor works.
Elementor Panel has a arrow button in the right end of it. Once you click on it, it will show you the full preview of the page. And once again, on the full preview page, clicking on the same arrow will take you to the Elementor Editor, where you can edit the live site by just simply dragging and dropping.
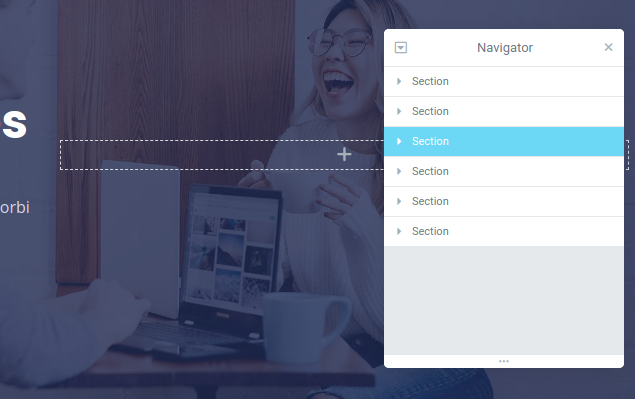
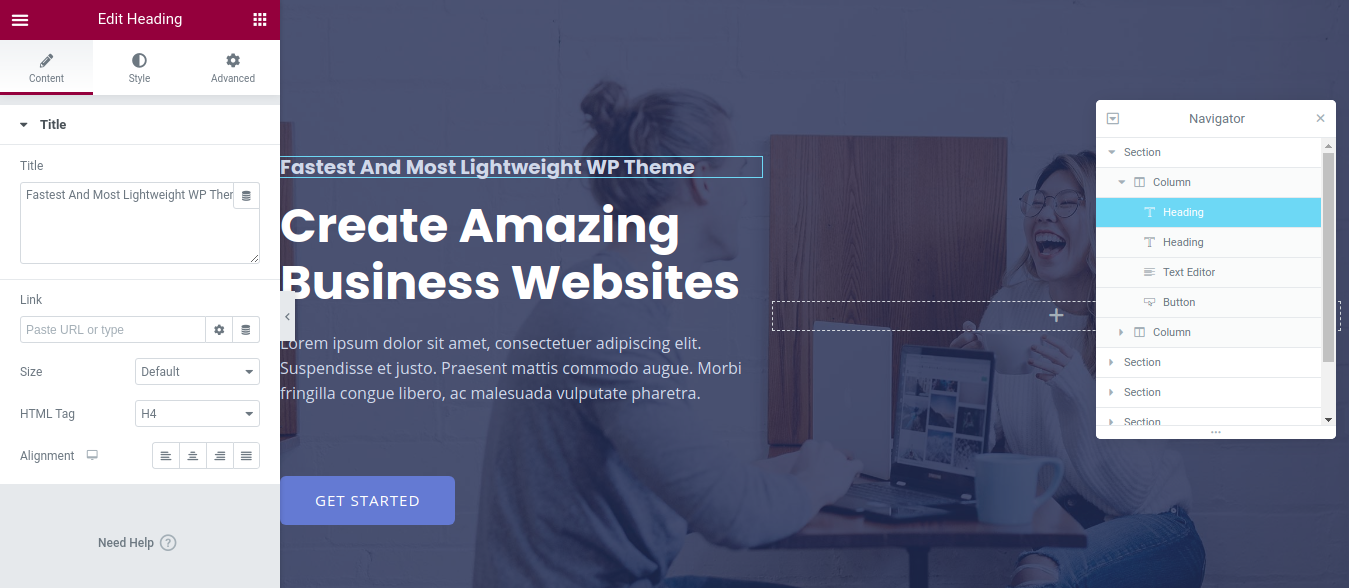
Now, for our convenience, we are going open up the Navigator. So, click on the navigator icon on the bottom of the elementor panel. This will then pop up on the right –
Now, you can see several sections in the navigator. Clicking each one of it, will show you that there are more items in it. There are columns, and inside of it there are many different items.
Clicking on each of the items will bring some new options in the left on the elementor editor panel. Through those options, you can edit, design and customize the content.
PART 1.3 – main editing process
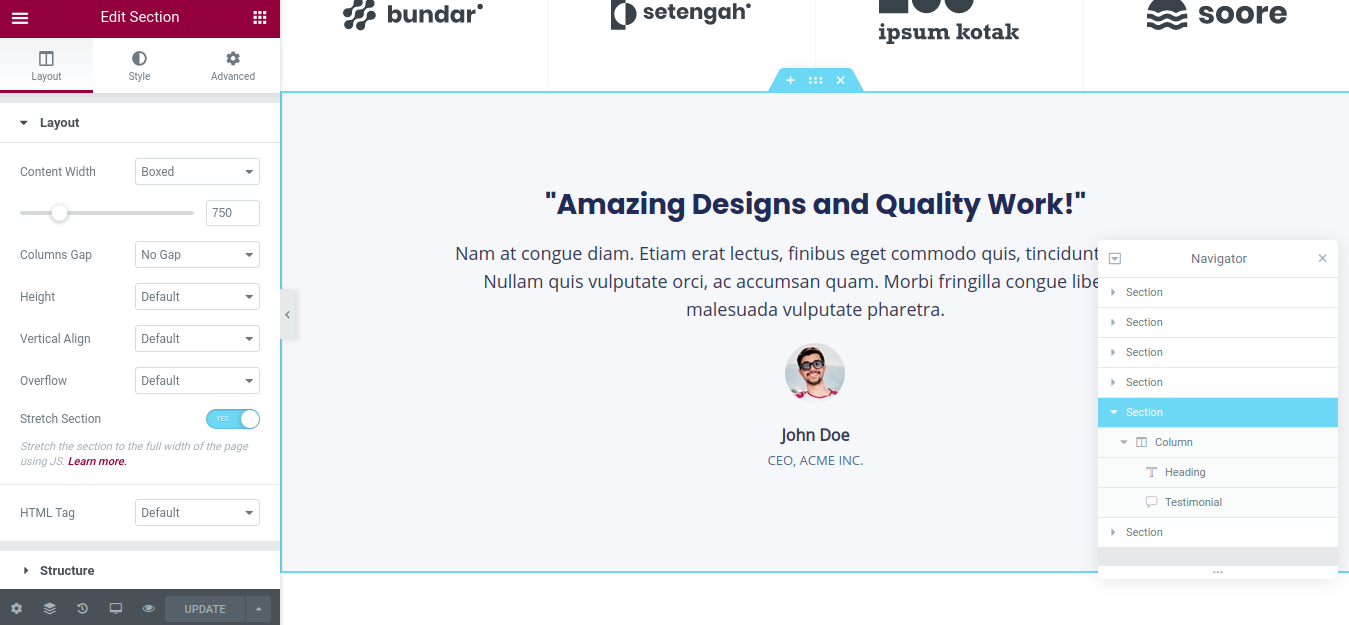
On the Navigator, click on the first section, and subsequently, elementor will mark the section on your homepage. So, now you can see – what portion the first section indicates and what are the contents in it.
Now, on the navigator, by clicking on the first section, the elementor will bring options in the left for the section.
From here, to change the section background image, go to Style on the top > Background. Then select and customize your desired image for this section. If you don’t want to change the existing image then leave it just the way it is.
Now, on the Navigator, click on the toggle on the left of the First Section. Then click on the first column and it’s toggle to open up all the elements inside of it.
Now, on the first column, you’ll see elements like heading, text editor, button or so many other things. Clicking on each of those elements will highlight or mark the exact content of that element on the site and on the left you’ll see options to edit the content.
For the button on the navigator, click on it, and it will open up all the customization option for it. For now, you can either put a link to a page or you can create a separate post and put the link of it here. (We will talk about it later on in this post)
After the first Section click on the next Section from the navigator. Then follow the previous steps for the heading and text editor. But for this section we have a bit different kind of content.
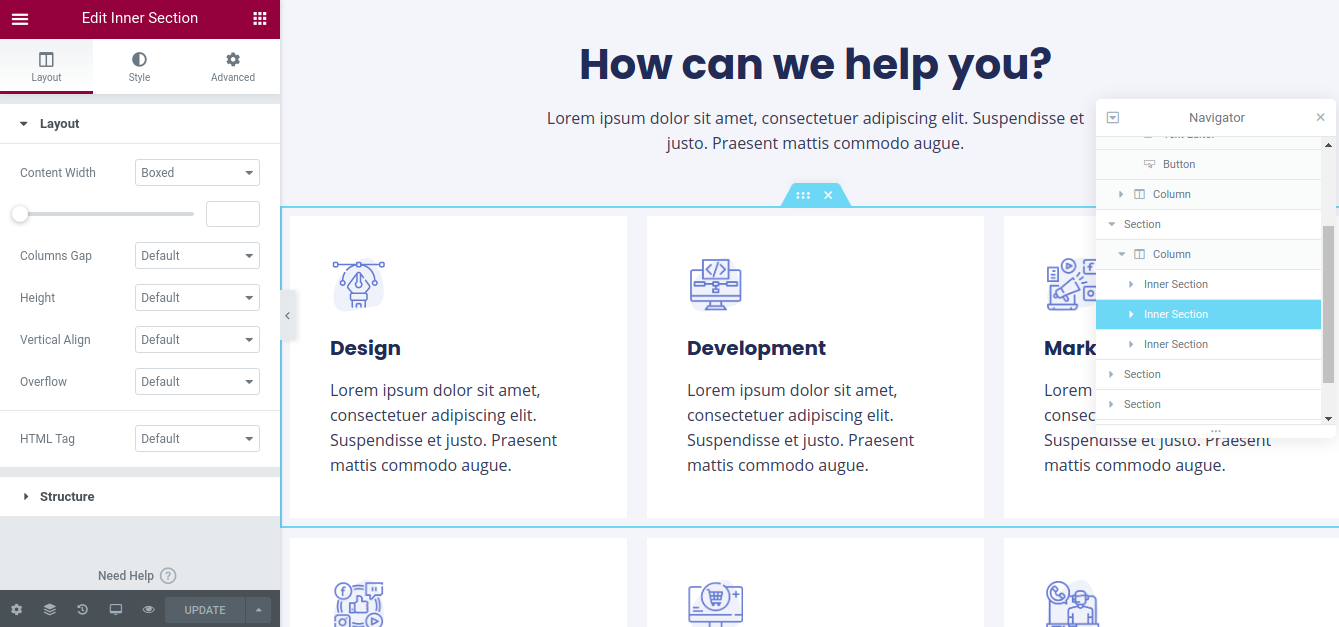
This time we have Inner Sections. Under each inner section, we have three columns. And each of the columns contain the service name.
So we have in total six services. And every three of them lives under the last two inner sections. For us, we don’t want the last three services.
Now, If I remove the last inner section, then I’ll have three. So to remove a element, section or anything else, just select the thing you want to remove from navigator, then hit delete on the keyboard. Finally, to edit – Click on the toggle in the left of the inner section > Column > Image Box. Then edit according to your preference. And continue the process with the other two columns inside the inner section.
The Next Section –
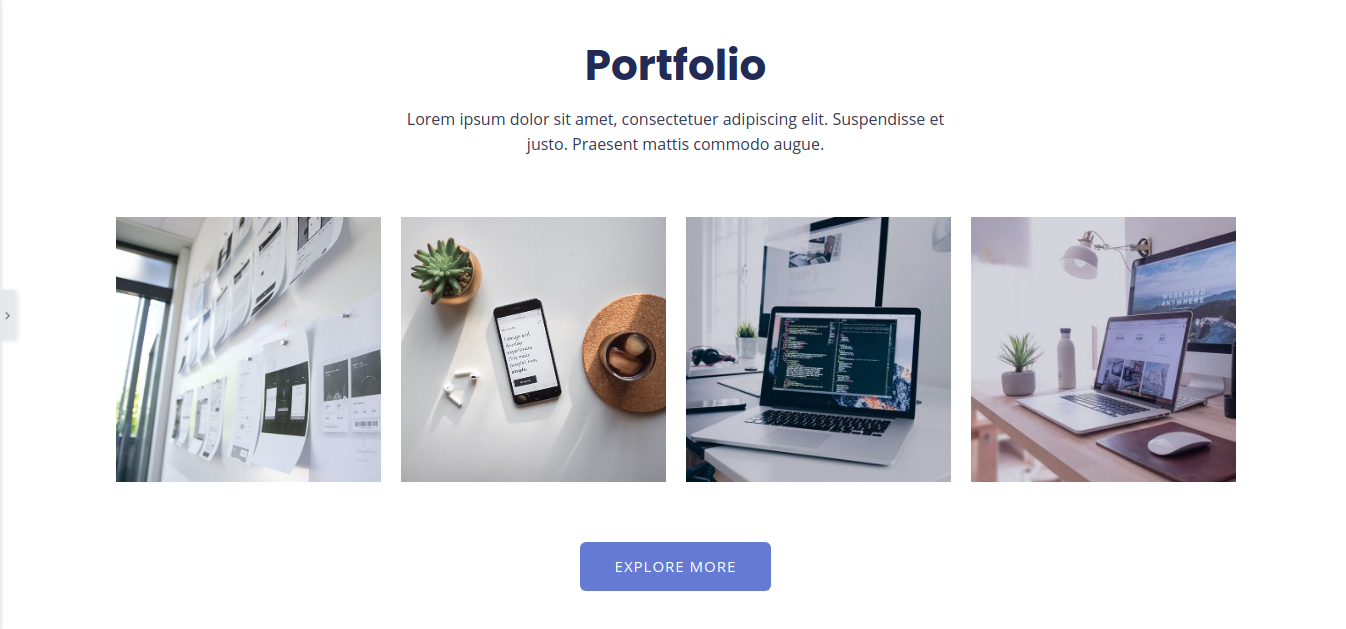
On the navigator select the third section. It’s the portfolio section for us. So, open up the section and each of it’s columns and elements by clicking on the toggle on the left of the section name. Then click on each of the item to edit accordingly.
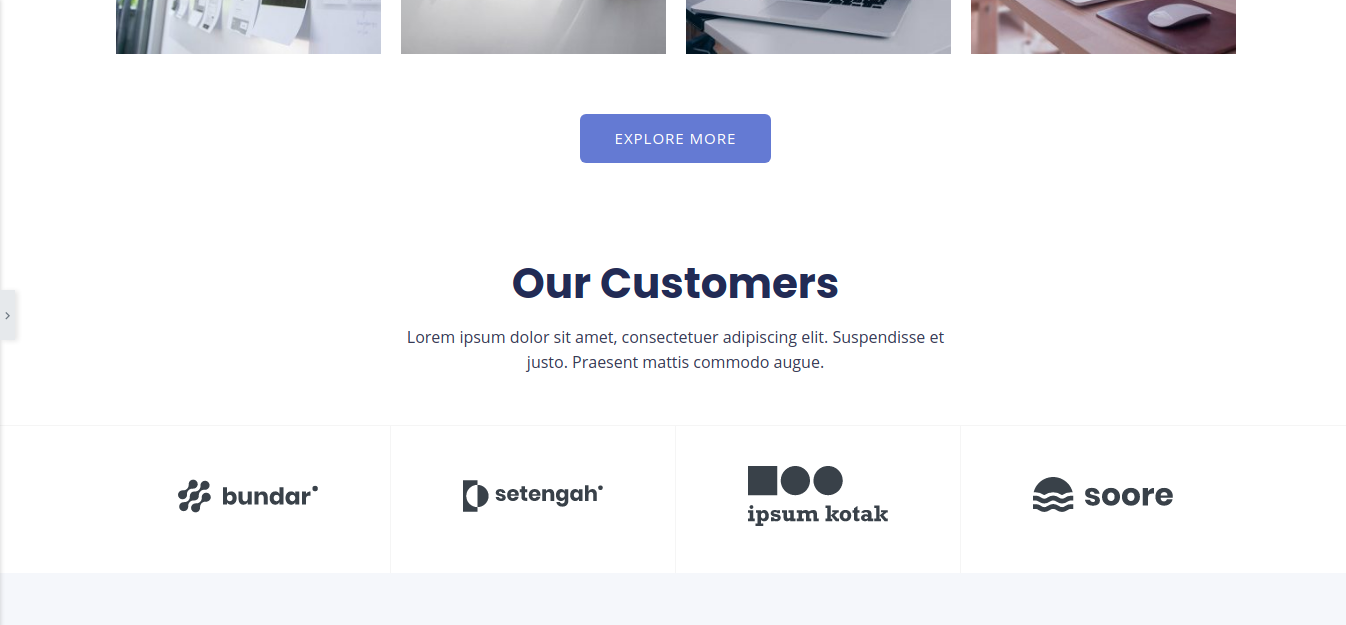
Below the portfolio, there is a button and below that there is a section to show off the customers. We don’t want these two stuff.
So by clicking and opening the section up, we can see that there is a button and a inner section that contains the our customer portion. So hit delete on the keyboard after selecting the button and next the inner section to remove them.
Now on the homepage there are still several more section to edit and replace the existing content like the testimonial section and so on.
Edit all the other sections the same way – just click and expand the sections, then open up all the other elements. Finally click on each of them and edit and replace content from the left Elementor Panel.
Third Portion
PART 1.1 – navigate to the footer
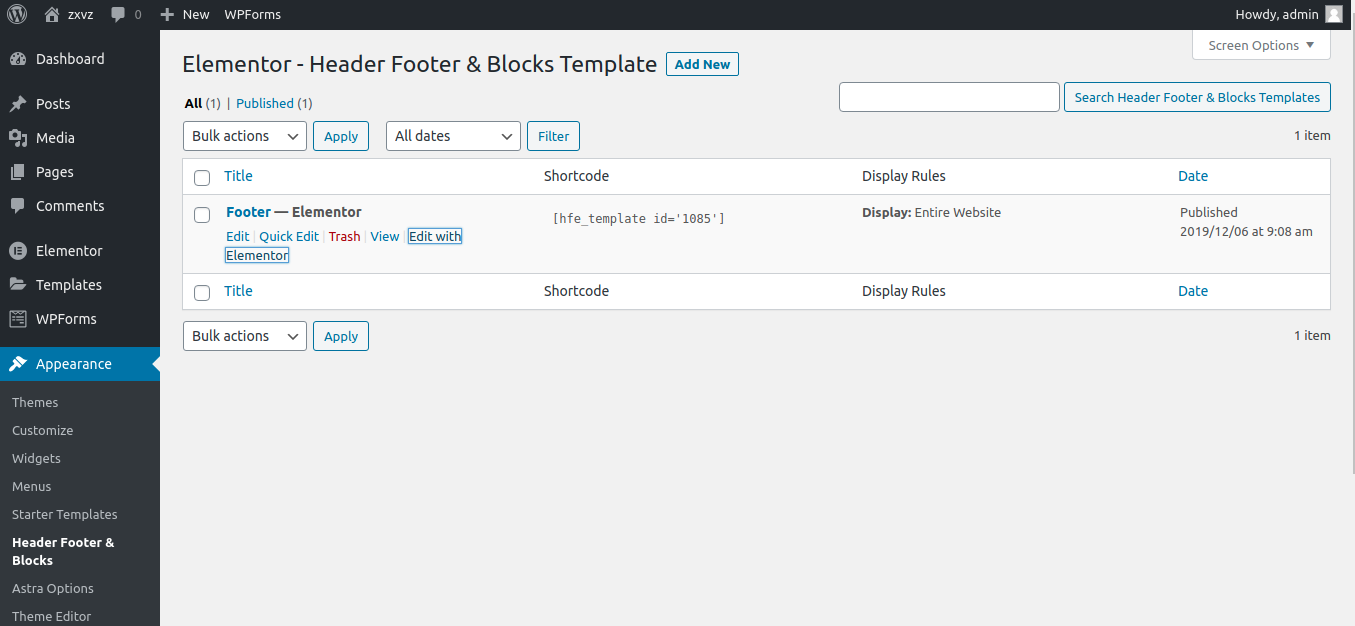
After the header and the body of the homepage, it’s now time for the footer section. To edit the footer section go to Dashboard > Appearance > Header Footer & Blocks.
From here, hover over to the Footer– Elementor, then click on Edit with Elementor. It will then take you to the elementor editing page just like the previous Homepage.
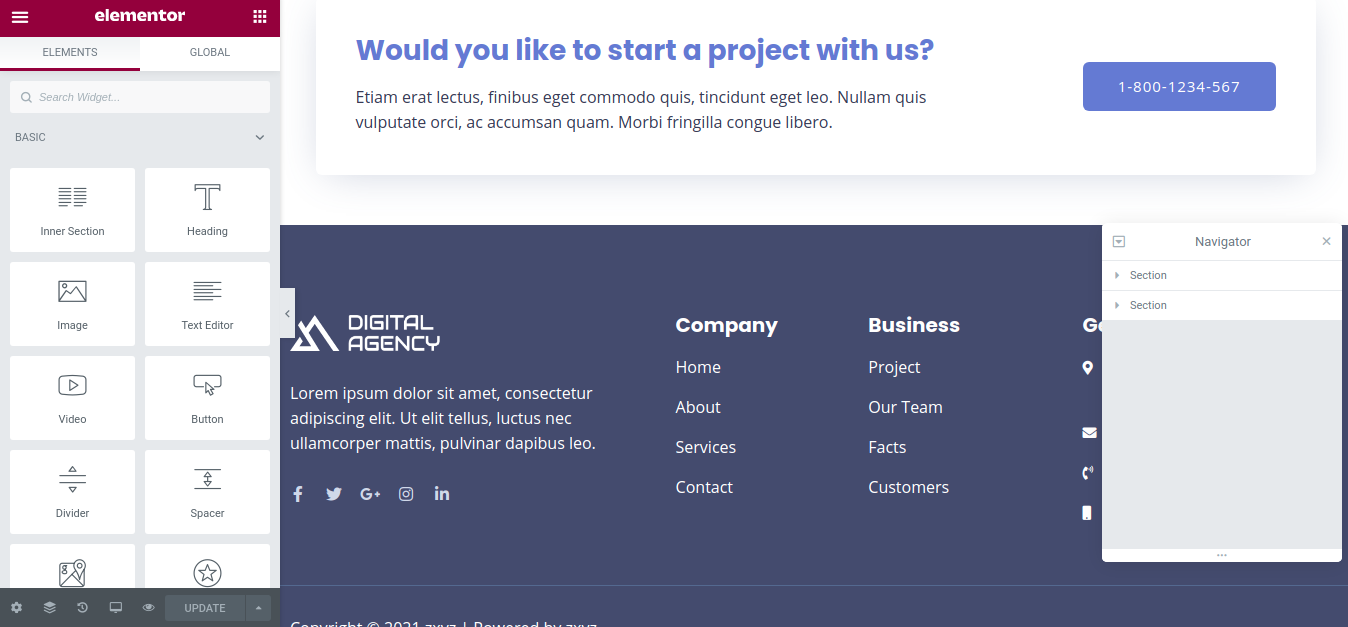
Here we can see two section. The first section contains the Call to Action portion. And the other section contains the whole footer bar.
First, click and expand the first section. Then expands all it’s columns and items under it. Finally click on each of the individual items and edit it on the left editor panel.
For the second section in the navigator, we are going to remove two of the columns from the inner section out of four. So to remove anything, simply click on that from navigator. And then hit delete. Finally edit all the contents inside by clickin on each of individual items.
Fourth Portion
PART 1.1 – editing other pages
To edit and upload content to other pages, simply navigate to Dashboard > Pages > All Pages. From All Pages, hover over to the page that you want to edit. Then simply click on Edit with Elementor. Finally, Edit any of the pages just like the way we did with the Homepage.
PART 1.2 – editing contact page
To edit the contact page navigate once again to the contact page via Dashboard > All Pages > Hover over to contact page > Edit with Elementor.
Then from the navigator select each of the section and the items under it to edit and replace contents.
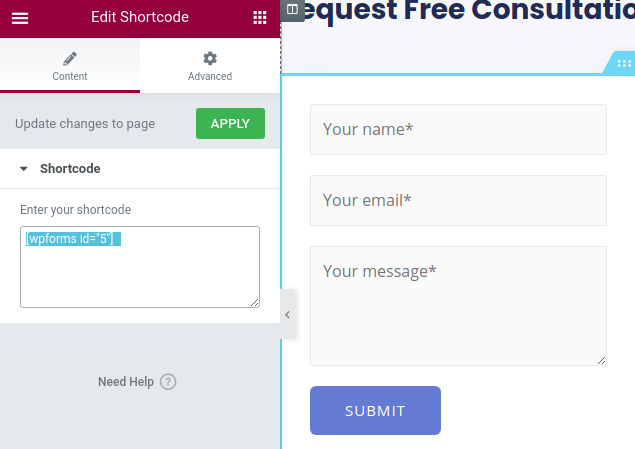
Besides, Find out the map item in the navigator, then select it and edit the address. Finally find out the Email Form Click on it. You’ll see something like this –
It says – wpforms id – 5. It means that there is a plugin called WPForms – that got installed while we imported data via Starter Template of Astra. So here, by default, all the emails sent throught this form will go to the email address that is associated with the WordPress Admin Account. That means the email you put while installing WordPress.
We Are Done Now
Now, we have a complete website, with all the required data and content. So, it’s now time to submit the website to google and other search engines, so people can find your website via a web search.
To travel with the process of submitting your website to the search engines, follow our NEXT article of the series on How To Make Your Own Website.
