NB. This is a subpart of the series of How to Make Your Own Website by yourself.
WordPress is a content management system. And based on this content management system or CMS, we are building our website.
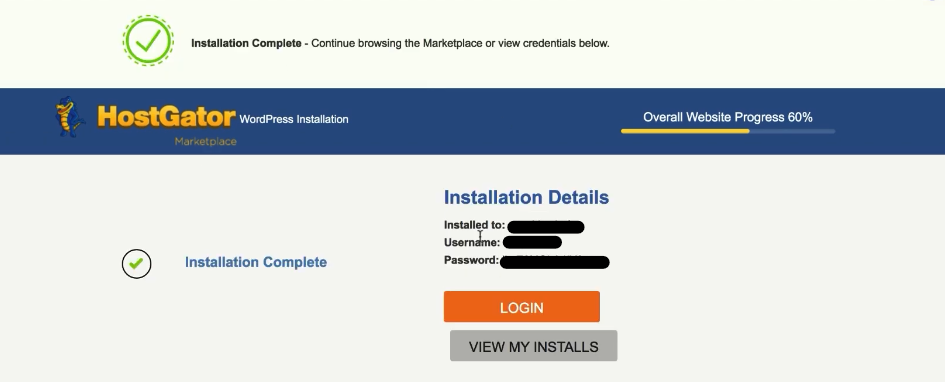
So, when you have finished off the installation of WordPress into your website via Hostgator control panel you ended up seeing something like this –
Here, you can see the username and password for your WordPress admin panel. (blacked in the screenshot)
The WordPress admin panel is actually your website’s admin panel. The WordPress admin panel is often called WordPress Dashboard, WP admin, or WP admin panel.
Now, the WordPress dashboard or your website’s admin panel means the place or the area from where you can control and manage your entire website. It’s an important place from where, you can design your website via different themes, plugins, etc, and can create, publish, and manage content.
And that is why it is quite essential to understand, how to find the admin panel, what are all the options in it and how to use them to manage your site.
How to Access the Admin Panel
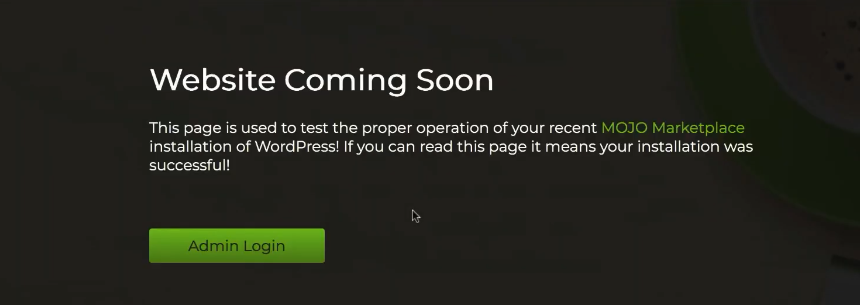
When you have WordPress installed via Hostgator and visited your site for the first time, on the homepage you have seen this.
If you click on the marked ‘Admin Login’ button then you will be redirected to the login page for the admin panel. Once you are logged in using the given username and password, you’re into your WordPress dashboard or main admin panel.
But once you start building the website, the admin panel button will be no more on the homepage.
So, how do you access the admin area then? Easy.
You just need to manually go to ‘www.yourwebsite.com/wp-admin’ to access your admin panel.
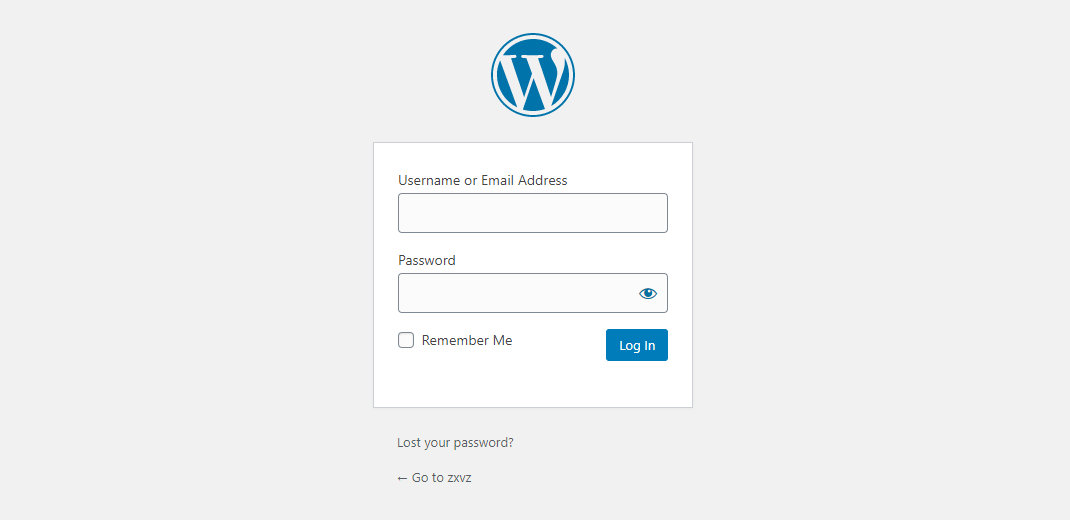
Now, if you’re logged in then you’ll be redirected straight into the admin area via that url. But if you’re not logged in then once you type that in and enter – you’ll see a login page. And the address will look like this – ‘www.yourwebsite.com/wp-login.php’
The Top Bar
When you log in to your admin panel the first thing you notice on the upper side of the screen is the top bar.
The top bar contains a link to your homepage, comments, new post/page/media button on the left. And on the right side, if you hover over to your name, you will see options to get into your profile and log out.
The Dashboard
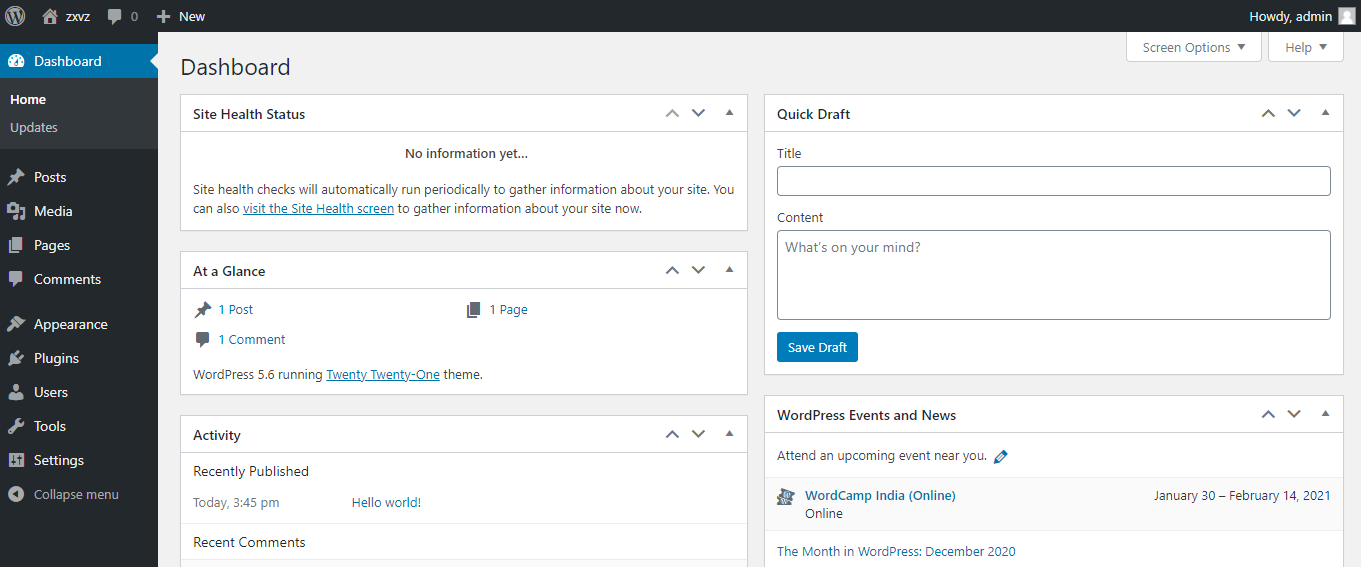
Just after your login into the admin panel, the first page you will be on is the dashboard page.
Although this page includes some quite necessary things and information, it is the least important page based on the spent time in the entire WordPress admin panel.
This page contains basic statistics, some news, and updates, and quite a few quick task option.
Posts and Pages
On the sidebar, you can notice the Posts and Pages. These two options are pretty essential and they are used quite often.
Now, if you hover over the Posts option you can see four options coming out. Here, if you click on the All Posts, you’ll be taken to a page, where all the blog posts are listed in a chronological order. So, this is the page where you can see all your posts.
Next, the Add New of the Posts Option. This one is used to create a new blog post.
For the Pages portion on the sidebar, it is quite similar to the Posts Option. If you hover over to it you’ll see two more options. One is All Pages and the other is Add New.
The All Pages contains all of the pages of your website. Here you can see and edit your pages. For example, the about page, the contact us page, etc.
The Add New here, is used to add a new page. So by clicking on it, you’ll be redirected to a page where you can create a new page for your website and upload necessary contents in it.
Media and Comments
The next two things on the sidebar of your WordPress admin panel are Media and Comments.
Through the Media, you can add, delete, and edit any kind of media. All the media files that will be on your website can be accessed from here. Here you can manage all of them together.
Next, the Comments. If you enable the comment option for the posts, then people or visitors to your website can comment on the posts of it. So, all the comments can be edited deleted ultimately can be managed from the Comments section.
Appearance
The Appearance section located in the WordPress dashboard sidebar contains more options that allow a user to access the majority of the options that control almost every single public display portion of your website.
The Themes option is used to add a new theme to the site that helps in designing the whole website. Then the Customize option allows you to customize the header, footer, and many other portions of the website.
The Widgets option provides widgets to add them to the sidebar along with their contents. Besides, it has many more customization capabilities.
Then the Menus option allows you to create and manage navigation menus for your website. You can add, edit, delete, and customize the navigation menus through this option.
Finally the last option the Theme Editor gives you advanced access to the theme of the site. So, if you are an advanced user and kind of a programmer, then you have a lot to do with this option.
Plugins, Settings, and Tools
The Plugin in the sidebar section is an essential something that adds new functionality or sometimes extends the existing functionality of your website. More simplistically – plugins are like apps for your website. They allow you to add new features like form, slideshow, payment gateway, etc to your website.
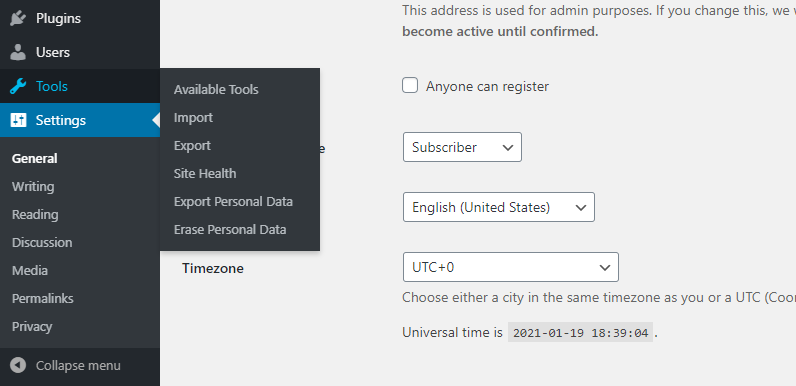
Now the Settings and Tools. These are some more customizing options that enable you to add or modify some key functionality in your website. We will focus more on it later in other articles of the series.
Tailpiece
Till now, hopefully, you have achieved quite a standard and fine overview of your WordPress dashboard or the admin panel of your website. And this is enough for you to move onto the NEXT PART of our series of How to Make Your Own Website.
Now, you can easily design and customize your website with the help of our tutorial. Therefore check out the next portion of the series HERE.
