You have your very own space a hosting and a domain name in the world of the internet. Also, you got WordPress installed.
So, now it’s time to build, design, and customize your website.
First Portion
STEP – 1 (Log in to your WP dashboard)
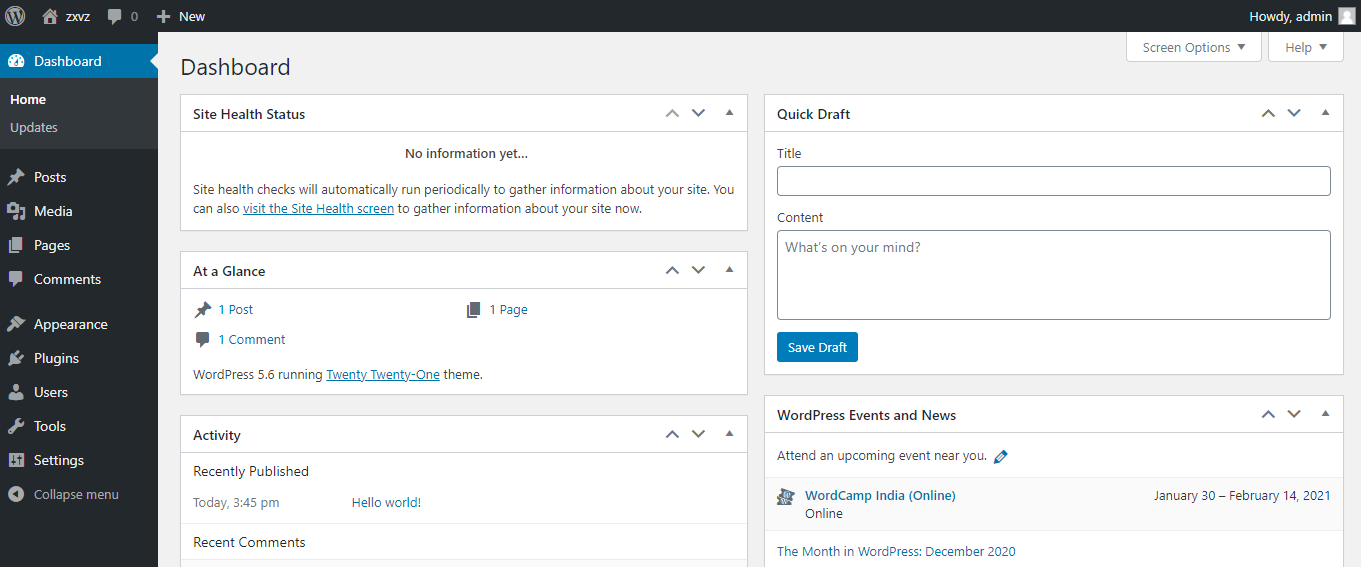
To get started, first, you need to get into your website’s admin panel, also known as the WordPress dashboard. We have earlier, in our PREVIOUS ARTICLE shown, how you can log into the admin panel.
The only thing you need to do is – to go to this web address, “yourwebsite.com/wp-admin.” And then simply use your username and password to log in.
Once you’re logged in, you’ll be in the dashboard.
STEP – 2 (Install a WordPress Theme)
You already have a functioning website. But it doesn’t look the way you want it to be. The reason behind it is – you do not have the right theme and proper customization of it.
So, we are going to install a theme and then customize it. However, there are thousands of WP themes available in both free and paid version. But for this series we will use Astra, one of the Top Ten Most Used WordPress Themes in the World. Also, it is a multipurpose WordPress theme that allows anyone to create any type of website. And we are using the Free Version of it. (NB. The Paid Version offers more features and options)
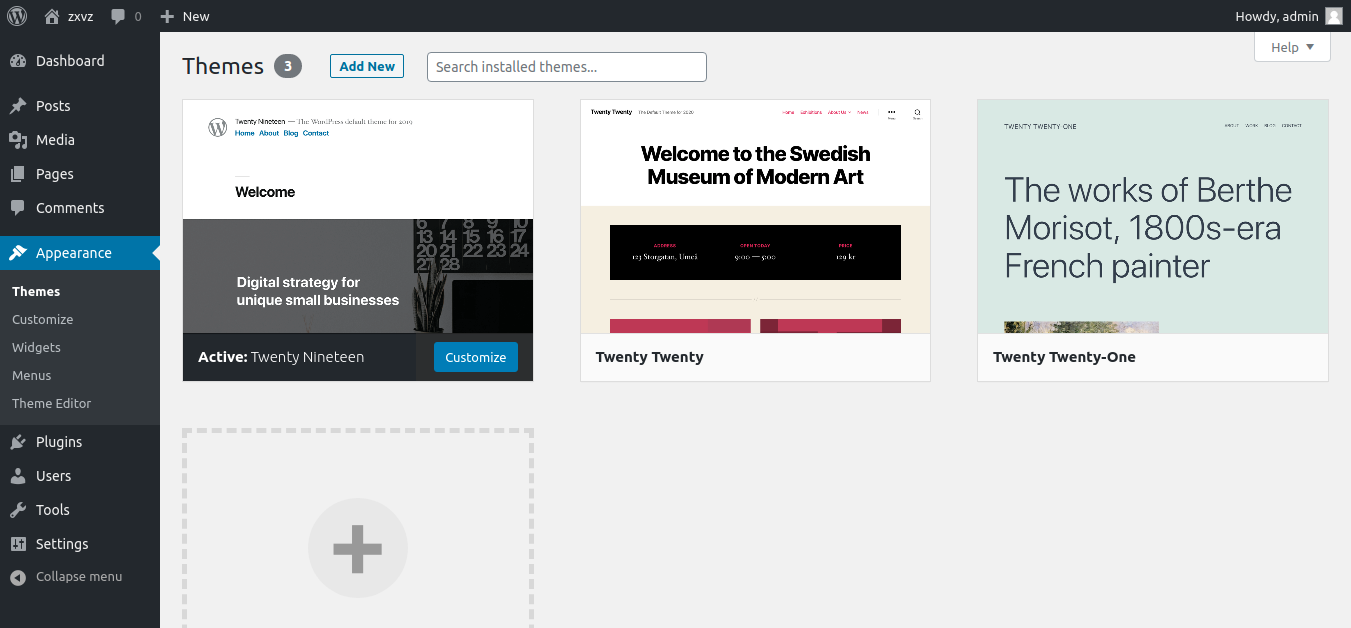
Now to install a theme, first, hover over the Appearance in your WordPress dashboard. (located on the left side). Then click on the Themes.
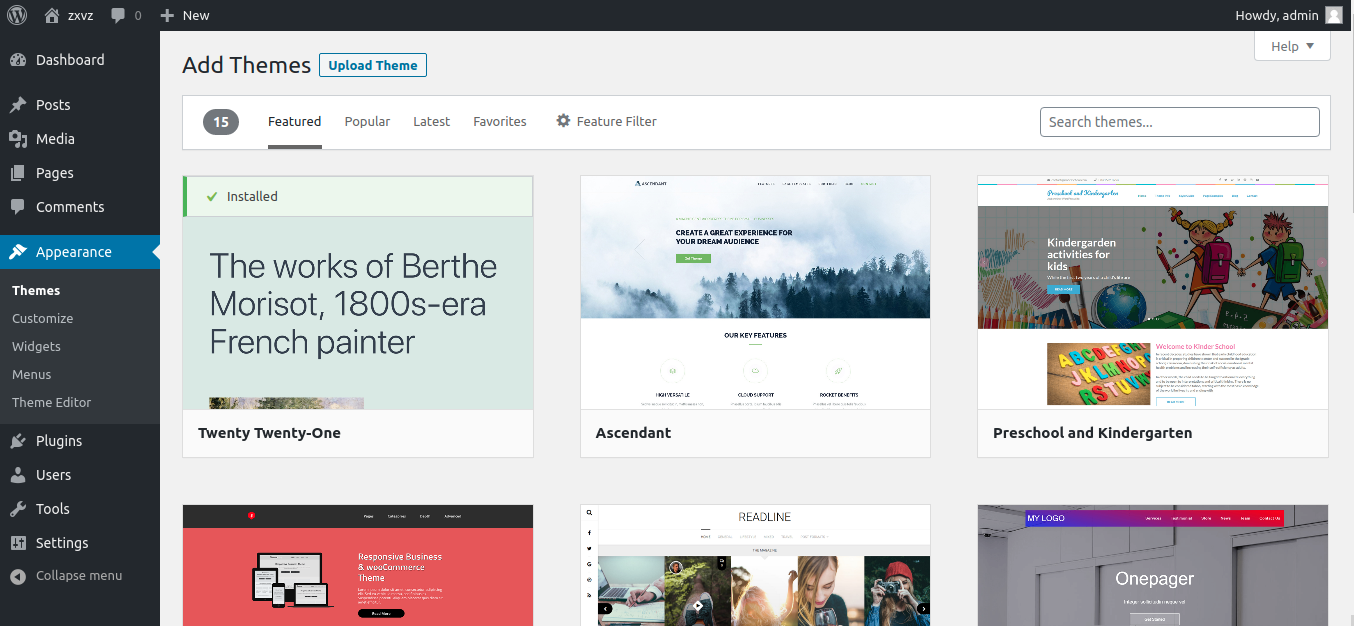
Here is how the Themes page looks like.
Next, on the top side, you’ll see a Add New button. Click on it. It will then bring you to the search page of the WordPress theme directory.
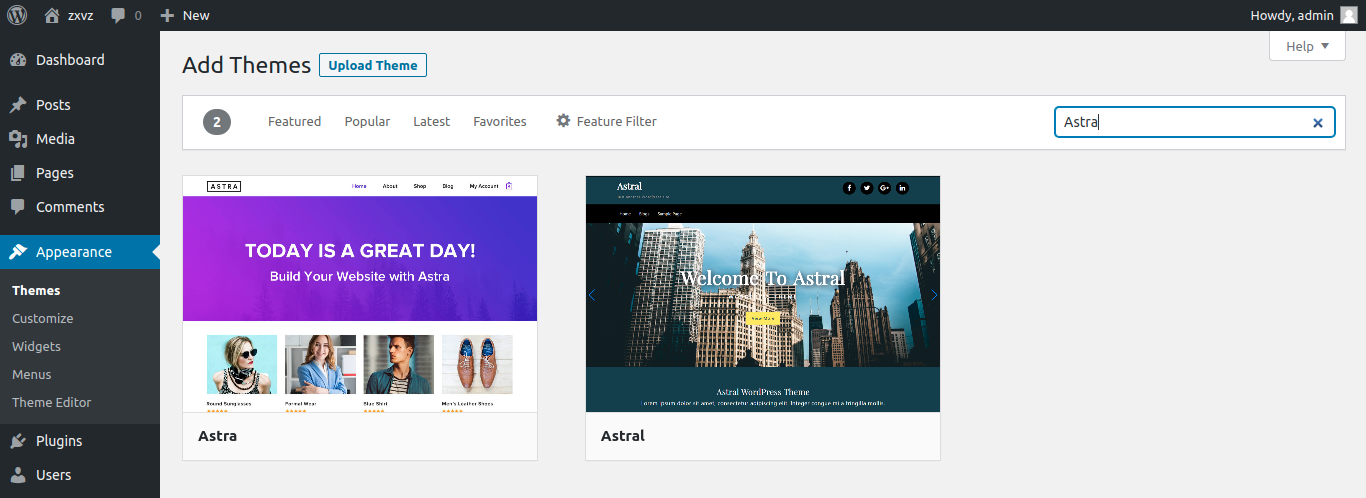
Now, click on the Search Box located on the top right side. Then type in “Astra.”
You’ll then see something like this.
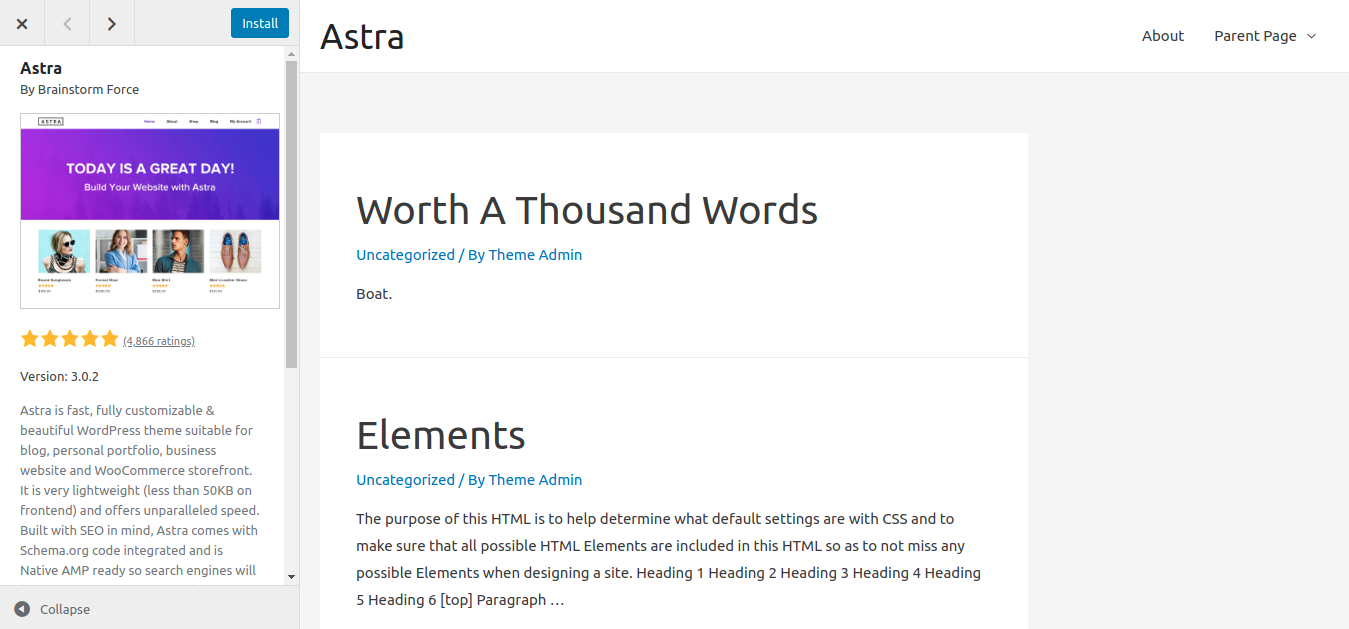
Click on the Astra and next, you’ll be brought to this page. Here, hit Install on the top. Then wait a few seconds.
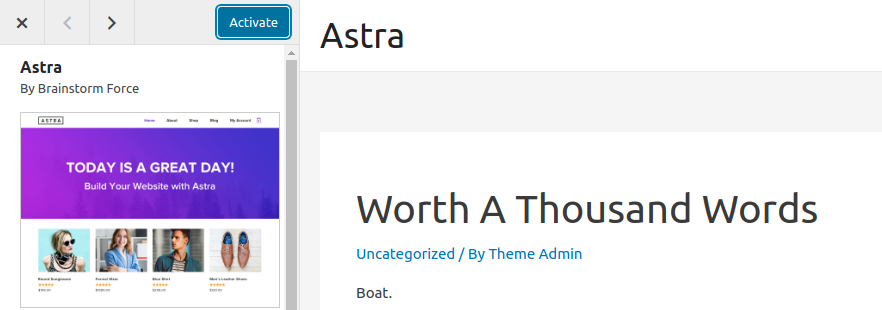
Once the theme is installed, you’ll see ‘Activate‘ in the place of the Install button. Now, press it.
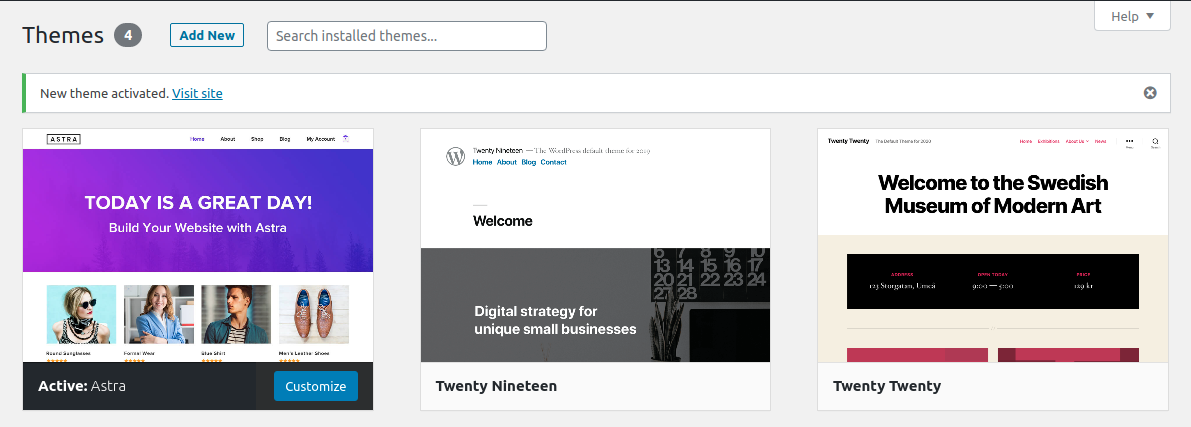
Now, the theme will get activated and, you’ll see a message – ‘New theme activated.’
Second Portion
In this segment, we will install a template and then start customizing it according to our needs.
But why a template? Alright.
Building a website is always a tiresome and complex task. But WordPress makes it quite easy. And still, building the whole website piece by piece manually will require a lot more advanced knowledge on WordPress. Therefore, it will get a bit harder for a beginner to build a website manually. And that’s why we are using the template installation method to help build your dream website easily.
This process is very beginner friendly and will allow us to do whatever we want. Even it will enable us to build a website better than our imagination.
STEP – 1 (Install a Template)
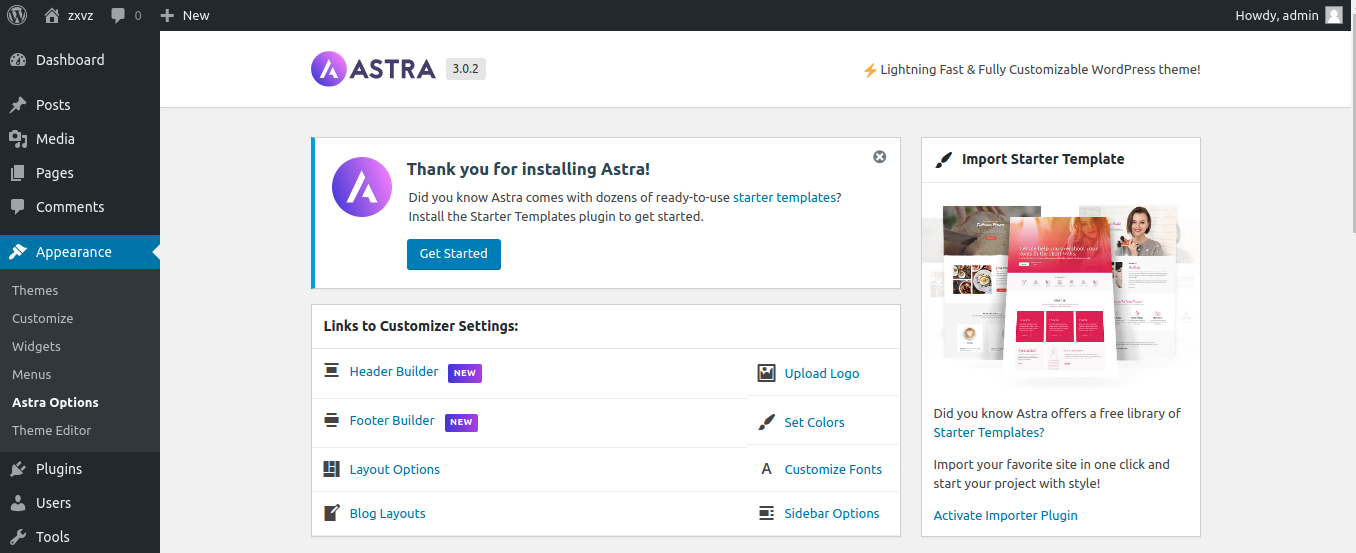
To install a template, click on the Astra Options located in the Appearance section. Or simply hover over the Appearance section to get to the Astra Options.
Once you click on it, you’ll see different options of the Astra Theme.
Now, on the right side from the Importer Starter Templates section click on the Activate Importer Plugin.
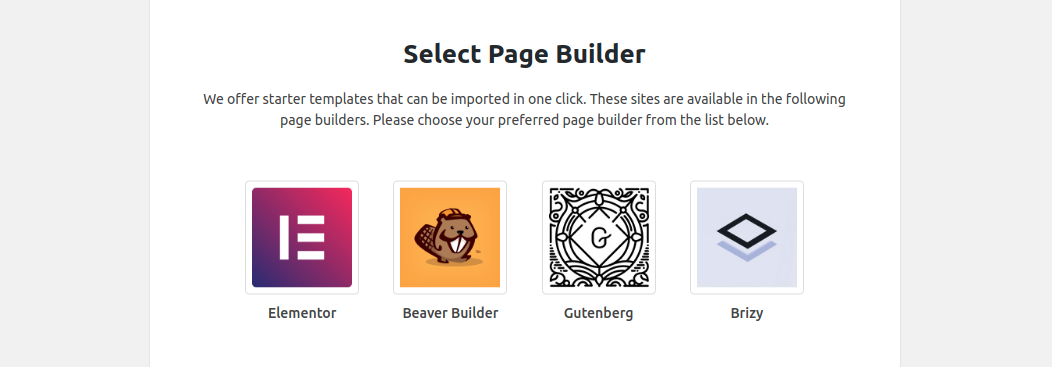
Once you click on it, it wil then start installing a plugin into your website and after successfull installation and activation will automatically take you to the page builder selection page. Here you need to select a page builder. For easy building process we will choose Elementor. So click on Elementor.
At this very point, you may have this question in your mind – what actually a page builder is?
The simple and non-technical answer is – a page builder is a plugin or component of a theme (in our case it’s a plugin) that lets you structure and design pages of your website with minimal effort and time.
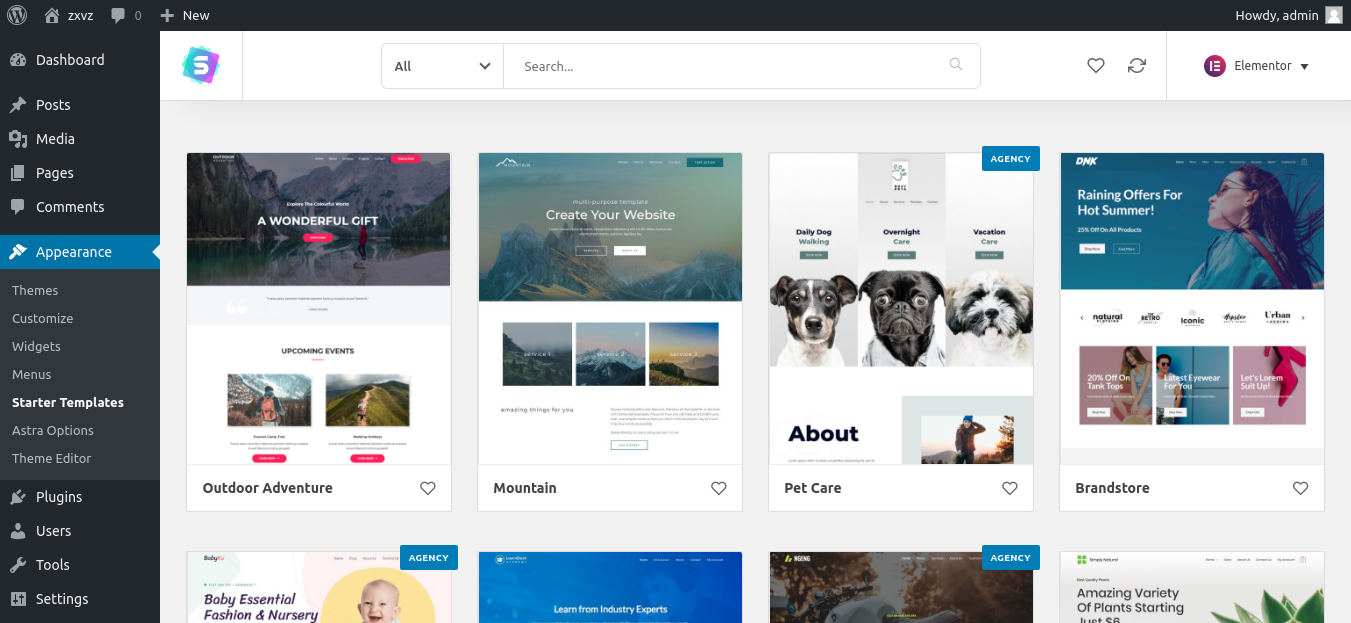
Now, after clicking on Elementor, it will subsequently redirect you to the Starter Templates Page.
This page allows you to import fully ready and beautifully built demo templates onto your site. These templates come with sample content, images and outstanding styles that you can easily customize and personalize any way you like to make it your own.
And this way you won’t need spend hours of time hundreds of dollars on developer to make your own desired design.
So, let’s import some templates !
First, browse through this whole template library and check out the beautifully designed templates. Then if you encounter one that attracts you a bit, simply click on it. And then you on the bottom side you should see a ‘Preview Button.’ Click on it to see a exact preview of that template.
Finally, if you are satisfied with one of the templates, in our case we are happy with the Digital Agency template, then simply click on Import Complete Site. Next, you willl see a pop up, that shows which things will be imported.
Again, Click on Import.
One more pop up will come up after that. On that popup, click on Skip at the bottom of it.
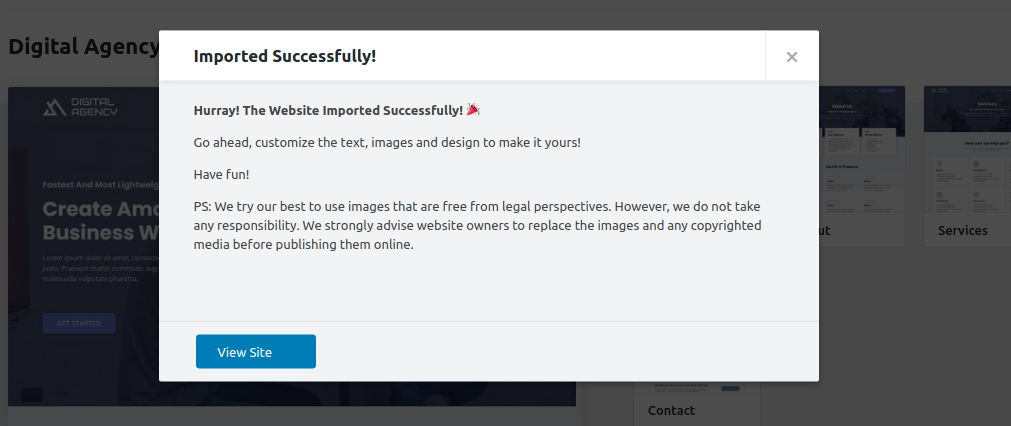
Finally, after a brief moment, you’ll see that the import process is done. And you’ll see a link to visit your website. Click on it.
Now, you’ll be on your site’s homepage. And just like ours one you’ll be able to see the gorgeous looking and beautifully designed website of yours.
Let’s Wrap Up For Now
Hopefully, till this article of our series on How to Make Your Own Website, you’re happy, contented and fascinated to see how easy it is to make a professional and attractive website.
Now, you’ll be much more happy as well as thrilled to see how much more easy it is to customize this existing website and upload your own content or replace the existing ones.
Check out the later part of this article – Customizing everything and Uploading Your Own Content.
