Do you want to login to WordPress admin dashboard? Well, you may want to make some changes or update to your website. This WordPress guide explain how to login to WordPress admin.
You have a website, and you have installed WordPress on it. Now, to control, customize and manage your WordPress website, you’ll need to log into your WordPress dashboard.But as a beginner, you don’t know how to do it. And that’s quite normal.So, now, in this article, you will learn how to find the login URL and successfully log in. Also, as a bonus – you’ll get to know how to secure and customize the WordPress login page.
You may like to check our previous articles on:
- How to Make a FREE Business Email Address (Easy Method)
- How to Create WordPress Job Application Form Easily
- How to Create an Order Form in WordPress to Sell Online
How to Get to the WordPress Login Page
First, let’s learn how a login page works.
For any website, you need to add an extra word/phrase at the end of your website URL that denotes the login page. And, for WordPress, it is the same.
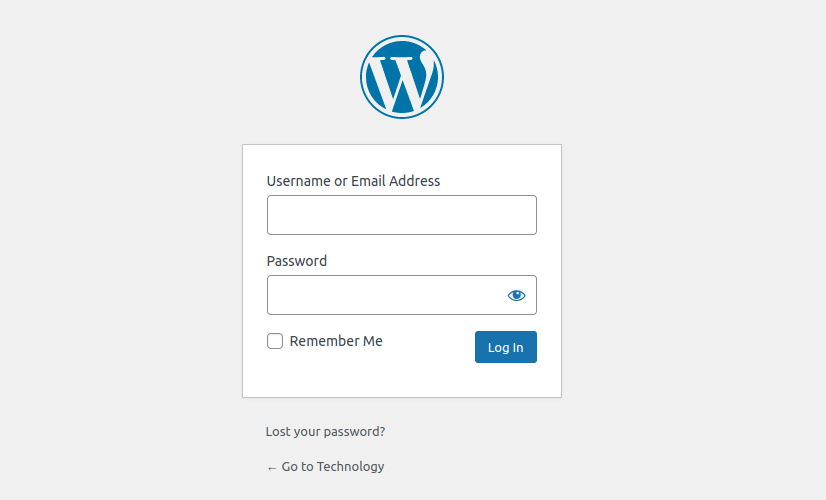
To reach the WordPress login page, add “/admin” or “/login” or “/wp-admin” at the end of your WordPress website URL. It will then redirect you to the login page.
Example:
If your website URL is – ”www.website.com”, then load
- ”www.website.com/admin”
- or ”www.website.com/login”
- or ”www.website.com/wp-admin”
And voila, you’ll be on the WordPress login page.
Now enter your credentials and get in.
What is the Default WordPress Login URL
As you can see above – there are several different URLs to the login page. But which one is the default one? The answer is – none of those above.
See, all the URLs above redirect you to the login page. And the URL of the login page is “www.yourwebsite.com/wp-login.php”.
So, “www.yourwebsite.com/wp-login.php” is the default login URL for WordPress (technically).
How to Log into WordPress Admin from Your Hosting
Numerous web hosting providers offer direct access to your WordPress Dashboard without requiring you to go through the WordPress login page.
So, here I’ll cover two of the prominent ones that dominate the WordPress Hosting industry.
Bluehost WordPress Login
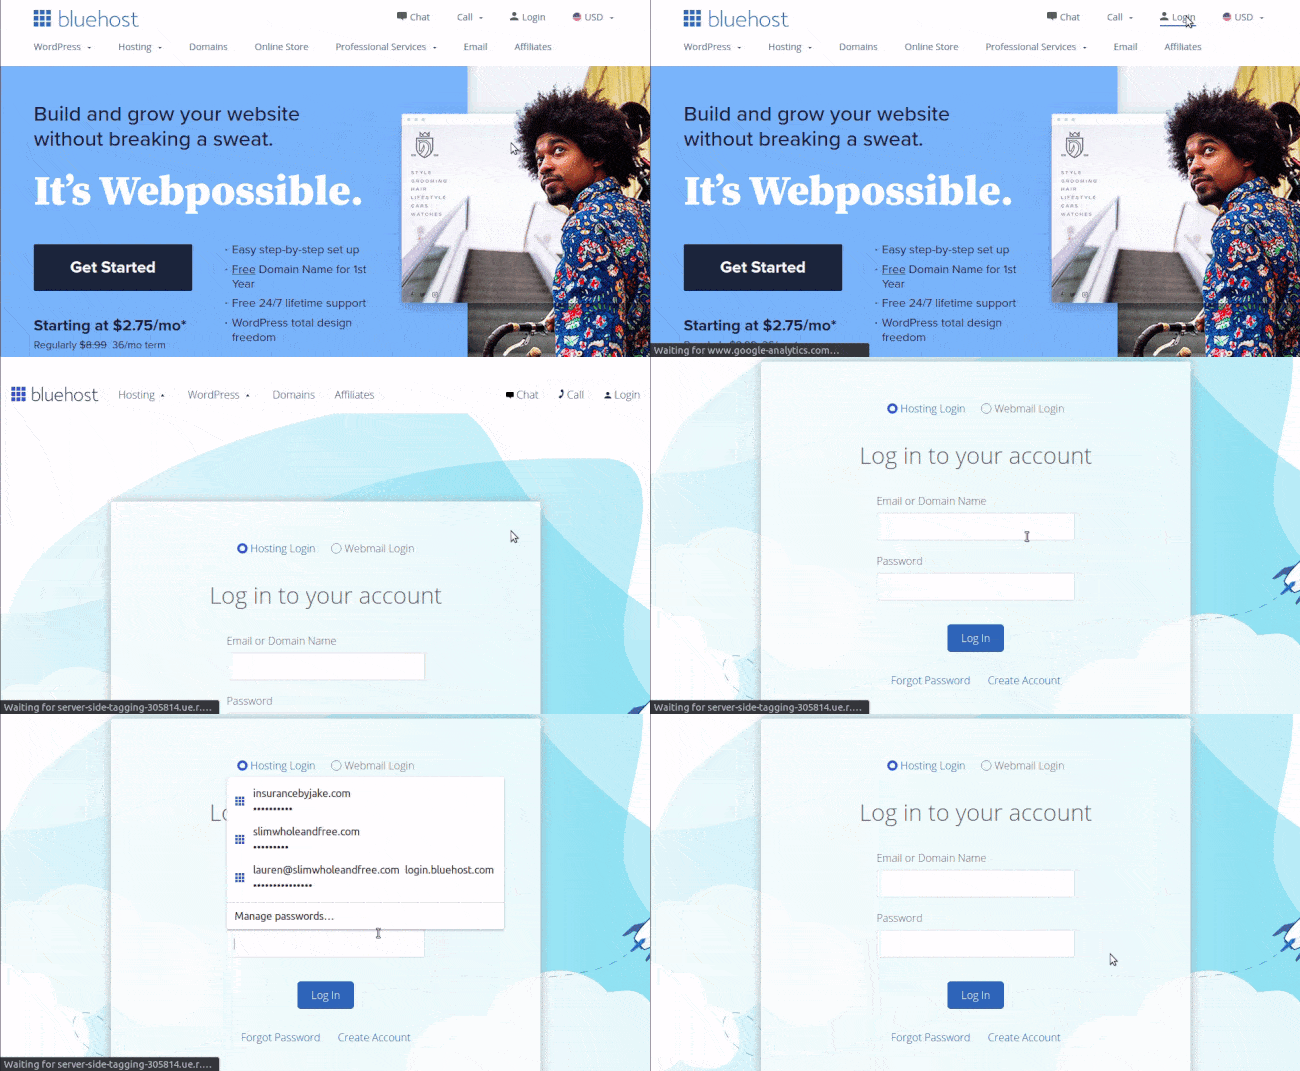
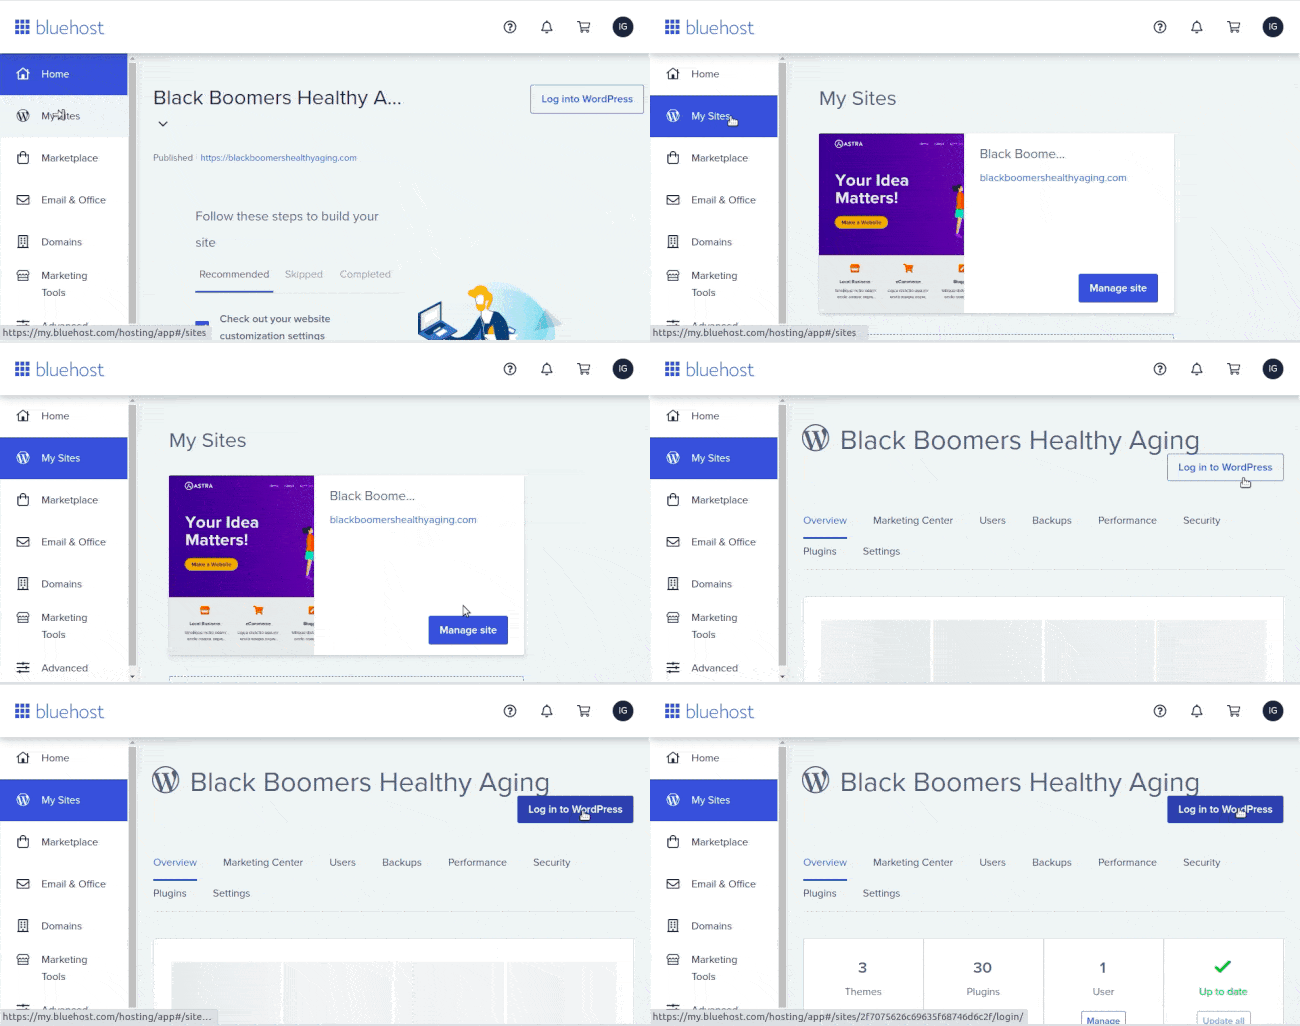
If you have WordPress hosting with Bluehost, follow the following steps to log in to WordPress Dashboard.
Step 1: First, log in to your Bluehost cPanel.
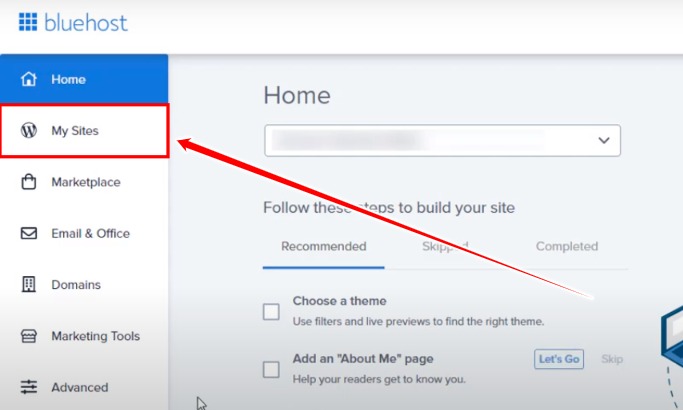
Step 2: After successfully logging in, navigate to the top left side of the window, and from the tabs, click on My Sites.
Step 3: Now, you’ll be on the My Sites window. In here, hover over your website name, and you’ll see the “Log in to WordPress” button. Click on it.
After clicking on it, you’ll see the WordPress Dashboard, otherwise known as Admin Panel.
Hostgator WordPress Login
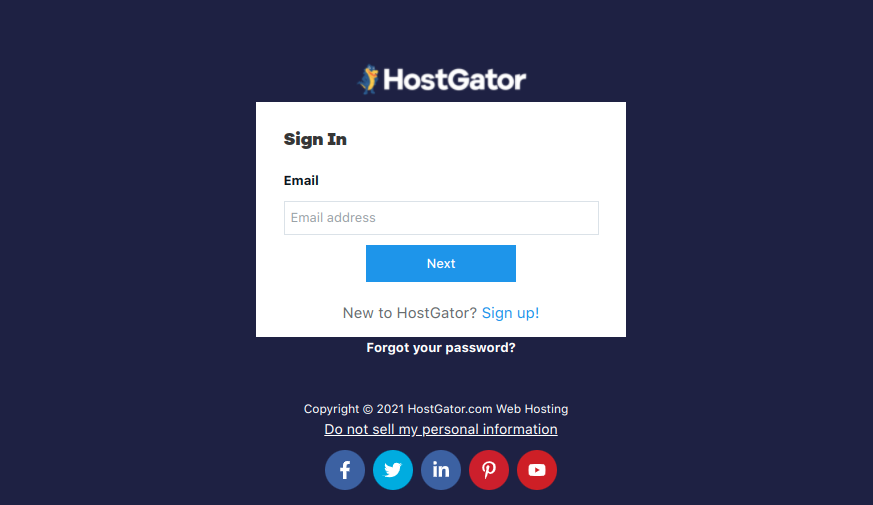
To log in to your WordPress dashboard from Hostgator, walk along with these steps –
Step 1: Log in to your Hostgator Cpanel.
Step 2: Now, from the cPanel window, click on Softaculous Apps Installer.
Step 3: On the next page, click on installations at the top of the window.
Step 4: Find your Web Address listed under installations and click on the person icon on the right.
And you’re done. A new tab will open and will take you to your WordPress Dashboard.
Securing the WordPress Admin Login Page
In these advanced digital days, it’s pretty easy to find out the technology behind a website. For example, your website is using WordPress. Just by clicking through a few pages, a hacker can easily detect your website technology.
When he detects that you’re using WordPress, he then knows – how to reach your WordPress Login page. Again a few clicks, right?
Then, by using different techniques, he tries to exploit any vulnerabilities that expose your credentials. Also, more advanced techniques like social engineering, open-source data collection, and many more methods lead to the exposure of your credentials, at least your username.
And once he enters your WordPress dashboard, he is in complete control of your website!
Scary, ha?
Now, to prevent attacks like these, try a simple solution – change your login URL and use a strong password or check out WordPress security plugins.
How to Change WordPress Login URL
There are two general methods available to change the login URL. One is – manual, and the other is via a plugin.
The manual method involves a bumpy ride. Usually, advanced developer folks tend to use it. But the other method is equally popular both to beginners and advanced users.
Therefore, I’ll demonstrate by using a plugin. So, follow along.Step 1: After logging in to the dashboard, hover over to the Plugins and click Add New.
Step 2: On the top right side of the window on the search box, type in “WPS Hide Login”.
Step 3: Now, you’ll see the plugin. Click Install. Wait for a while. And you’ll see Activate. Click on it.
Step 4: Upon the plugin activation, navigate to the left sidebar and over to Settings. Then click on WPS Hide Login.
Step 5: Subsequently, on the new window, something like the following snapshot will appear.
Step 6: On the Login Url section – replace “login” with your desired key phrase. I used “ilovetologin.” (This is going to be the part of your login URL) For the Redirection URL, delete the “404” and leave it blank.
Step 7: Click Save Changes. And next, you’ll see a confirmation similar to this.
Finally, You have successfully changed your WordPress login URL. Now, all the keyphrases like /admin, /login, /wp-admin will not work, even the default /wp-login.php. Only your new keyphrase will enable you to visit the login page.
“www.website.com/ilovetologin” – for instance.
How to Change the WordPress Login Password
Passwords are the first line of defense against any unauthorized access to your device/website/whatever. That’s why – “The More Secure the password, the stronger and more protected your website will be.”
So, to change your WordPress password –
Step 1: On the top right corner of your WordPress dashboard, you’ll see your name/username with an avatar. Click on it.
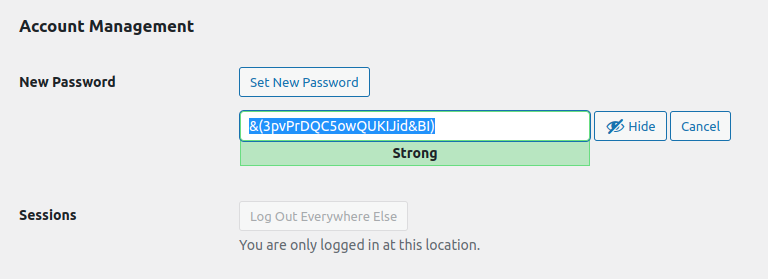
Step 2: On the next page, you’ll be on your Profile page. Here, scroll down to the Account Management section. Click on Set a New Password.
Step 3: Type in your desired password. But make sure that – it consists of upper case, lower case letters, numbers and special characters. And, of course, it should contain at least ten or more characters. For instance, I did this –
Step 4: Finally, click on Update Profile.
You’ll then see a confirmation – “Profile updated.” This means, you’ve successfully changed your password.
WordPress Login Page Customization
For sure, customizing the WordPress login page is a cool thing, especially if you’re running an eCommerce website or a website that requires the users to log in. However, you can still customize the login page for – “your own.”
How to Customize the WordPress Login Page
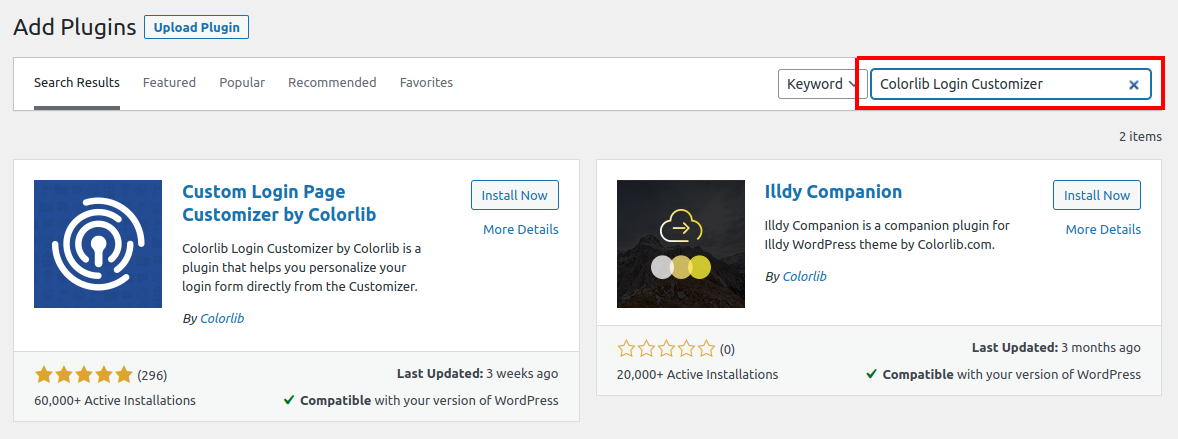
The best and easiest way to customize the WordPress login page is by using plugins. There are many different plugins for customizing. But the most popular ones are – Theme My Login, LoginPress customizer, Colorlib Login Customizer, and several others.
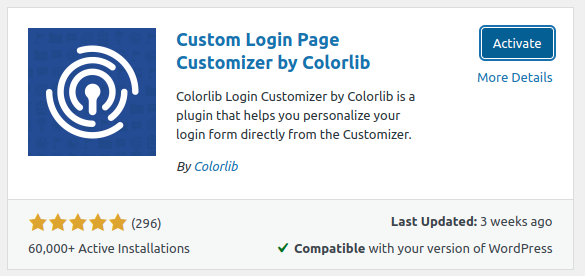
For this tutorial, I’m choosing – Colorlib Login Customizer. It is pretty easy to use, offers a lot of functionality, and of course, it is beginner-friendly.
Let’s begin.Step 1: Enter your WordPress Dashboard and navigate to Plugins > Add New.
Step 2: On the search box, type in Colorlib Login Customizer.
Step 3: Next, hit Install Now, then Activate.
Step 4: Upon activation, head back to the dashboard. Navigate to the bottom side of the dashboard sidebar. You’ll then see Colorlib Login Customizer. Click on it.
Step 5: It will then take you to the Customizer.
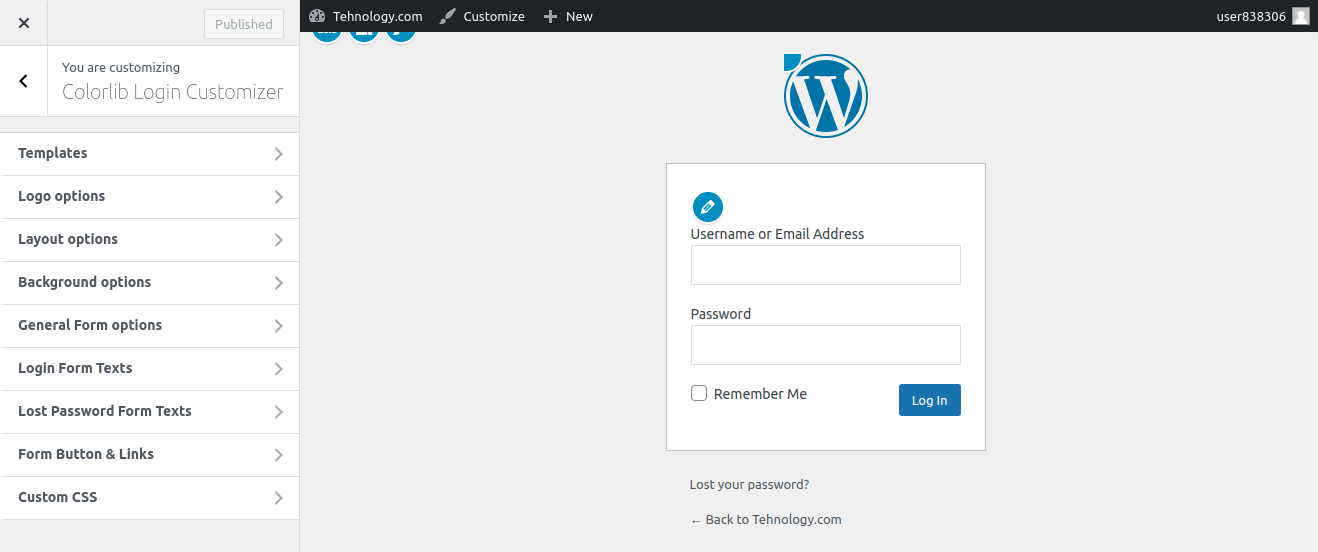
On the Customizer, you can see different options to customize your login page. Let’s explore one by one.
Templates: Here you can select any of the premade templates. Those premade templates are beautiful. You can rather choose one of these.
Logo Options: From this option, you can either show or hide the login page logo or use your own. It offers the feature to add a Title instead of a logo. Also, formatting options are available.
Layout and Background Options: The layout options allow you to align the login form/section to your desired position on the login page. Then the Background options offer custom background formatting.
General Form Options: This one provides all the formatting options that are needed to customize the login form portion.
Login and Lost Password Form Texts: These two options assist in replacing the existing login and lost password form texts with your ones.
Form Button and Links: It is the last but not least option in this login page customizer. It allows you to colorize the page form, button, and links with your preferred colors.
How to Change WordPress Login Logo
Changing the WordPress Login Page logo is a good idea if you’re planning to keep things simple as they are.
To change the WordPress logo on the login page, I prefer the customizer plugin that we used a bit earlier – Colorlib Login Customizer.
So, let’s get to work with this plugin. Step 1: Install the Colorlib Login Customizer plugin. (Skip the process, if it is already installed). You can check out our WordPress tutorial about installing WordPress plugin.
Step 2: Navigate to Dashboard » Colorlib Login Customizer.
Step 3: Then Logo Options.
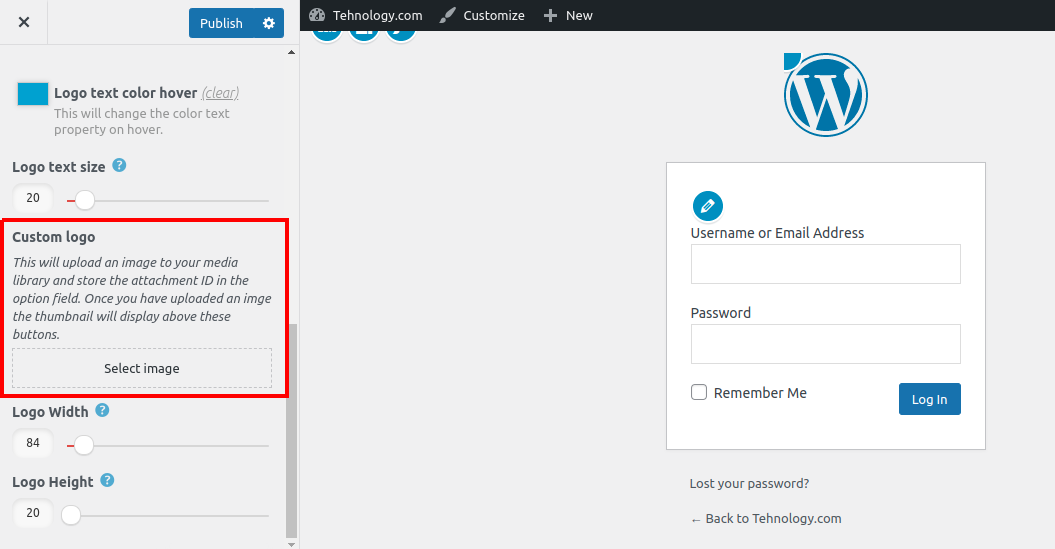
Step 4: Now, scroll down to Custom Logo section. Then hit Select Image.
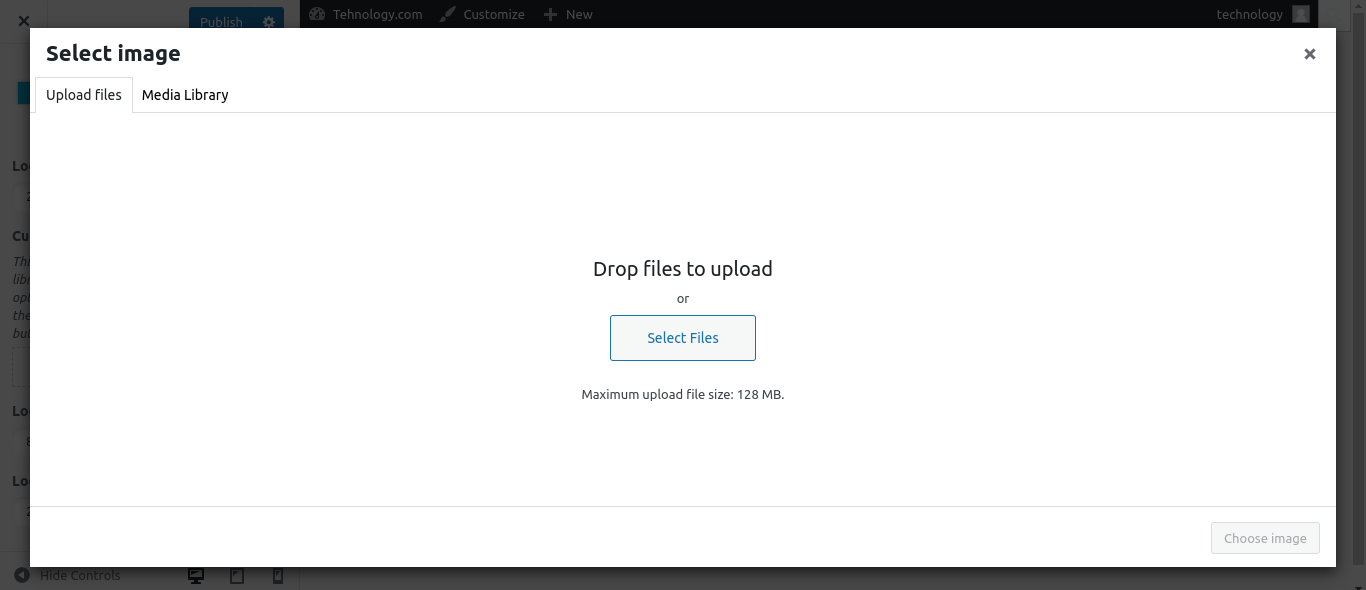
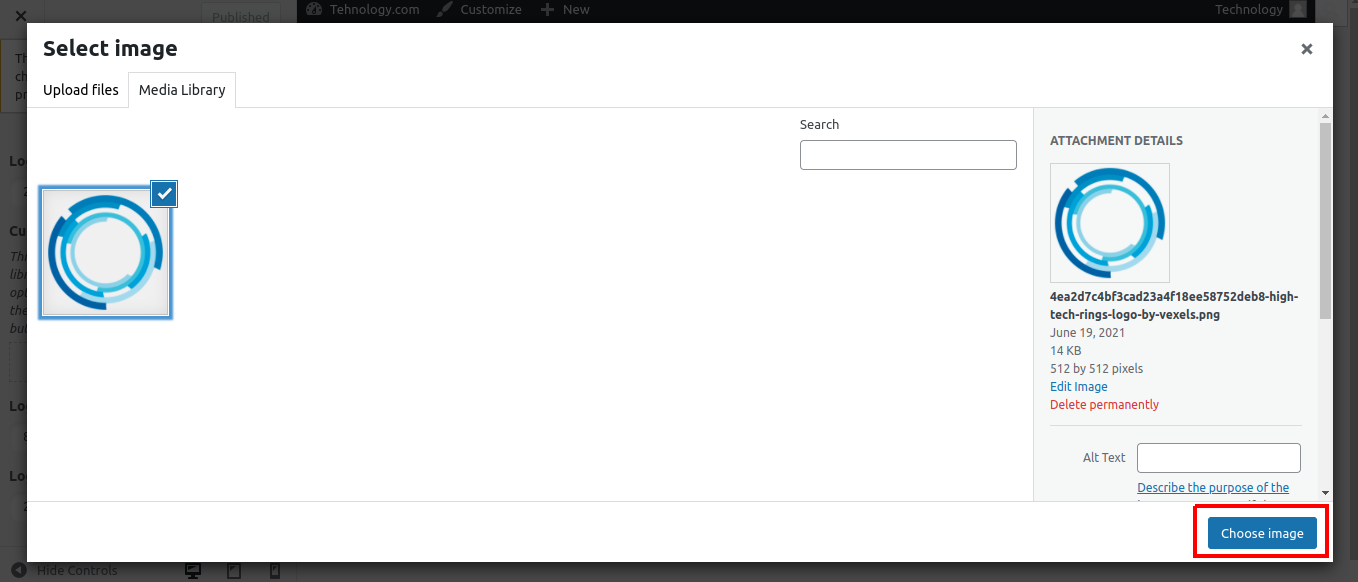
Step 5: A pop up window will come up. From here click Select image again and select the image that you want to use as login page logo from your computer.
Step 6: The photo then will gradually get uploaded. After successful upload, on the bottom right, you’ll see Choose Image. Click on it.
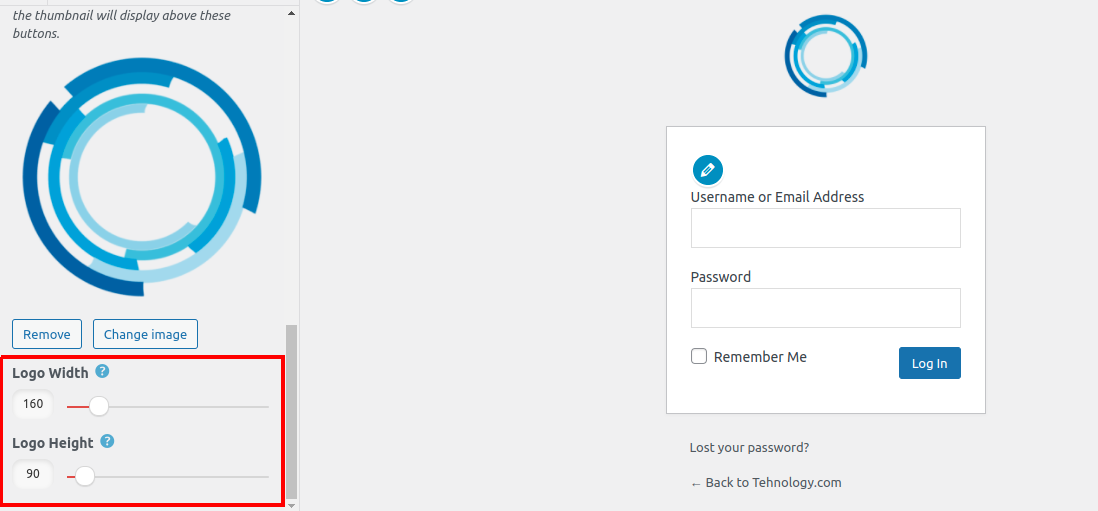
Step 7: On the right, you can then see the change. And on the left you have the options to adjust the height and width of the logo.
Step 8: Finally, if everything is okay, then hit the Publish button above.
Boom! It’s done.
The Last Piece
The WordPress login page is the only doorway to your website’s complete development and management. That’s why it’s important to know and understand all about this page, its functionality, security, and customization.
Hope, you got all of those from this article. If you find this article please share with your friends and family. Comment below if you want to know anything.
