

WordPress metafields opens a process by which WordPress can store data for a particular post in the database. And It shows them when we call them with the key we defined while registering.
WordPress developer made it simple and easy to add custom metafields for developers. WordPress itself uses post metafields for store data for each post.
Step 1: Register a WordPress Metafields add_meta_boxes action hook.
We need to register to WordPress head that we need a metafields on a post type. There is an action hook call add_meta_box, which is designed to do this.
add_meta_box($id, $title, 'meta_field_callback_function', $which_post_type_to_show, $where_to_show, $priority);
add_meta_box takes a few parameters, but here we will talk about the most used parameters.
- $id: $id is the unique string by which you will call and save this metafields data to the database. Won’t take any spaces. Example: ‘rs_team_meta_member_profile_page’.
- $title: $title will be shown in the edit post page where the metafields will be displayed as a title of the metabox section
- ‘meta_field_callback_function’: This is the function name which will echo or output the HTML needed for WordPress to display the field you want. Anything you output calling this function, it will be displayed in that post meta box section.
- $which_post_type_to_show: Very important! It is what you tell WordPress where to show this metafield. You need to write post type here. Example: ‘post’, ‘page’, or ‘custom_post_type_id’ .
- $where_to_show: This the position param that WordPress takes to determine where to show the metafield section. It can be ‘side’ if you want it on the right side or ‘normal’ if you want to have it below the post editor.
- $priority: This is another parameter for the position. We told the WordPress if side or normal in the last parameters now we tell whether it is to show on top of right/below section. It is the horizontal position of that meta box. You can write ‘core’ means auto, ‘high’ or ‘low’;
Here is a function by which we can add an actual WordPress metafield.
 function add_teamprofile_metaboxes() {
    //the main add_meta_box function with proper arguments
        // here 'team' is already registered custom post type
    add_meta_box('rs_tp_position', 'Position Title', 'rs_tp_position', 'team', 'side', 'core');
}

//the action to bind that function to wordpress engine
add_action( 'add_meta_boxes', 'add_teamprofile_metaboxes' );
Let’s see another function that initialized a PHP $variable. It is the same function as above written in slight differences. Use the one you like to see or write.
function add_teamprofile_metaboxes() {
  //the main add_meta_box function with proper arguments
  // here 'team' is already registered custom post type
  $id = 'rs_tp_position';
  $title = 'Position Title';
  $callback_func = 'rs_tp_position';
  $post_type = 'team';
  $where = 'side';
  $priority = 'core';
  add_meta_box($id , $title , $callback_func , $post_type , $where , $priority);
}
//the action to bind that function to wordpress engine
add_action( 'add_meta_boxes', 'add_teamprofile_metaboxes' );
Step 2: Output the input field’s HTML using the call back function we wrote in the previous step.
We are ready to write the markup for the input field. As we know, there are many input types. This step is different from cases to cases. Let’s see a few examples of that. Since we named this callback function ‘rs_tp_position,’ we will use this in the below examples.
- Example 1: For input type ‘text.’
// The Team Position Metabox
function rs_tp_position() {
    global $post;

    // Noncename needed to verify where the data originated
    echo '<input type="hidden" name="team_meta_nonce" id="team_meta_nonce" value="' .
    wp_create_nonce( plugin_basename(__FILE__) ) . '" />';

    // Get the Metabox data if its already been entered
    $position = get_post_meta($post->ID, '_position', true);

    // Echo out the field
    echo '<input type="text" name="_position" value="' . $position  . '" class="teamposition" style="width:100%"/>';

}
Here,
- global $post : It is bringing the global $post object into the function. Why? Ok, Let’s see.
- wp_create_nonce: Nonce is a security filtering for the input we get. We are creating some input type hidden filed with some special value. So that with that data, we can verify whether it has come from that page while we will save this data to the database in step 3. read more wp_create_nonce.
- get_post_meta: We are building an input field in the post edit page right, so we need to be able to show the already saved data(if any) in the input field. $position = get_post_meta($post->ID, ‘_position’, true) is returning the already saved data for this key from the database into a variable. We wrote a global $post to use that in this line. ‘_position’ is the key that has not been added as an input field name yet.
- Input type text field: We will write type as ‘text,’ and the name is the key same as we wrote in get_post_meta() function. So we write ‘_position’ here. The value will contain the value that we saved in a variable called $position in the previous line. And we can also add some fancy class to it!
- Example 2: For input type ‘checkbox‘.
// The Team Position Metabox function rs_tp_position() { global $post; // Noncename needed to verify where the data originated echo '<input type="hidden" name="team_meta_nonce" id="team_meta_nonce" value="' . wp_create_nonce( plugin_basename(__FILE__) ) . '" />'; // Get the Metabox data if its already been entered $position = get_post_meta($post->ID, '_position', true); ($position == 1) ? $check_mark = "checked" : $check_mark = ""; // Echo out the field echo '<input type="checkbox" name="_position" value="1" '.$check_mark.' class="teamposition" style="width:100%"/>'; }- Everything is the same from the text filed different in the HTML of the field, and the value that we need to make a checkbox checked and unchecked.
- ($position == 1) ? $check_mark = “checked” : $check_mark = “”; by this line we are saying that if the $position, the value of the metafield, is equal to 1(as we write the value as 1 in the field HTML below) then make a variable called $check_mark and fill ‘checked’ string in it and if the value anything else make the $check_mark empty.
- As it is a checkbox, we are writing type as ‘checkbox’ name as same as the key in which we want to save it in the database. Value is whatever you can put and make sure to use the equal value while verifying. We include ‘.$check_mark.’ inside out echo statement so that the ‘checked’ or ‘(empty)’ string can be printed from the $check_mark that we made earlier.
- Example 3: For input type ‘select‘.
// The Team Position Metabox function rs_tp_position() { global $post; // Noncename needed to verify where the data originated echo '<input type="hidden" name="team_meta_nonce" id="team_meta_nonce" value="' . wp_create_nonce( plugin_basename(__FILE__) ) . '" />'; // Get the Metabox data if its already been entered $position = get_post_meta($post->ID, '_position', true); $check_mark = 'selected'; // returning the html ?> <select name="_position" class="teamposition"> <option <?php if($position == 'option_1'){ echo $check_mark; } ?> value="option_1">Option 1</option> <option <?php if($position == 'option_2'){ echo $check_mark; } ?> value="option_2">Option 2</option> </select> <?php }- To select an option field from a select filed, we need an attribute called ‘selected’ if the browser sees this attribute in any option box it will show that option as selected. So we are checking a string $checkmark with that string ‘selected,’ then we are giving it conditionally to the options field we added next. We are echoing out the field here; we are returning for the sake of the situation.
- Example 4: Input type ‘number.’
// The Team Position Metabox function rs_tp_position() { global $post; // Noncename needed to verify where the data originated echo '<input type="hidden" name="team_meta_nonce" id="team_meta_nonce" value="' . wp_create_nonce( plugin_basename(__FILE__) ) . '" />'; // Get the Metabox data if its already been entered $position = get_post_meta($post->ID, '_position', true); // Echo out the field echo '<input type="number" name="_position" value="' . $position . '" class="teamposition" style="width:100%"/>'; }- Only change from the text field; type =’number’.
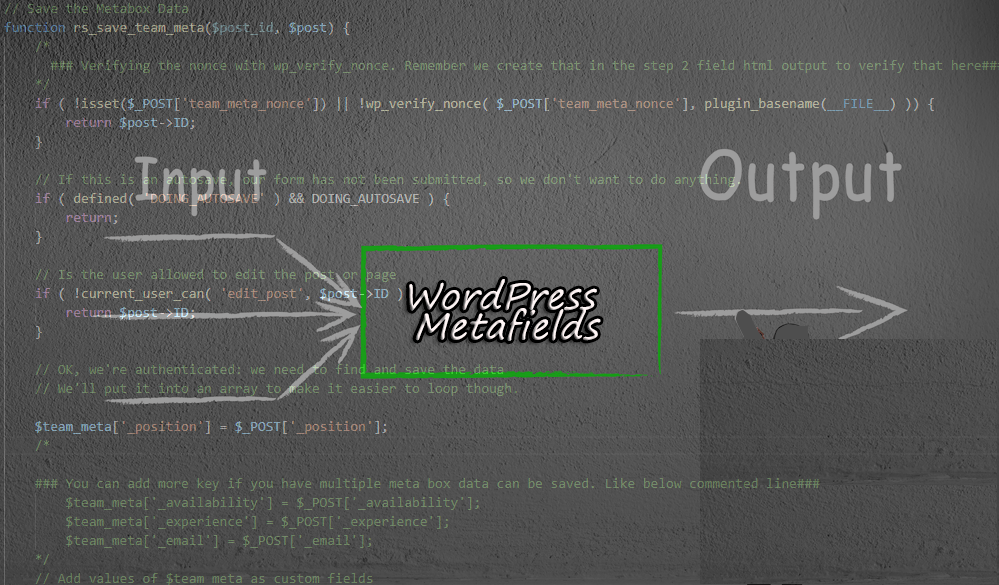
Step 3: Saving the data when submitted; into the database.
<?php
// Save the Metabox Data
function rs_save_team_meta($post_id, $post) {
    /*
      ### Verifying the nonce with wp_verify_nonce. Remember we create that in the step 2 field html output to verify that here###
    */
    if ( !isset($_POST['team_meta_nonce']) || !wp_verify_nonce( $_POST['team_meta_nonce'], plugin_basename(__FILE__) )) {
        return $post->ID;
    }

    // If this is an autosave, our form has not been submitted, so we don't want to do anything.
    if ( defined( 'DOING_AUTOSAVE' ) && DOING_AUTOSAVE ) {
        return;
    }

    // Is the user allowed to edit the post or page
    if ( !current_user_can( 'edit_post', $post->ID )) {
        return $post->ID;
    }

    // OK, we're authenticated: we need to find and save the data
    // We'll put it into an array to make it easier to loop though.

    $team_meta['_position'] = $_POST['_position'];
    /*

    ### You can add more key if you have multiple meta box data can be saved. Like below commented line###
        $team_meta['_availability'] = $_POST['_availability'];
        $team_meta['_experience'] = $_POST['_experience'];
        $team_meta['_email'] = $_POST['_email'];
    */
    // Add values of $team_meta as custom fields
    foreach ($team_meta as $key => $value) { // Cycle through the $team_meta array!
        if( $post->post_type == 'revision' ) return; // Don't store custom data twice
        $value = implode(',', (array)$value); // If $value is an array, make it a CSV (unlikely)
        if(get_post_meta($post->ID, $key, FALSE)) { // If the custom field already has a value
            update_post_meta($post->ID, $key, $value);
        } else { // If the custom field doesn't have a value
            add_post_meta($post->ID, $key, $value);
        }
        if(!$value) delete_post_meta($post->ID, $key); // Delete if blank
    }

}
add_action('save_post', 'rs_save_team_meta', 1, 2); // save the custom fields
- wp_verify_nonce: It is a function by which we can verify the nonce we created by writing we_create_nonce. Basically, it is varying using those special token values of input type hidden field. read more wp_veryfy_nonce.
- DOING_AUTOSAVE: Checking if it is not the autosave request. In our case, we only need to save the data when the user presses the update of the post edit page. If you need to save even in autosave requests, remove this condition.
- current_user_can: It again a WordPress function which returns how much access does the current user have. So are check the current user capability to edit a post. Any ‘editor’ has this access. If we only need to save from the administrator, we can write ‘manage_options’ read more WordPress roles and capabilities.
- $team_meta[‘_position’] = $_POST[‘_position’] by this we are getting that data submitted by the user after checking all the staff before this in a array named $team_meta with a key named out metaled key ‘_position’ . You can get the data in a simple variable also, but we did it case we will be able to save a lot of meta filed data by some code by creating an array with a key.
- Then we are running a ‘foreach’ loop, which will do the same written inside for every element of $team_meta array. We are also taking as key = value at once. Now we can save this as a post meta in the database using update_post_meta or add_post_meta with the key of the array what we set before. You could keep this ‘foreach’ loop the same for your code; change the array name $team_meta if you changed it in your code.
This is all I think to have a go in WordPress Metafields. If you want to share your opinion in the comment box, I’m happy to reply. I will also be interested if you ask any question related to the subject. Thanks for reading.
You will love the following tutorials:

- How to Add Nofollow Tag to a Certain Domain
- How to Add Visitor Counter to Website in PHP
- How to Combine a Background Image and CSS3 Gradient on the Same Element
- How to Popup Genesis eNews Extended Opt-in Form
- How to Add Custom Logo to Genesis Child Theme
- 11 Genesis Framework Hacks for Beginner
- How to Use HTML Form [PHP]
- How to Store XML Data to PHP Variable
- How to Create Awesome Input Range Slider
- How to Make HTML Form Work and Send Mail


One thought on “Starting with WordPress Metafields”
Thanks for sharing this post about WordPress