Adding an Alert Message to the top of your WordPress website is very easy! You can make it easier by using the Sticky Genesis Topbar plugin to your WordPress.
Here in this article, I’ll let you know the easy steps to add an Alert Message to your site. Before getting started, something more I have to share.
Why Alert Message is Important
An Alert Message draws the attention of the visitors. So it is very necessary to create an attention grabber message to attract your clients! Enchanted with your message they will get attracted to your service or product.
If you set the duration of your message, the clients will do a hurry to take your offer! So, isn’t is important to create an enchanting Alert Message? Well, now follow the following steps to do get started!
How to add an Alert Message
To add an Alert Message on the top of your website, you need to install a plugin at first. If you have the Sticky Genesis Topbar plugin installed in your WordPress, it will take only a few minutes!
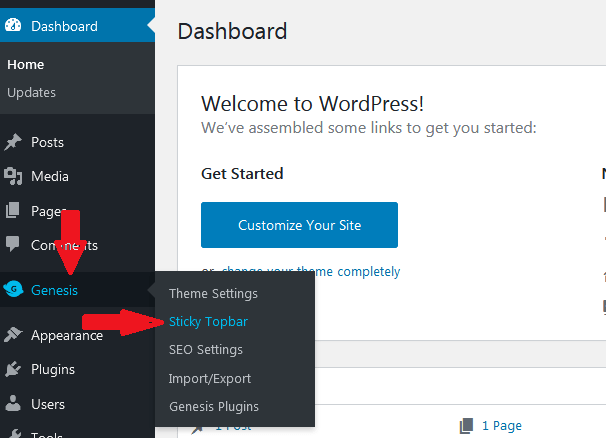
If you have not installed the plugin yet, you have to install this first. After installation, you need to open the Sticky Genesis Topbar from the Genesis section.
Genesis section.
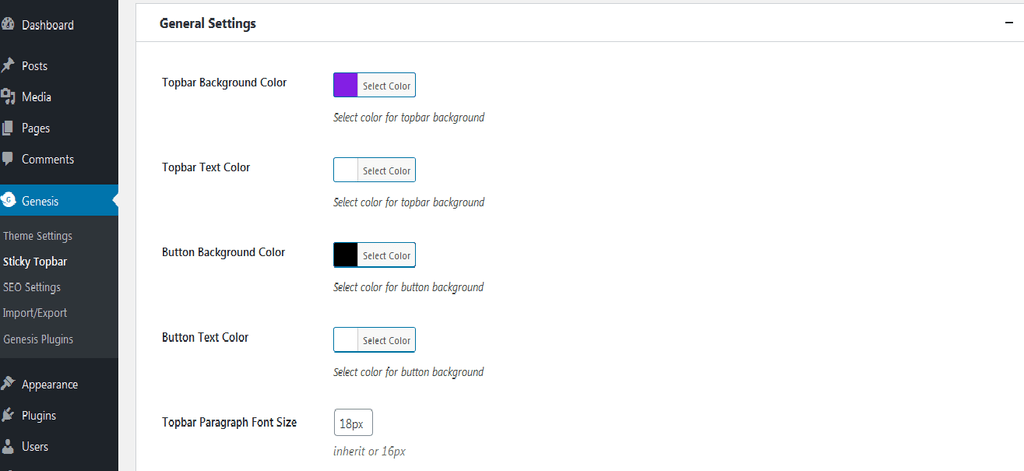
Then, from the General Settings, you can write your desired message or text. You may also change the background and text color. You may also change the font and font size.
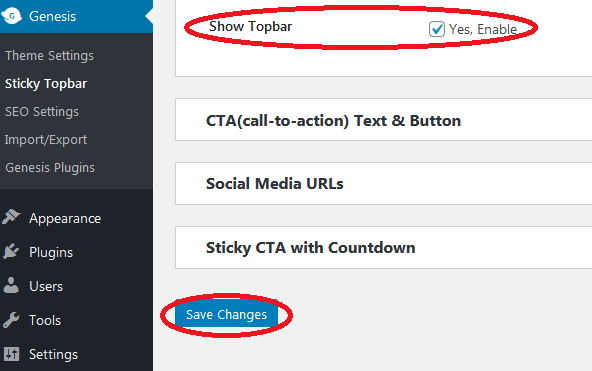
If you are done, you must put a tick on the “show topbar” button.
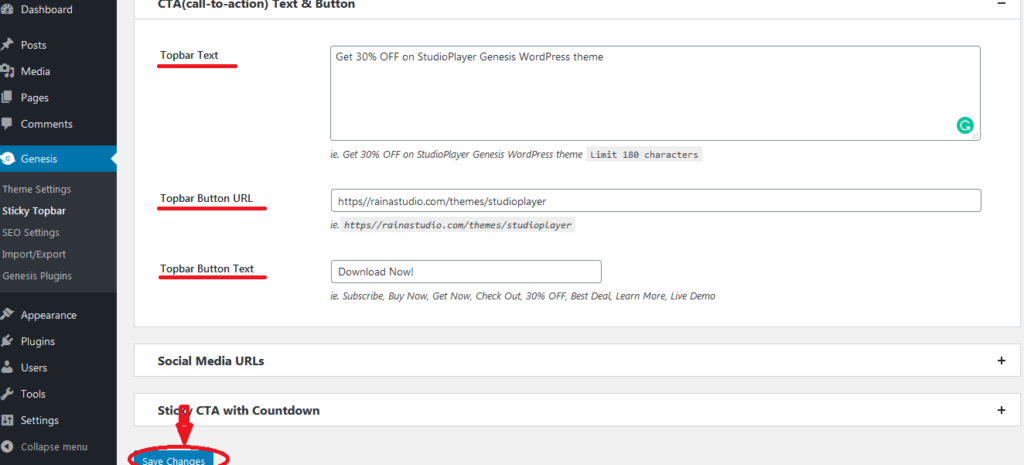
You may also add Call To Action Text and button to enable the option- Subscribe, Buy Now, Get Now, Check-Out, 30% OFF, Best Deal, Learn More, Live Demo, etc.
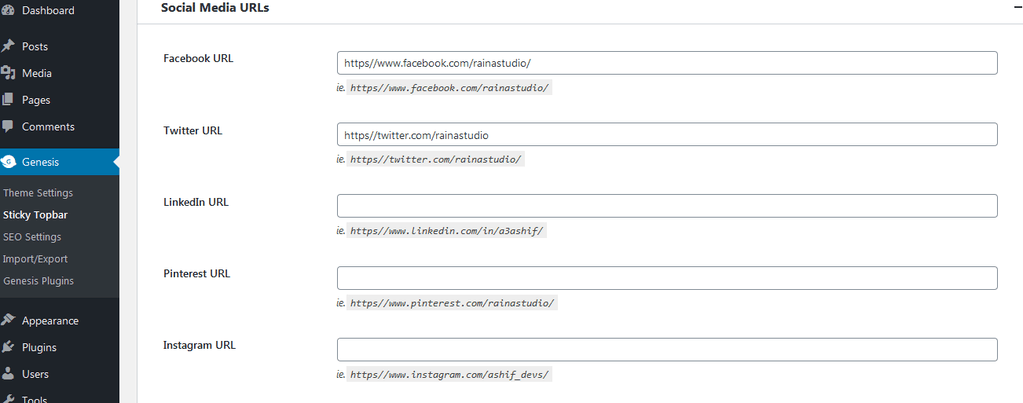
You may also add your Social Media URLs if needed.
You may also add a timer to notify the specific date or time! Here, you can set the duration for your Alert Message.
Get Started

