

If you’ve launched your WordPress website recently and thinking about the ranking of your site on the Search engines. Then, the first thing you need to do is to create a Sitemap of your WordPress site and submit it to Google Webmaster Tool.
In this article, I’ll be showing you the way step by step to add your Sitemap to Google Webmaster Tool.
But, before going to that point let’s discuss a little about Sitemap, and why it’s important to submit to Search Engines.
So, What is a Sitemap Actually?
Basically, a sitemap is a document that lists all the URLs of your website (that you want to be crawled by Search Engines).
Whether, the Document contains information such as the date a page was last modified or how frequently a page may change, and whether the page should be given priority over others.
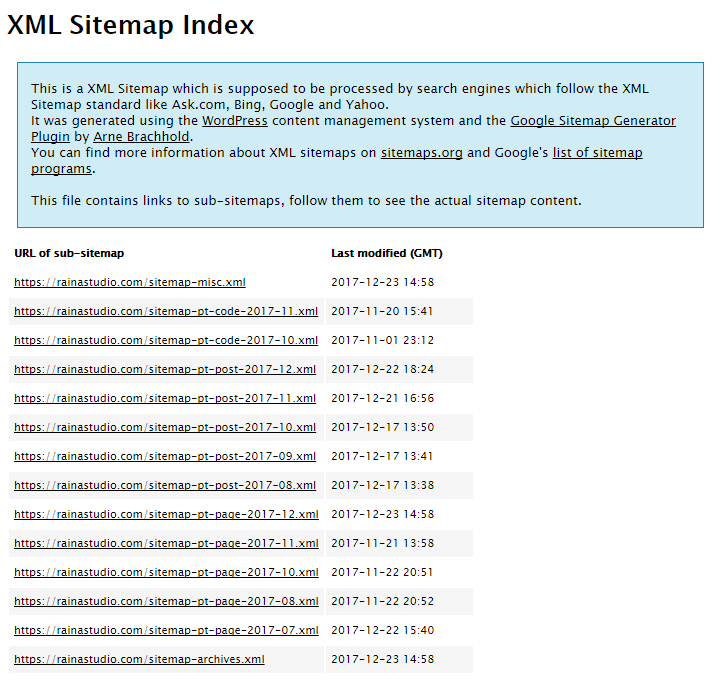 Example of a Sitemap is above. However, it’s also possible to create specific sitemaps for each type of content. For examples, one sitemap for blog posts, one for videos, one for images of your site etc.
Why it’s Really Important to Add Sitemaps to Google Webmaster?
When it’s about the matter of ranking your WordPress Website, then you should create and submit your site’s sitemap to the popular Search engines, like Google, Bing, etc.
Where the Google is the no.1, that’s why adding your sitemaps to the Google Webmaster is should be the first concern.
Most of the WordPress site owners add their sitemaps, me too. The most important thing about a Sitemap is it helps search engines navigate your website more easily, by which way search engines index your content fast and better.

Let’s think of your website as a building, whether the sitemap is the blueprint which informs search engines exactly where everything is located.
So, it’s clear about the importence of adding Sitemap to the Search Engines.
Creating Your Website Sitemap
Before preparing yourself to add your sitemap to the Search Engines, first, you need to create that.
If you’re already a Yoast SEO Plugin user, you can simply create your sitemap using the ‘XML Sitemaps’ option of it. But, if you want the complete control over your sitemap creation, then read this article – How to create Sitemaps for WordPress Website?
So, once, you created your sitemap it’s time to go ahead to the Google Webmaster Tool (for Google Search Engine).
Now, Let’s Submit Your Sitemap to Google Webmaster
Just before adding the sitemap that you’ve created, you need to get a Google Webmaster account. For, this you need to have a Google account. If you already haven’t any, you can get it from here.
After getting your Google account go to – https://www.google.com/webmasters/ and sign in.
Verifying Your Website
Once you sign in to Google Webmaster Search Console, you need to add a property (your site). So, put the URL of your Website into the box (however there is another option to add an Android app instead of a Website, we don’t need that).
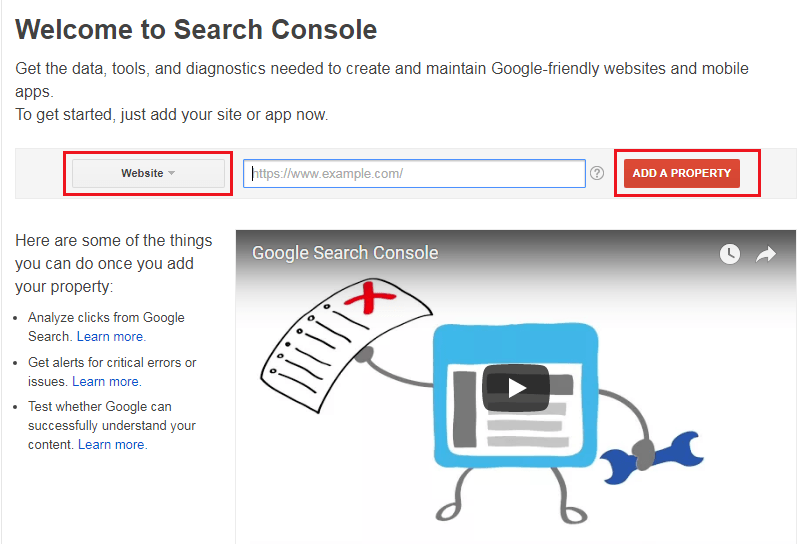 Now, click the ‘Add A Property’ button, then you’ll be asked for confirmation the ownership of your Website.
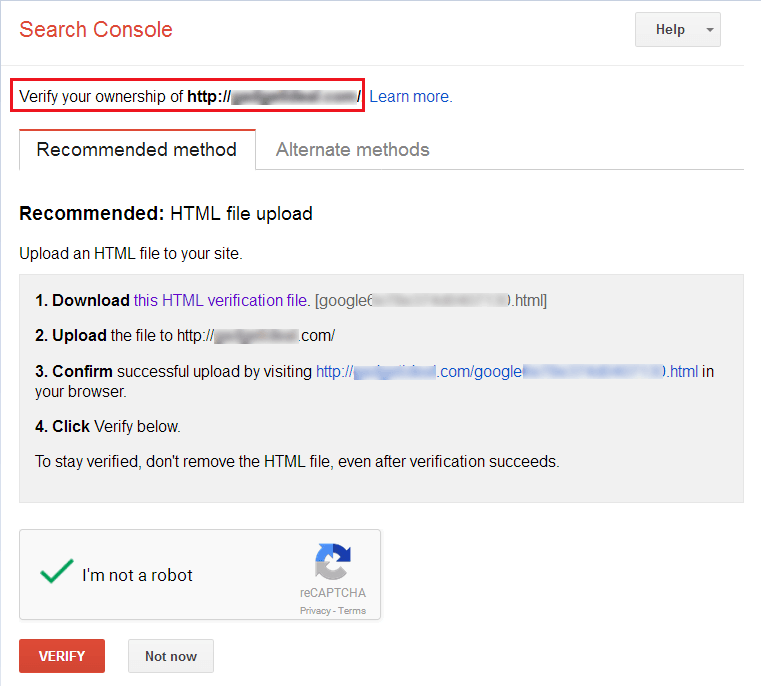 There are two methods for doing this, Recommended and Alternative. I always prefer the Recommended method, whether you’ve to download an HTML file provided by Google and upload that to your website.
So, let’s do this. Simply, download the HTML file that you can see on your browser. Then, log in to your hosting cPanel and open the public-html folder (where all types of your site files are located). Now, upload the HTML file that you just download.
However, you can upload the file using any other way, such as using an FTP client like FileZilla. Just only make sure the file is uploaded successfully, the way isn’t the matter.
Once, the uploading is complete, go back to the verification page and click the button ‘Verify’. (You can also confirm the successfully uploading by visiting the given URL – step 3)
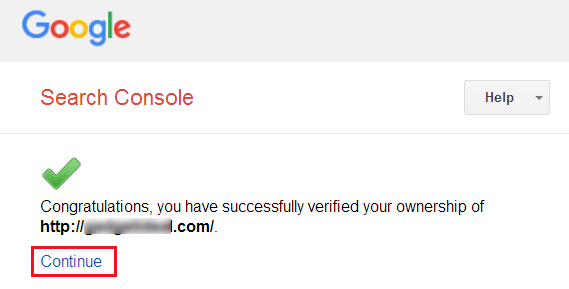 So, your Website will be verified instantly by Google Webmaster and, you’ll get a confirmation notification including a link written ‘Continue’.
This means the ownership verification is complete and now you can add your sitemap! So, simply click the link because we’ve to add the sitemap!
Adding Sitemap to Google Webmaster
Now, go to your Webmaster account Search Console page (here you may be asked to add your site property again if it happens, simply add your site again).
Then, navigate the ‘Crawl’ option on your Search Console Dashboard and click on it. It’ll be expanded and where you can see the ‘Sitemaps’ option, simply click on it.
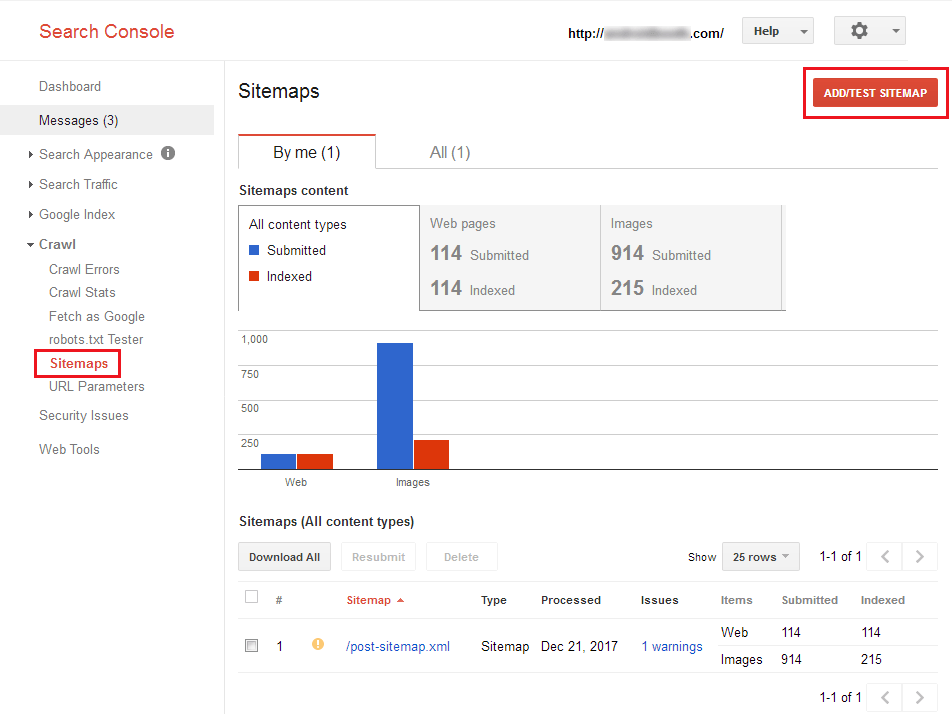 Then, you’ll be landed another page where you can see ‘Add/Test Sitemap’ button in the right corner above. Click the button, and a little drop-down window will be opened, where you’ve to put the Sitemap URL of your Website.
So, put the URL into the box (you don’t need to put the full URL, add only the part after ending your domain URL. For example: if your sitemap URL is https://yourdomain.com/post-sitemap.xml, then add only post-sitemap.xml)
After, putting the URL, click the ‘Submit’ button. You can also test the sitemap before submitting it to be confirmed everything is okay on the sitemap.
Once, the submission is complete, you can see the sitemap is as pending. So, finally, the sitemap of your WordPress website is added to the Google Webmaster. Now, Googlebot will crawl your site according to the sitemap.
It needs a couple of days or weeks to start getting indexed, and when it’ll start you can see the number of the indexed items from here.
Wrap Up
Hope, you’ve successfully added the sitemap to your Website to the Google Webmaster. If you found this article helpful, share it on your social account with your friends.
As well as, you also welcome to share your potential opinion about this tutorial with us. Here we are, all together.
You will love the following Articles:
- How to Add TopBar in Genesis Framework (RainaStudio Map 101)
- How to Add an Audio Sound to Blog’s About Page (RainaStudio Map 101)
- How to Easily Add Slider On Home Page in WordPress
- How to Use Advanced Custom Fields on WordPress
- How to Create an Automatic WordPress Backup for Free
- How to Add MailChimp Subscribe Form to WordPress
- How to Disable Comments on WordPress
- How to Regenerate Custom Thumbnail Image Size
- How to Compress and Optimize Image on WordPress
- How to Add Caching Engine to WordPress Website
- How to Enhance Your WordPress Visual Editor
- How to Install WordPress Plugin
- How to Limit WordPress Login Attempts
- How to Secure Your WordPress Website
- How to Create Sitemaps for WordPress Website
- How to Add Google Analytics to WordPress Website
- How to Build an eCommerce Website Using WooCommerce
- How to Add GUTENBERG Visual Editor to WordPress
- How to do WordPress SEO technically (OnPage Guide)
- How to Add a Contact Form to WordPress
- How to STOP Spam Submission on Your Blog
- W3 Total Cache vs WP Super Cache – Which Should You Choose
- How to Research Competitors Using Semrush Keyword Research Tool
- How to Research Keyword Using Long Tail Pro (Step By Step Guide)
- Ahrefs vs SEMRush vs Long Tail Pro: Best Keyword Research Tool in 2020
- How to Add Nofollow Tag to a Certain Domain

