

Are you looking to build an email list for your WordPress blog or site? And, want to send email updates to your subscribers when you publish a new blog post?
If you’re, then MailChimp is one of the world’s leading email service provider. Which is extremely easy to use to add a subscribe form to your site.
In this article, I will show you how to add MailChimp subscribe form on WordPress to get more subscribers.
Feel free to check our tutorial on how to add Facebook customer chat to WordPress website.
But, Why MailChimp?
Mostly because it’s very easy to use and has tons of WordPress integrations, even compatible with Contact Form 7 and WooCommerce.
As well as, also by far the most affordable for beginners because and it’s free as long as you send less than 12000 emails per month or have less than 2000 subscribers. That means you can get started right away without paying anything.
When your subscribers grow (more than 2000), then you will be asked to upgrade your account to the paid plan.
Besides, MailChimp offers some other cool features like it allows you to set up RSS to email subscriptions, set up auto-responders, design beautiful email templates, and monitor the performance of your email campaigns with comprehensive analytics reports.
So, having said that let’s add MailChimp Subscribe Form to your WordPress Site.

Getting Your MailChimp Account
For adding MailChimp subscribe form at first, you need to have a MailChimp account. If you’ve already one then login to your account.
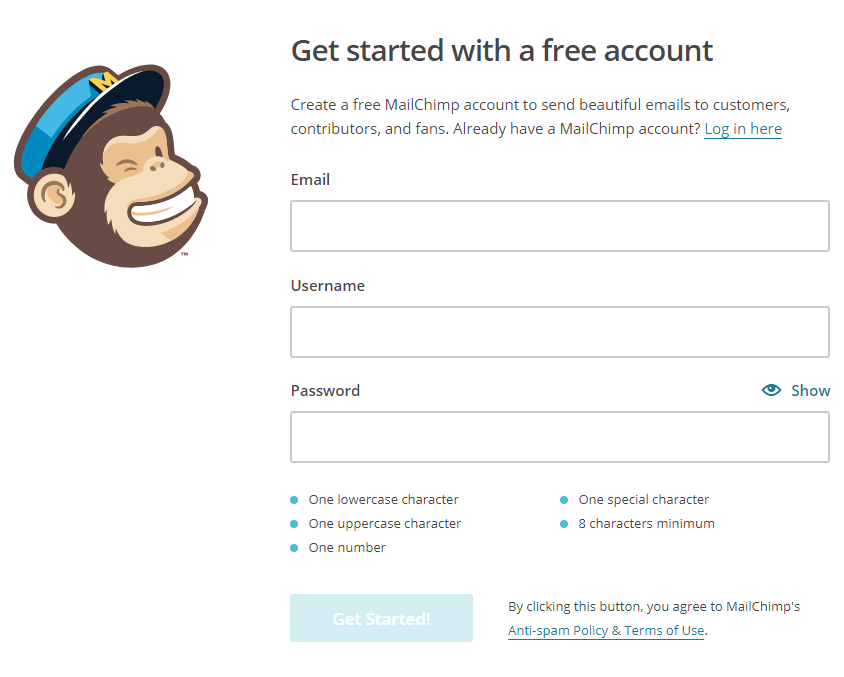 But if you haven’t, then create from here by filling the required fields like email, username, password, etc.
Want to know how many visits your web page has? Check out the tutorial on how to add a visitor counter in your website.
Creating A Email List
Once you’re done with having a MailChimp account, now on the dashboard click the ‘Lists’ button. It’ll open the window of your email list, where you can see your existing email list (if you already have any) or empty for creating a new one.
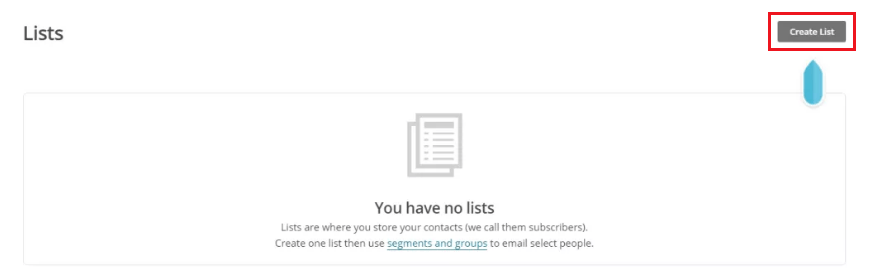 Let’s create a new email list by click ‘Create List’. Then, you will be asked to provide some information such as the email list name, an email address where users can reply to, a reminder for people how they got on your list, etc.
So, simply fill the form and click on the Save button.
So, you have successfully created your first email list. Now, it’s time to connect your email list to your WordPress, so that your website visitors can subscribe through the form.
Adding MailChimp Subscribe Form to WordPress
By default, MailChimp comes with a basic subscription form and all you need to do is go to the Lists page in your MailChimp account.
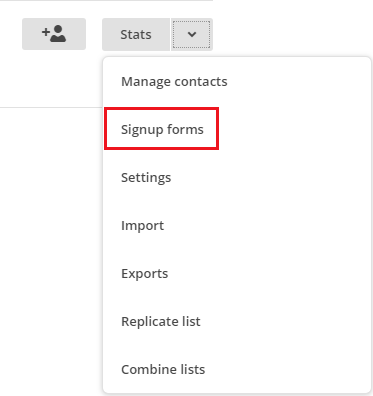 Now, click on the downward arrow button next to your email list and select sign-up forms.
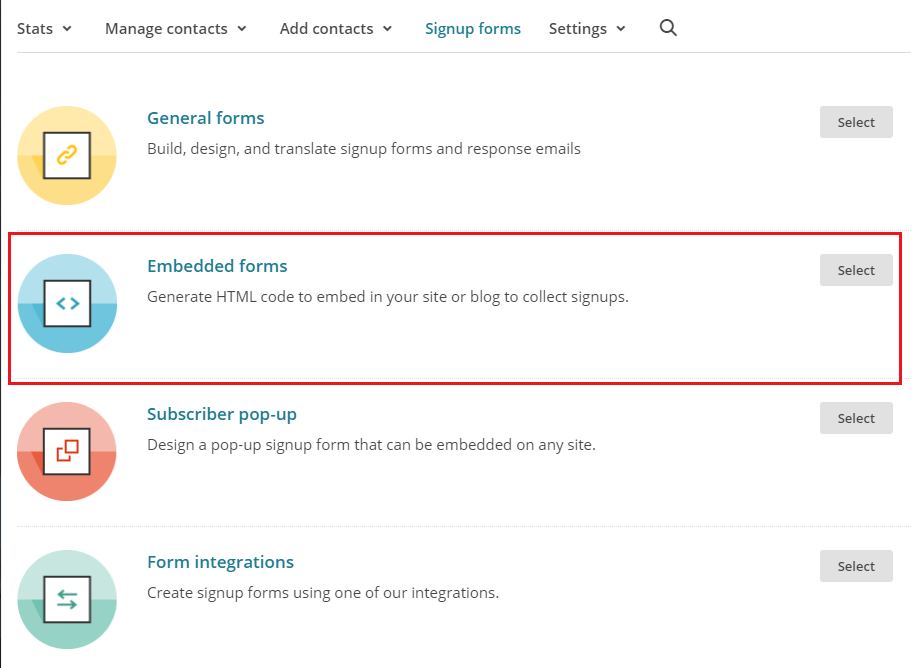 After that on the next page, you’ll see some of the form types you that you can generate. Here, you need to click on the select button next to Embedded Forms.
Then, you’ll be taken to a settings page where you can choose some available fields that you can select to show in your form. As well as, adjusting form width and other options.
So, select as you want and when you are done, simply copy the code for next use.
Generating MailChimp API Key
Now for generating API key, go to your MailChimp profile and select ‘API Keys’ under ‘Extras’.
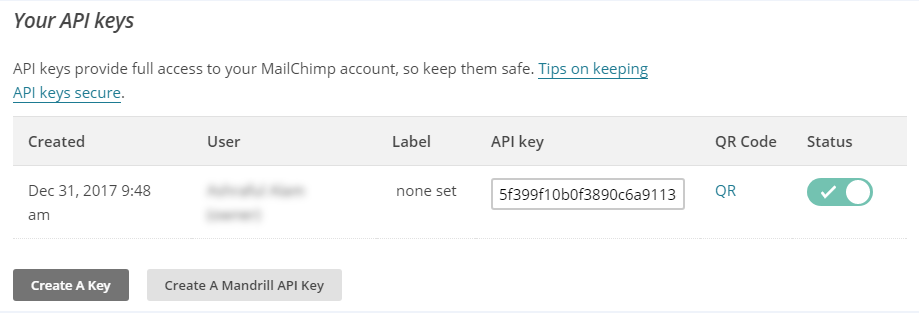 Then, you can see the option to create your API key, so click ‘Create A Key’ and in a moment your API key will be created. (keep this tab open and go to your site dashboard)
Installing MailChimp for WordPress Plugin
Now, you need to install the MailChimp for WordPress by Ibericode for getting your site connected to your created Email List. So, go to the Plugin section and click Add New. It’ll open the page for plugin installation.
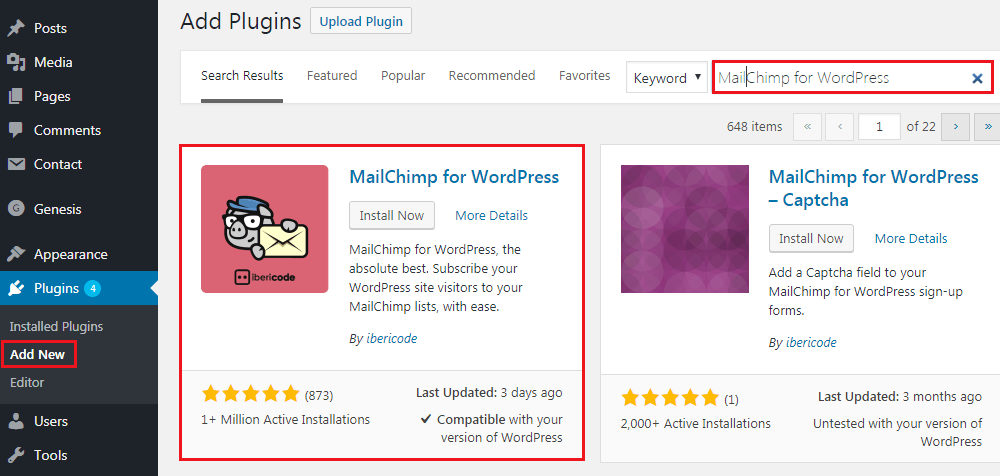 So, do a search for the plugin, it’ll come out. Now, click ‘Install’ button and after installing click the ‘Activate’ button.
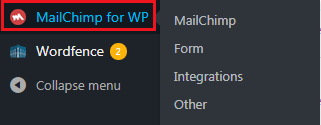 Once, it activated, you’ll find the ‘MailChimp for WP’ button on your dashboard (left side). So, hover it and click the ‘MailChimp’ button, then you’ll be taken to the page where you need to provide the API key.
So, copy the API key from the opened tab of MailChimp and paste in the required box and click ‘Save’. Once, it saved you can see the status is connected.
Adding Subscribe Form to Sidebar
Now, go to the ‘Appearance’ section and open the ‘Widgets’ page.
 Here, you can see a new widget renamed ‘MailChimp Sign-Up Form’. So, drag the widget and drop in the sidebar.
So, it’s all done, you’ve successfully added the MailChimp Subscribe Form to your WordPress site. Now, you can see the form to go your site.
Wrap Up
Hope, if you’ve found this article helpful, then share it with your friends. As well as, if you’ve already got any experience with adding MailChimp Subscribe Form to WordPress, then share your experience with us by commenting.
You will love the following Articles:
- How to Add TopBar in Genesis Framework (RainaStudio Map 101)
- How to Add an Audio Sound to Blog’s About Page (RainaStudio Map 101)
- How to Easily Add Slider On Home Page in WordPress
- How to Use Advanced Custom Fields on WordPress
- How to Create an Automatic WordPress Backup for Free
- How to Install WordPress Plugin
- How to Disable Comments on WordPress
- How to Regenerate Custom Thumbnail Image Size
- How to Compress and Optimize Image on WordPress
- How to Add Caching Engine to WordPress Website
- How to Enhance Your WordPress Visual Editor
- How to Add Sitemaps to Google Webmaster
- How to Limit WordPress Login Attempts
- How to Secure Your WordPress Website
- How to Create Sitemaps for WordPress Website
- How to Add Google Analytics to WordPress Website
- How to Build an eCommerce Website Using WooCommerce
- How to Add GUTENBERG Visual Editor to WordPress
- How to do WordPress SEO technically (OnPage Guide)
- How to Add a Contact Form to WordPress
- How to STOP Spam Submission on Your Blog
- W3 Total Cache vs WP Super Cache – Which Should You Choose

