If you have a blog or website built on WordPress that you’ve launched recently and publishing content frequently. Then, it’s time to let Search Engines know about your content, though Search Engines will automatically crawl your site content.
But, submitting Sitemaps to Search Engines is the best way to get indexed your website pages fast and whether you can choose the pages you want which are available for crawling. It’s also a part of On-Page SEO, that’s why it’s indeed.
And, in this article, I’m going to show you how to create Google XML Sitemaps for WordPress Website.
But, before starting let’s discuss a little about why you really need to create and submit Sitemaps to search engines.
Why are Sitemaps Important for Websites?
Simply, a sitemap is a document that lists all the URLs of your website (that you want to be crawled).
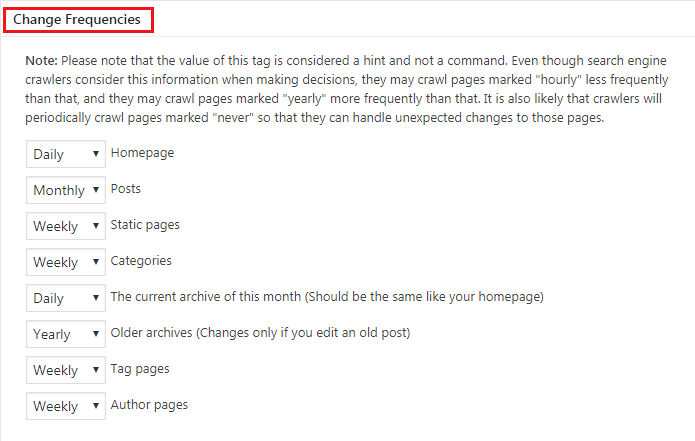
The Document contains information such as the date a page was last modified or how frequently a page may change and whether the page should be given priority over others.
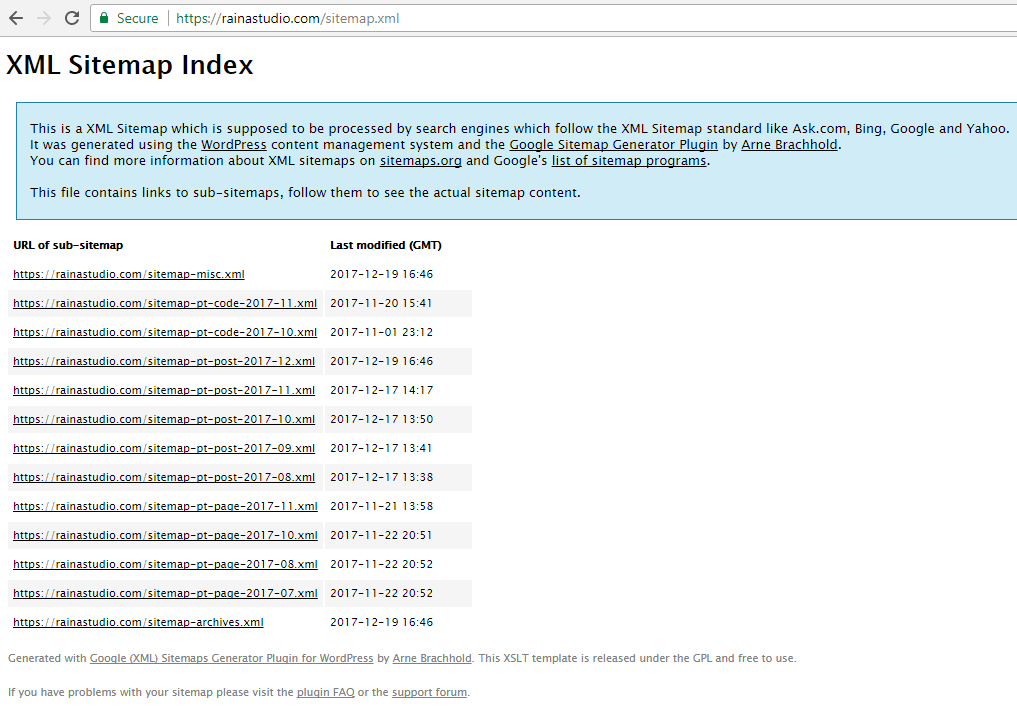
It’s also possible to create specific sitemaps for each type of content, e.g. one sitemap for blog posts, another for videos etc.
Sitemaps help search engines navigate your website more easily and this is why search engines index your content fast and better.
Like, if you think of your website as a building, then the sitemap is the blueprint that informs search engines exactly where everything is located.
So, How to Create a Sitemap for WordPress Website?
There are a bunch of ways out there to create Sitemaps, most of the cases people use plugins. There are many Sitemaps Plugin available such as Google sitemap, Better WordPress Google XML Sitemaps, and etc.
But, if you already are using Jetpack plugin and the XML Sitemaps option is enabled, then you don’t need to create again. Your website sitemaps are already created and you can see the sitemap going https://yoursite.com/sitemap.xml
But, if it’s not then my recommendation is to use Google XML Sitemaps plugin because it’s the best option I think if want more control over your sitemap. So, let’s create a sitemap using Google XML Sitemaps and submit to the Google Search engine.
Installing Google XML Sitemaps
In the process, you first need to install and activate Google XML Sitemaps plugin.

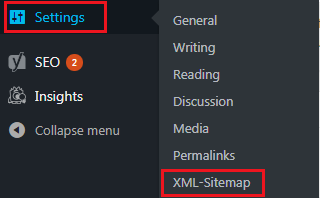
Google XML Sitemaps Settings
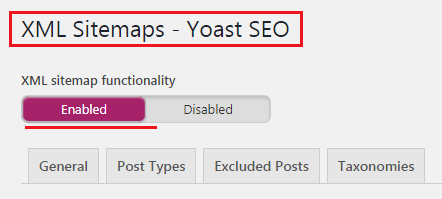
Now, click the ‘XML-Sitemap’ button and the window will open where you can see different options to create your Website Sitemaps that you can control.
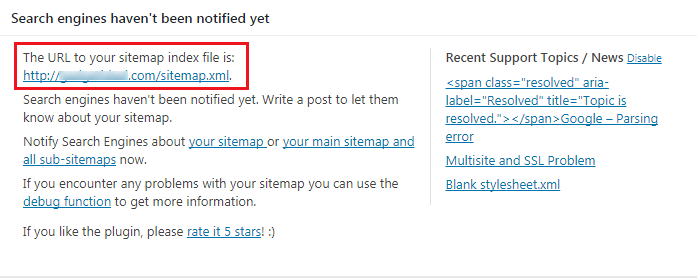
In the first box (like the image above) you can see some basic information including the URL of your Sitemap index file and recommendation about notifying Search Engines about your Sitemap or Your main sitemap and all sub-sitemaps.
Sub-sitemaps are actually when you create different sitemaps for different items of your site (I’ve already mentioned above in this article).
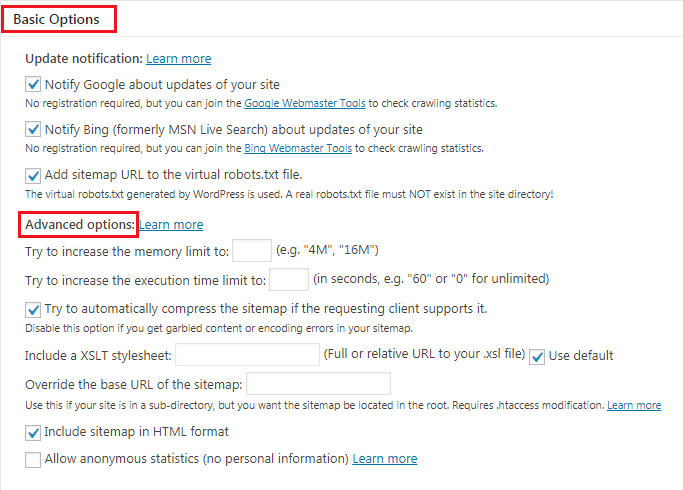
You can modify any configuration settings from the Basic & Advanced options as you want. In addition to adding the sitemap to the virtual robots.txt file, limiting the number of posts that are listed.
You can even increase the memory limit and execution time for the sitemap creation process.
Most of the settings are here fine already like marking ‘Add sitemap URL to the virtual robots.txt file‘ ensure that you don’t have to put the URL manually to your site’s robots.txt file.
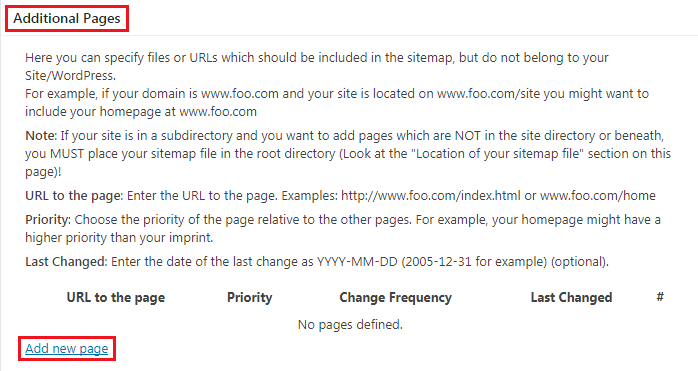
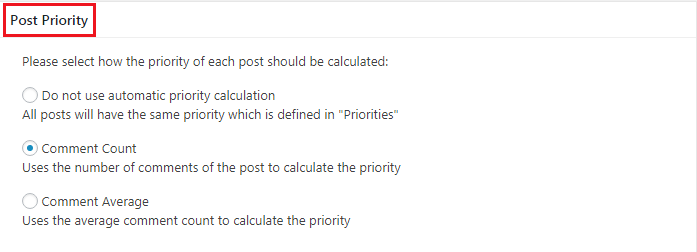
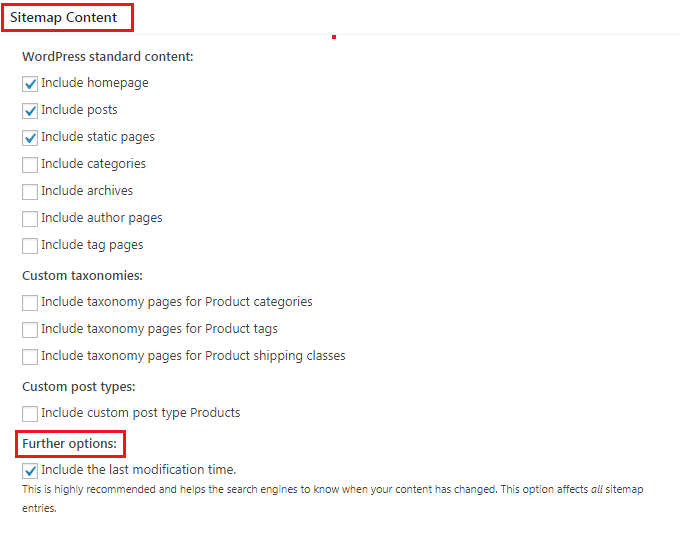
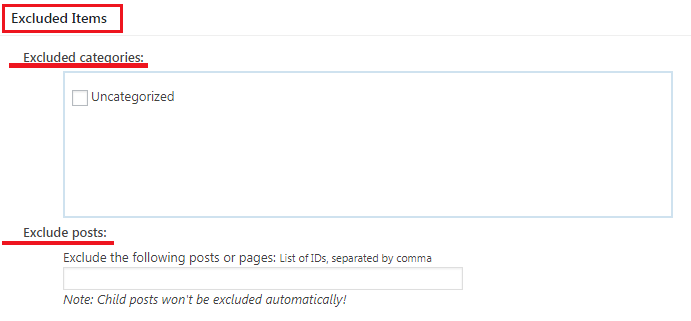
After the Sitemap content setting, you’ll find ‘Excluded Items’ option by what you can exclude specific posts, page, and categories.
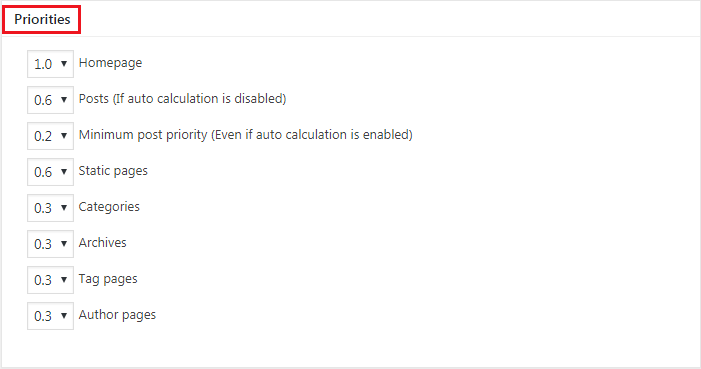
As recommended, the default configuration is fine, yet you may want to change it for specific areas of your website.
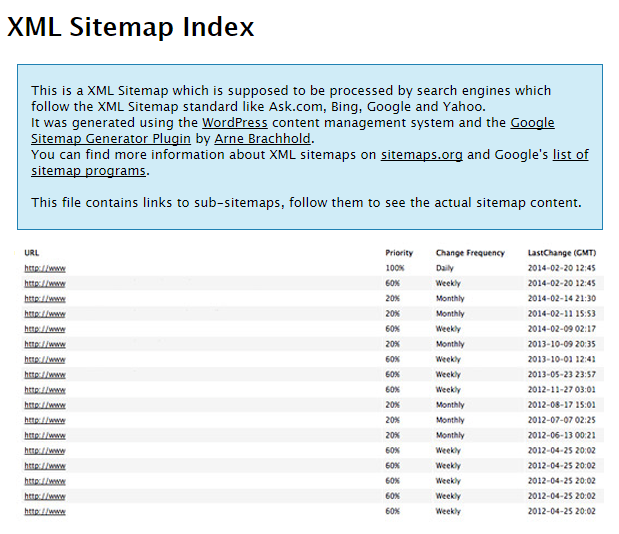
This way you can easily create Sitemaps for your WordPress Website and you’ll find that always going the same URL (I’ve mentioned before) https://yoursite.com/sitemap.xml
You will love the following articles:
- How to Add TopBar in Genesis Framework (RainaStudio Map 101)
- How to Add an Audio Sound to Blog’s About Page (RainaStudio Map 101)
- How to Easily Add Slider On Home Page in WordPress
- How to Use Advanced Custom Fields on WordPress
- How to Create an Automatic WordPress Backup for Free
- How to Add MailChimp Subscribe Form to WordPress
- How to Disable Comments on WordPress
- How to Regenerate Custom Thumbnail Image Size
- How to Compress and Optimize Image on WordPress
- How to Add Caching Engine to WordPress Website
- How to Enhance Your WordPress Visual Editor
- How to Add Sitemaps to Google Webmaster
- How to Limit WordPress Login Attempts
- How to Secure Your WordPress Website
- How to Install WordPress Plugin
- How to Add Google Analytics to WordPress Website
- How to Build an eCommerce Website Using WooCommerce
- How to Add GUTENBERG Visual Editor to WordPress
- How to do WordPress SEO technically (OnPage Guide)
- How to Add a Contact Form to WordPress
- How to STOP Spam Submission on Your Blog
- W3 Total Cache vs WP Super Cache – Which Should You Choose
- How to Research Competitors Using Semrush Keyword Research Tool
- How to Research Keyword Using Long Tail Pro (Step By Step Guide)
- Ahrefs vs SEMRush vs Long Tail Pro: Best Keyword Research Tool in 2020
- How to Add Nofollow Tag to a Certain Domain
Wrap Up
So, now you have the sitemap of Your WordPress Website that you can submit to the popular Search Engines like Google, Yahoo, etc.
Anyway, if you face any problem in creating your Website Sitemap following this guide, feel free to let me know. We’ll help you to fix that. As well as, you may also share your potential thought about this article, we’ll be happy to hear you.
