

Want to develop a custom website on your own in the local environment? Being a developer, I prepare each project first in the localhost before going live online.
In this post today, you are going to learn how to set up localhost for custom website development.
Developing a website could be your profession to start your online career. Or, if you are thinking of building your site before buying the domain and hosting, this is the right choice, to begin with locally.
There are many tools or applications available out there. But I would recommend WampServer for creating localhost in PC. WampServer is recognized as a Windows web development environment.
You could use XAMPP also, the most popular alternative of WampServer. I prefer Wamp, so, throughout the tutorial, I talk about it. 🙂
This article is a sub-post of the RainaStudio Map 101 blog series. You can check out previous posts of this series, a few of them are following;
- Custom Front Page Template Design for Blog
- Add Custom Heading Style Formats to WP Visual Editor
- Custom Related Posts After Entry Footer in Genesis

How to Setup Localhost for Web Development in PC
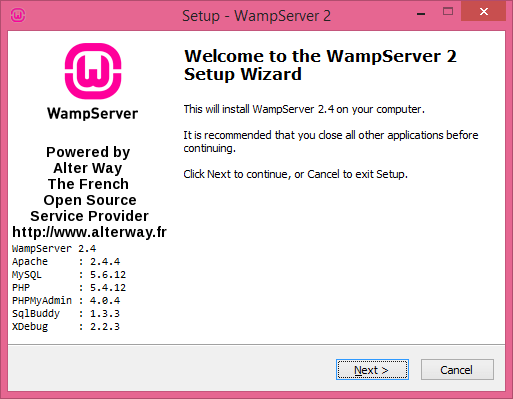
Let’s start setuping localhost on your PC. To do that, we need to download WampServer from its official website. Download the latest version of it based on your OS bit to avoid any misalignments or conflict. For example, my PC running on Windows 8.1 Pro 64bit. So, I downloaded WampServer 64 BITS with its latest version.
Installing WampServer for Web Development Environment
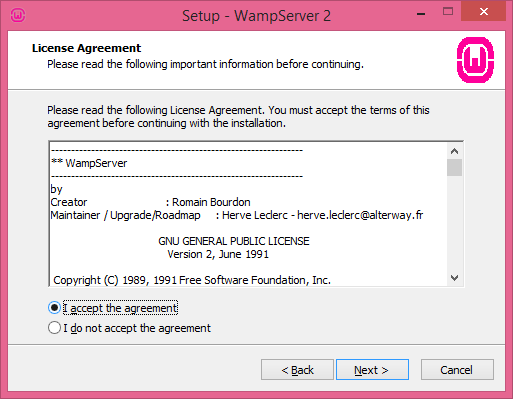
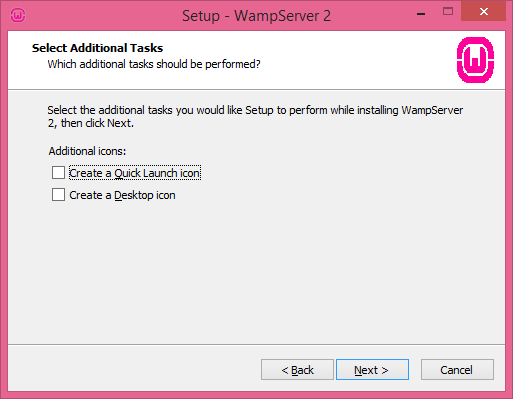
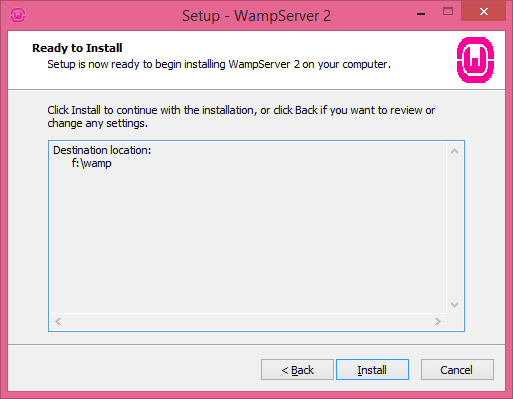
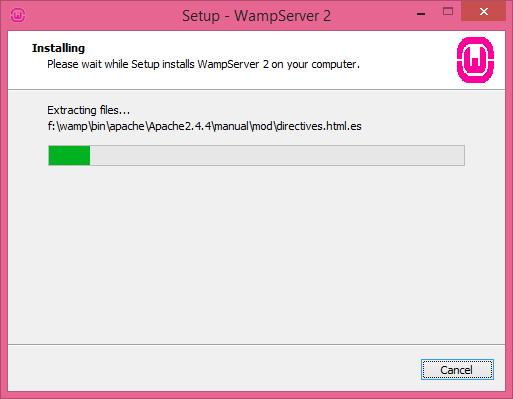
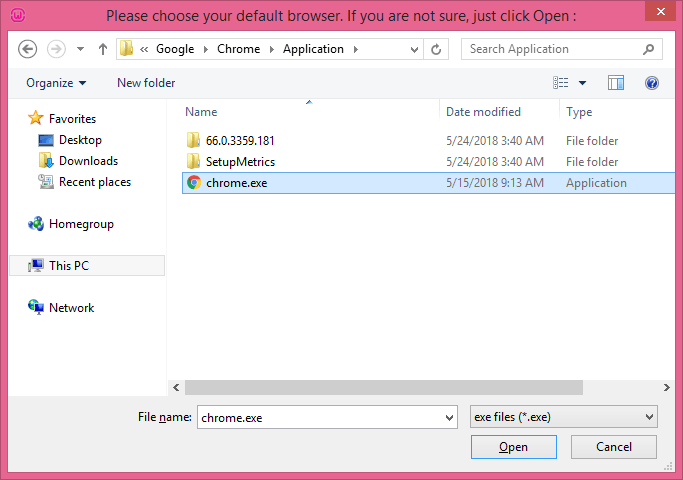
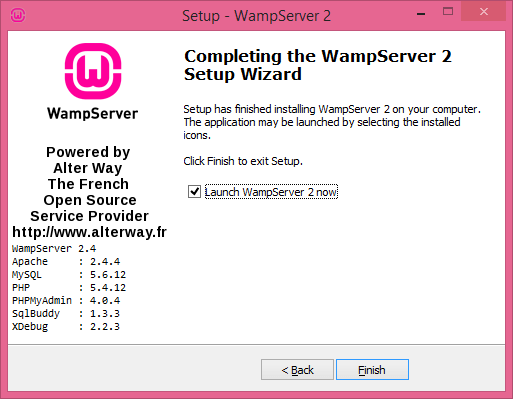
After downloading, run the application to install on your machine. You’ll go through the screens while installing the app, like the screenshots below.
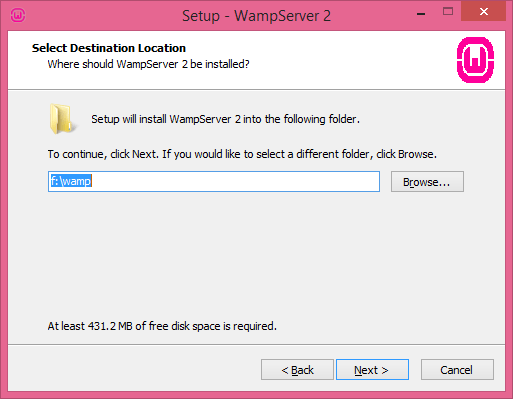
Follow step by step, check out which option you need and which one you don’t. By default, Wamp will be installed in Local Disk(C:) or c:\wamp, but you are allowed to change it.

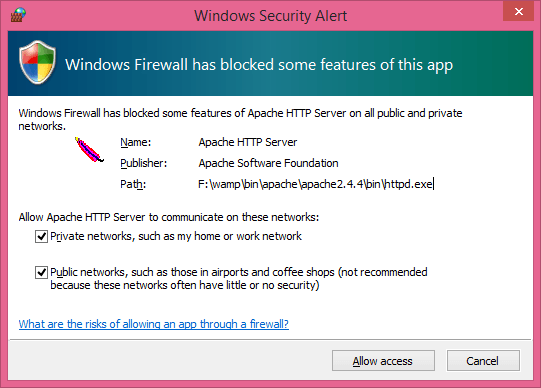

Note: You may get an error during the installation.DLL file missing. Download missing files and paste it into C:\Windows\System32andC:\Windows\SysWOW64, if your OS 32 BIT paste missing file only in System32. Try to reinstall WampServe then.
After the successful installation process, you are ready to go to the next step. At System Tray Menu, you’ll see WampServer green colored icon.
Click on that icon, and a menu-list will come up from there. You’ll select Localhost. Right away, a tab will be open in the Chrome browser, as the following screenshot.
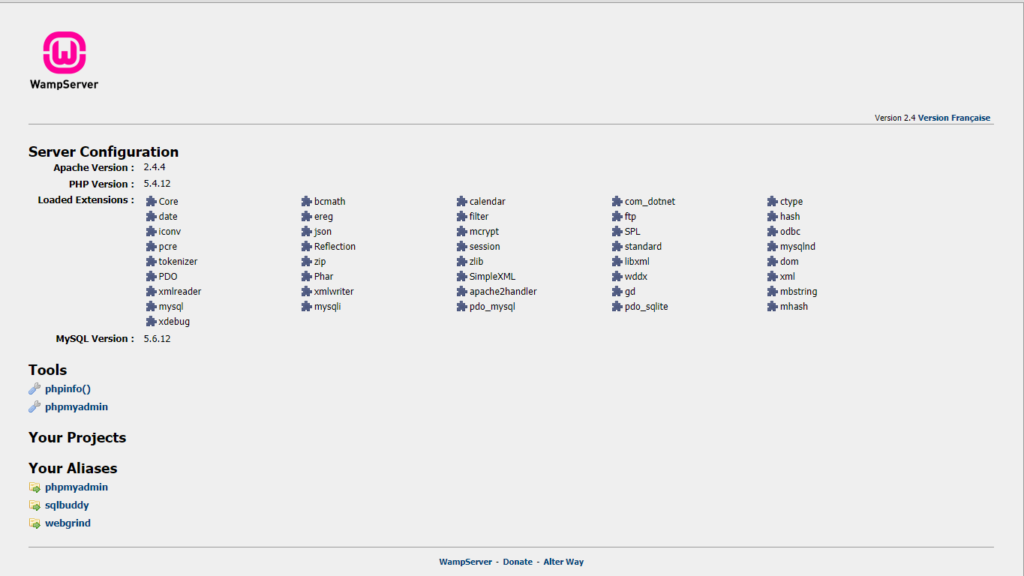 Under Tools on this page, you see phpmyadmin. We will access the database(DB) from here. I will talk about it later on in the next step.
Creating Custom Domain Name on Localhost
Generally in localhost when you create a project, the URL will be https://localhost/directory_name. But I want the URL to look like a domain name. Suppose, the domain name will be rainastudio.local or rainastudio.lo. So, let’s check how we will do that.
In the first step, we are going to create our project directory or folder. Creating a folder under C:\wamp\www with the name “rainastudio.”
Now, going to, here you will see 3 or 4 files with the extension. Duplicate one and renaming it with rainastudio.conf. Open the file with your favorite code editor. Add the following lines to the file.
[code language=”text”]
NameVirtualHost rainastudio.local
<VirtualHost rainastudio.local>
DocumentRoot “C:/wamp/www/rainastudio/”
ServerName rainastudio.local
<Directory “C:/wamp/www/rainastudio/”>
Order allow, deny
Allow from all
</Directory>
</VirtualHost>
[/code]
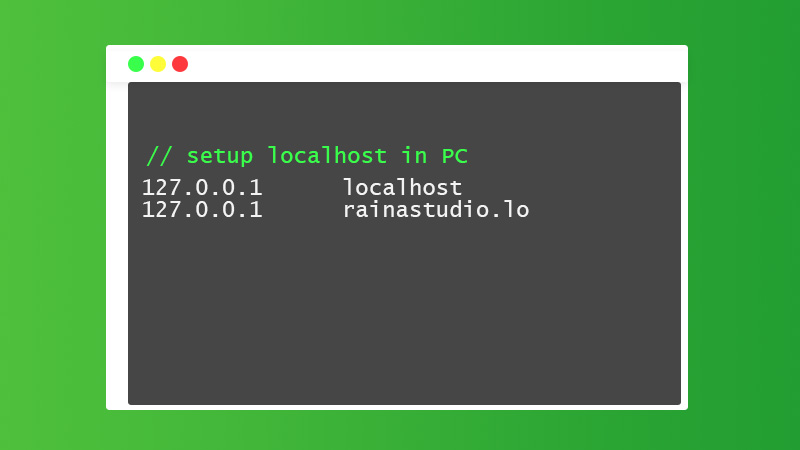
Have you save the file! Don’t forget to do that. 😉 Let’s find and edit hosts file from this location C:\Windows\System32\drivers\etc. Open the file with the code editor. Remember, all editor can’t save this file as an administrator. So, you may need to copy the file to another location or on Desktop then edit it. Add the following line to the file and don’t remove anything. After editing, replace the file with the existing file into that folder.
[code language=”text”]
127.0.0.1 rainastudio.local
[/code]
We are done creating custom domain names on the localhost. If you want to create multiple domain names for individual projects, follow exact instructions from above of this part.
Now time to test the domain path working correctly or not. Before doing this, we will create a PHP file under the rainastudio project directory.
Let’s do this, go to C:\wamp\www\rainastudio, create a file with the name index.php. Include the following snippet.
[php]
<?php
echo “<h1>Ni Hao! you did it successfully ☺</h1>”;
[/php]
Save the file, click on the WampServer icon from System Tray and select “Restart All Services.” Open a new tab in your browser and go to this URL address https://rainastudio.local.
If things are done successfully, you’ll see the message “Ni Hao! You did it successfully ☺“.
Installing WordPress on Localhost
Easy to follow, one of the most exciting parts of this tutorial. Download the WordPress ZIP file from wordpress.org. Extract all files and folder to your project folder. I extract all of them to the rainastudio project folder.
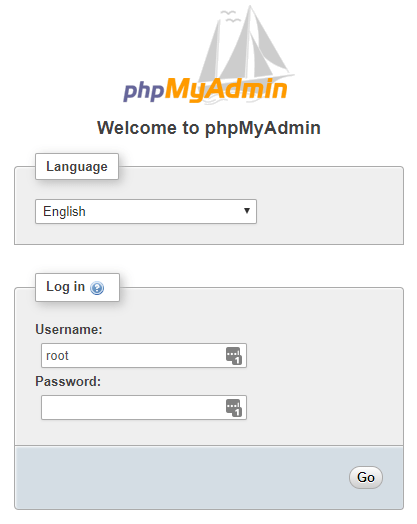
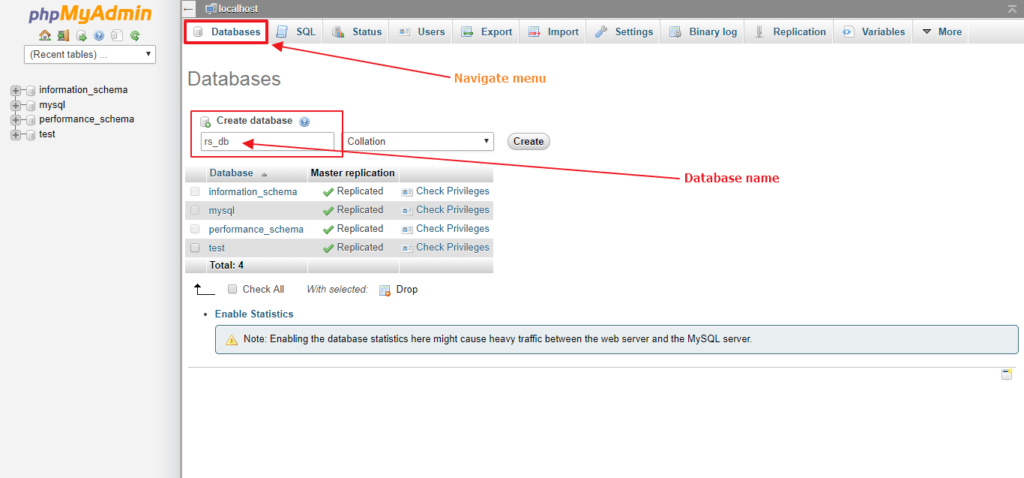
Now, going to https://localhost/phpmyadmin/ to create a database, remember! I have mentioned it above. You’ll see a login form like the screenshot following. Need login credentials to enter. The username is root, and the password is blank. I mean nothing, type username only, and hit the “GO” button.
In phpMyAdmin panel, navigate to Database, type database name( I typed rs_db ) into Create database field. Click on Create button to complete database creation, follow the screenshot below. 🙂
 Let’s config the WordPress system file, wp-config. Now open another tab on Chrome and going to
 https://rainastudio.local. Here on this process, we will need to select a few options and filling up some fields.
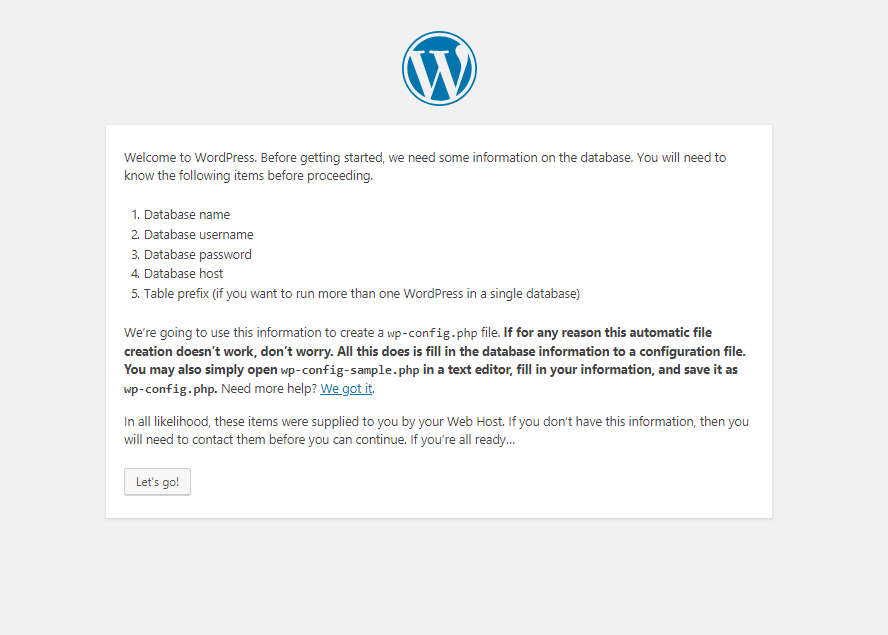
At the very first screen, you’ll need to select a default language for the site. The next screen will show some information about the required information you’ll be required in the next step.
Click on Let’s Go! Button, as we have all the information on our list already.
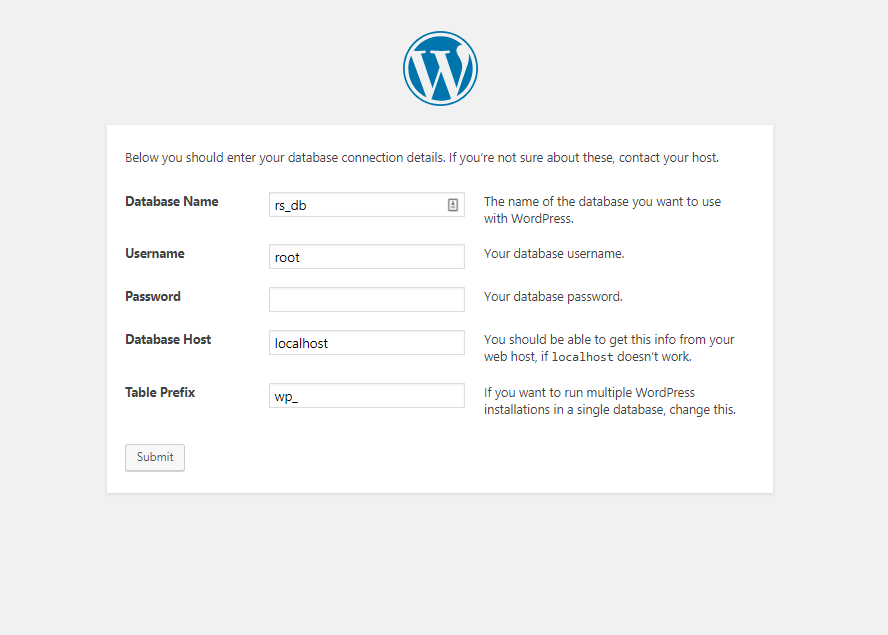
In the third screen, you’ll be needed to fill up empty fields with their required information. Such as database name, username, password, etc. I have filled up the fields with the following:
- Database Name: rs_db
- Username: root
- Password:
- Database Host: localhost
- Table Prefix: wp_
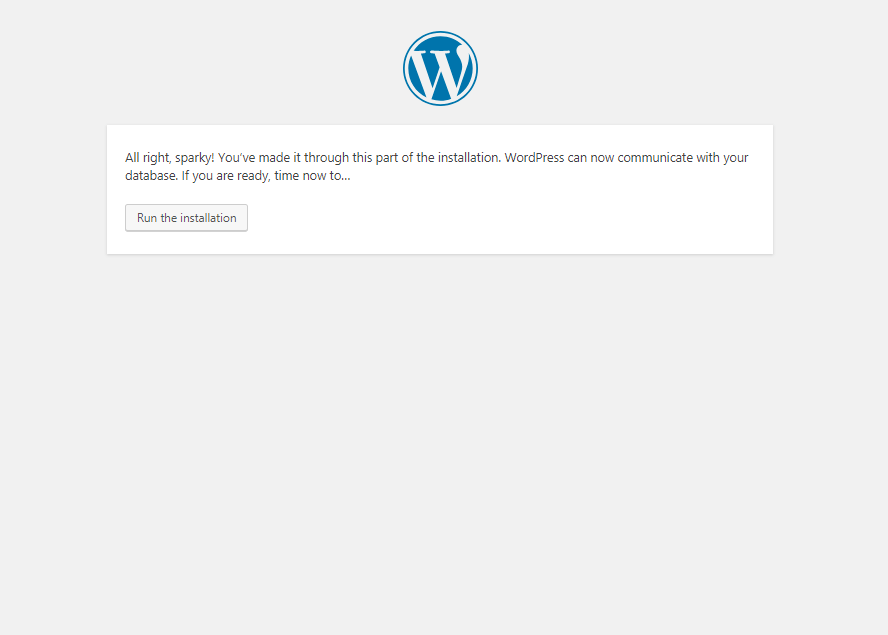
Once you filled up all the correct information, it takes you to the next window, where you’ll see a button called Run the installation.
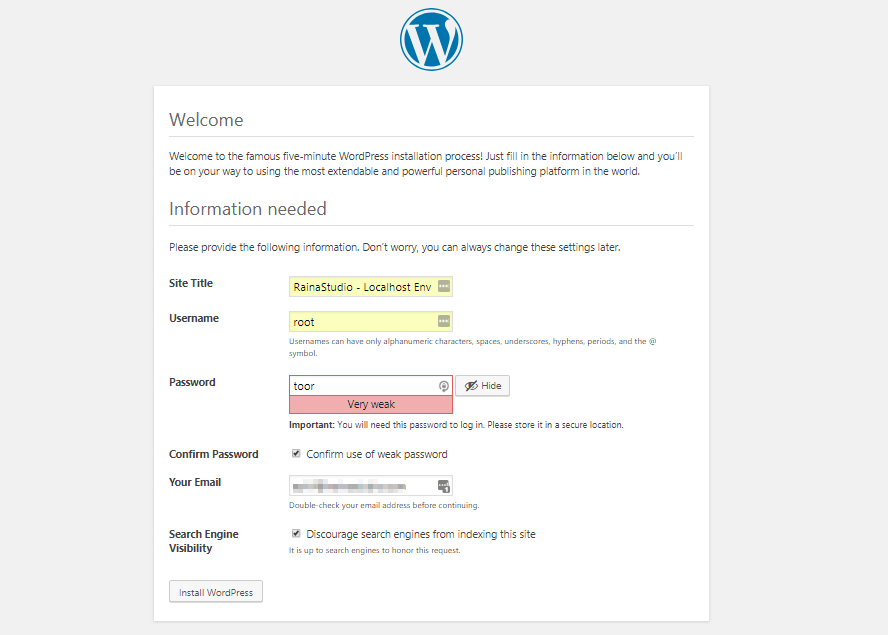
Click on that button for the next step. In the last screen of this process, you’ll need to fill up more fields which are Site Title, Username, Password, and Your Email.
Always discourage search engines from the indexing development site. No one wants to index their under construction website to Google or other search engines.
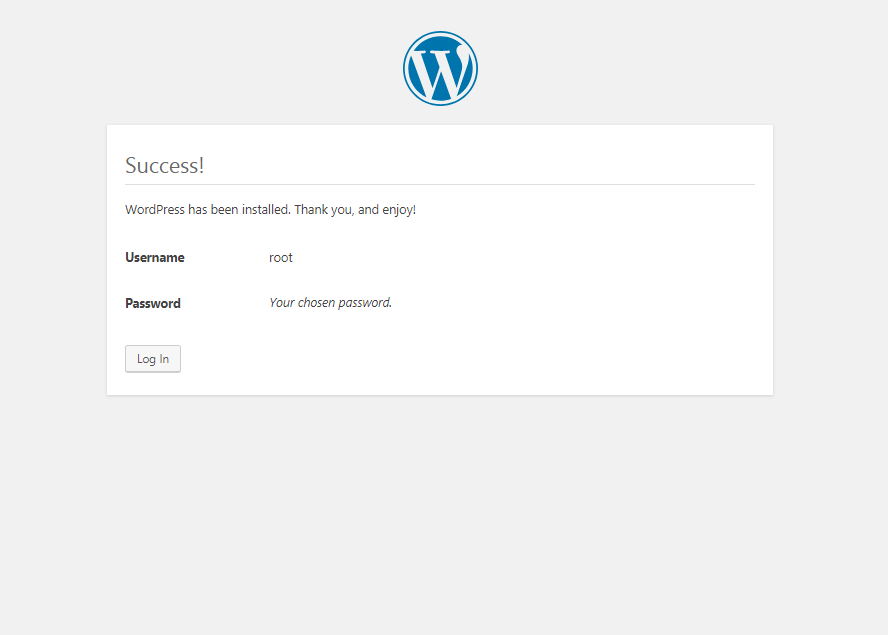
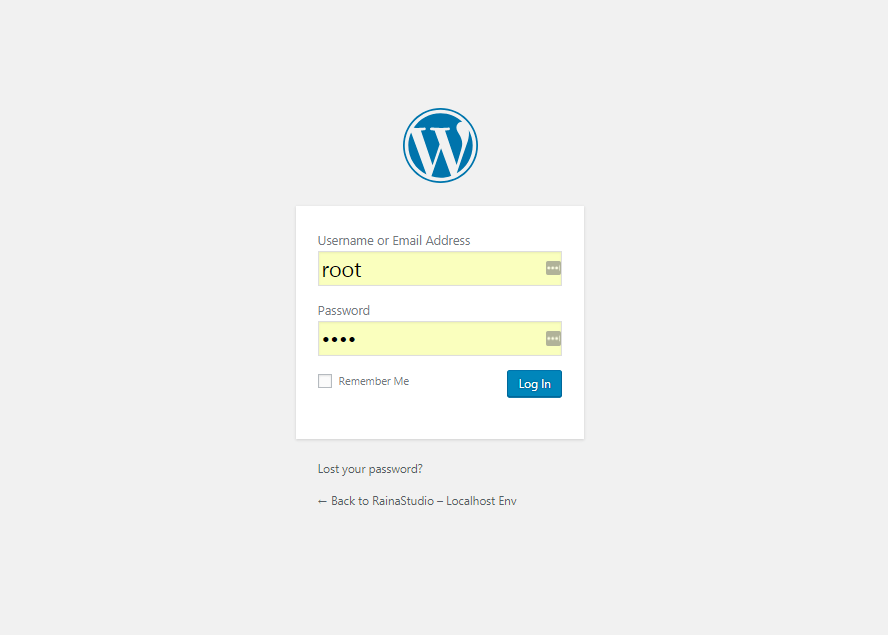
You are all set! Going tohttps://rainastudio.local/wp-admin/, fill up username & password, and log in to Dashboard. The following gallery is the slideshow of the WordPress installation process, take a look.

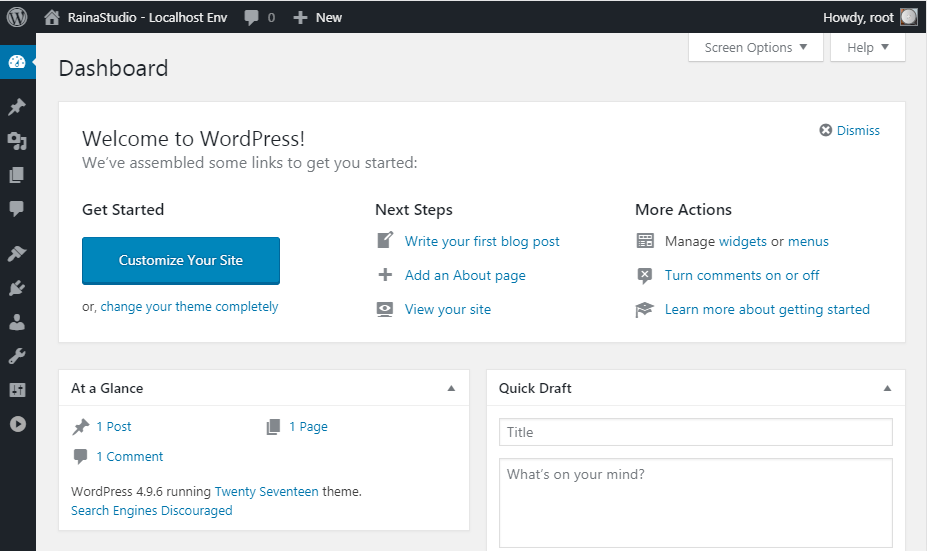
Easy, right! Now start your website development job, create themes, plugins, or add custom features to your website. That’s it.
I hope you have enjoyed the tutorial if you are a beginner developer and want to create your own and client project in the localhost.
Are you looking for more tutorials and cool stuff like this? Subscribe to our newsletter.
If you need tutorials for a specific feature in developing the website with WordPress and Genesis Framework, leave your feedback on the form below down. We will reply to your feedback within moments and try to solve yours on the fly issues. 🙂
You will love the following tutorials:
- How to Use HTML Form [PHP]
- Use Genesis Framework for eCommerce Website Development
- Small Business Website Design in New York
- Ecommerce Website development Made Easy WooCommerce
- 10 Reasons to Choose Genesis Theme Framework by StudioPress
- How Much Should a Website Design Cost You (Comprehensive Guide)
- How to Build an eCommerce Website Using WooCommerce
- How to Hire Best Freelance Web Designer in 2018
- How to Design a Website Using WordPress and Genesis Framework


One thought on “How to Setup Localhost for Custom Website Development in PC (RainaStudio Map 101)”
I was able to find good information from your blog posts.